|
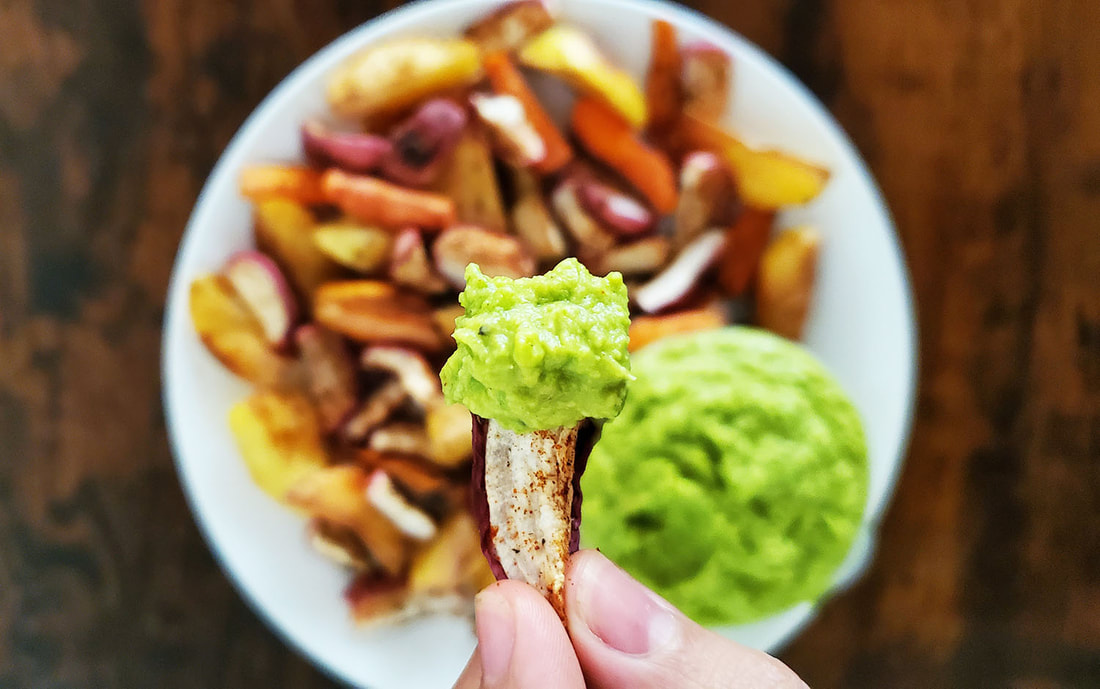
Have you ever tried roasting radishes?! Roasting really brings out the sweet qualities of this sometimes "spicy" veggie. And dip lovers rejoice, these roasted veggies taste delicious dipped in Pea Hummus!
This recipe was developed by Gratefully Vegan for Veggie Buds Club. Please lettuce know if you make it by leaving a comment! "Learn to Love Veggies" Tip
Pairing radishes with some other (possibly more familiar) veggies such as potatoes and carrots is an excellent way to introduce this veggie to kids!
 Roasted Radishes with Pea Hummus
Yield: 4-6
Prep time: 15 MinCook time: 35 MinTotal time: 50 Min
Roasting radishes really brings out the sweet qualities of this sometimes "spicy" veggie. And dip lovers rejoice, these roasted veggies taste delicious dipped in Pea Hummus!
Ingredients
Roasted Radishes
Pea Hummus
Instructions
Roasted Radishes
Pea Hummus
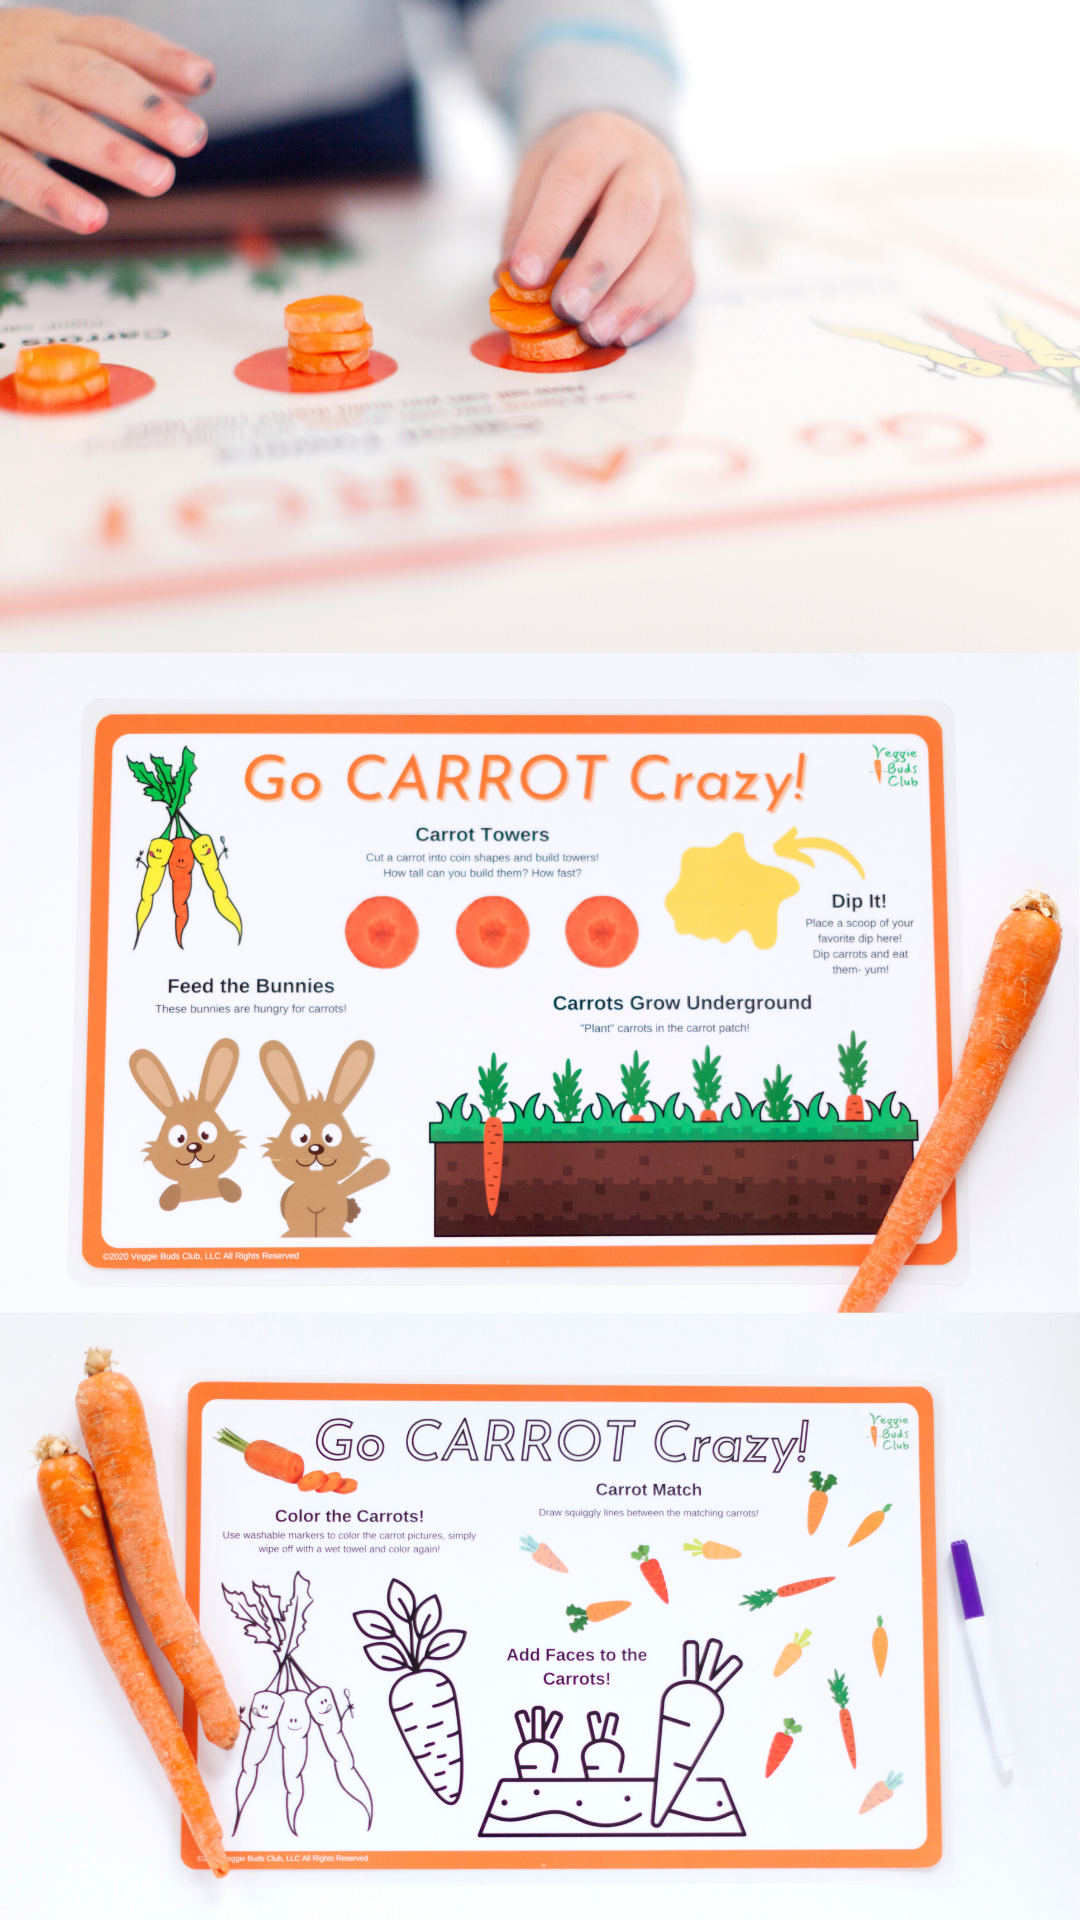
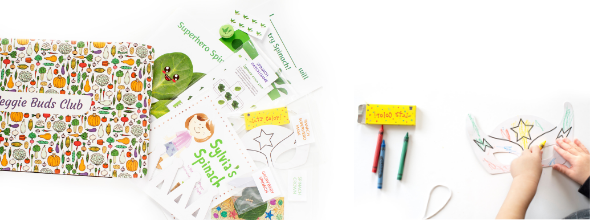
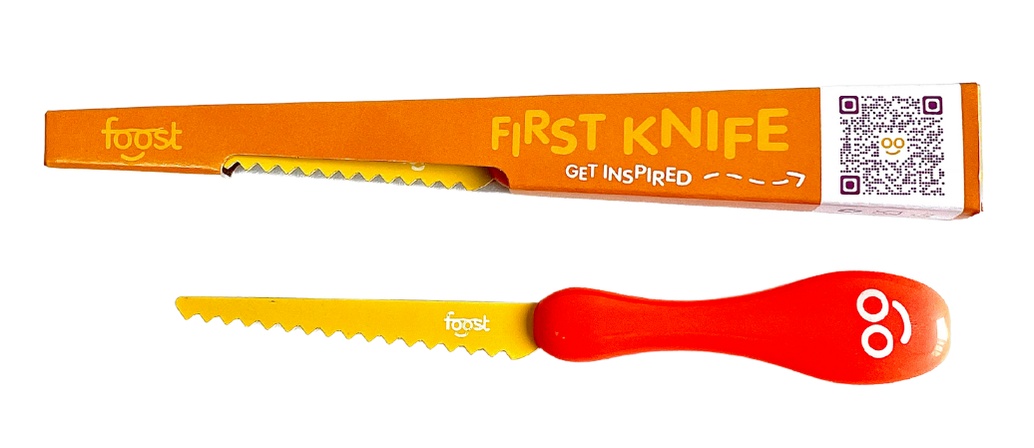
Check out our shop for products that teach kids to learn to love veggies! This includes veggie activity boxes, kid-safe knives, interactive placemats, and more.
0 Comments
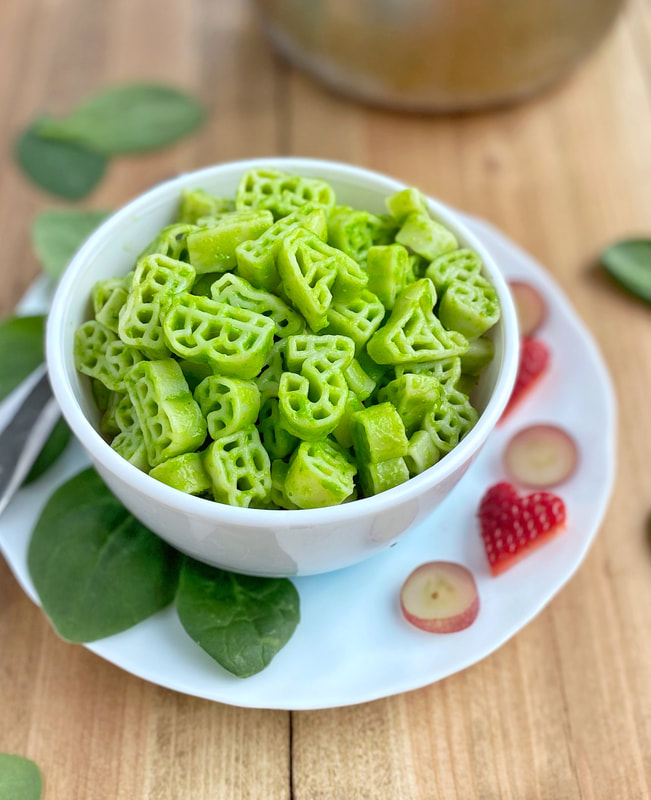
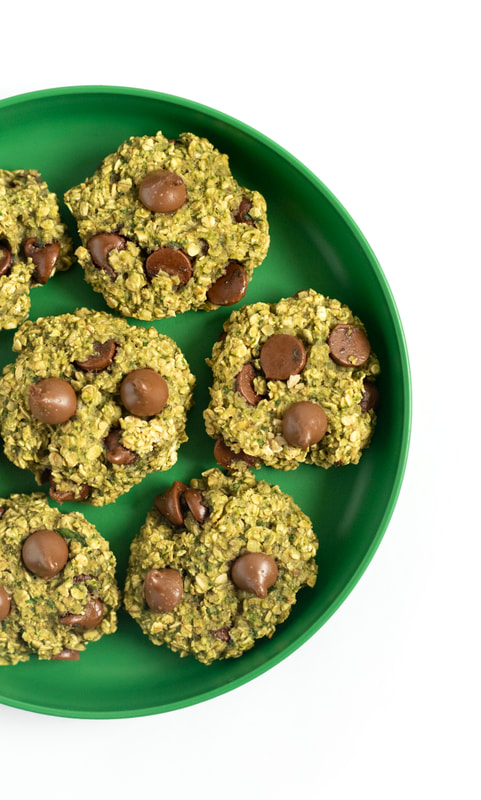
Add a few ingredients to a blender with a couple handfuls of spinach and *poof* your Mac and Cheese is magically GREEN! Little chefs will love to help make this fun and delicious pasta dish that’s packed with spinach.
This recipe was developed by the very talented Happy Kids Kitchen for Veggie Buds Club. "Learn to Love Veggies" Tip
Make this recipe extra magical by having your little chef/s join you in the kitchen! They can add all of the the green cheese sauce ingredients to a blender and press the buttons (kids sure love to press buttons!).
Spinach really is a magical veggie, it turns everything a gorgeous green color and packs a powerful nutritious punch but the flavor is so mild that it blends in well with many recipes!  Magical Green Mac & Cheese
Yield: 4-6
Prep time: 5 MinCook time: 15 MinTotal time: 20 Min
Add a few ingredients to a blender with a couple handfuls of spinach and *poof* your Mac & Cheese is magically GREEN!
Ingredients
Instructions
Check out our shop for products that teach kids to learn to love veggies! This includes veggie activity boxes, kid-safe knives, interactive placemats, and more.
These delicious 4-ingredient Spinach Cookies are definitely kid-approved and so easy to make... they are sure to become a family favorite! They are healthy enough to be considered a "breakfast cookie" (they pair great with vanilla yogurt!) and sweet enough to be considered dessert. That's a win-win in our book!
Eat Pretty Darling created this simple and tasty veggie-packed recipe for Veggie Buds Club. Be sure to lettuce know if you make these by leaving a comment below! "Learn to Love Veggies" Tip
This is an easy one! Put veggies in dessert and this is a sure fired way to get kids excited about veggies. This is a super simple recipe to bake with your kids, they can help out from start to finish and will know that the spinach is in the cookie (and eat them anyway!).
 Spinach Cookies
Prep time: 5 MinCook time: 20 MinTotal time: 25 Min
These delicious 4-ingredient Spinach Cookies are definitely kid-approved and so easy to make... they are sure to become a family favorite!
Ingredients
Instructions
Check out our shop for products that teach kids to learn to love veggies! This includes veggie activity boxes, kid-safe knives, interactive placemats, and more.
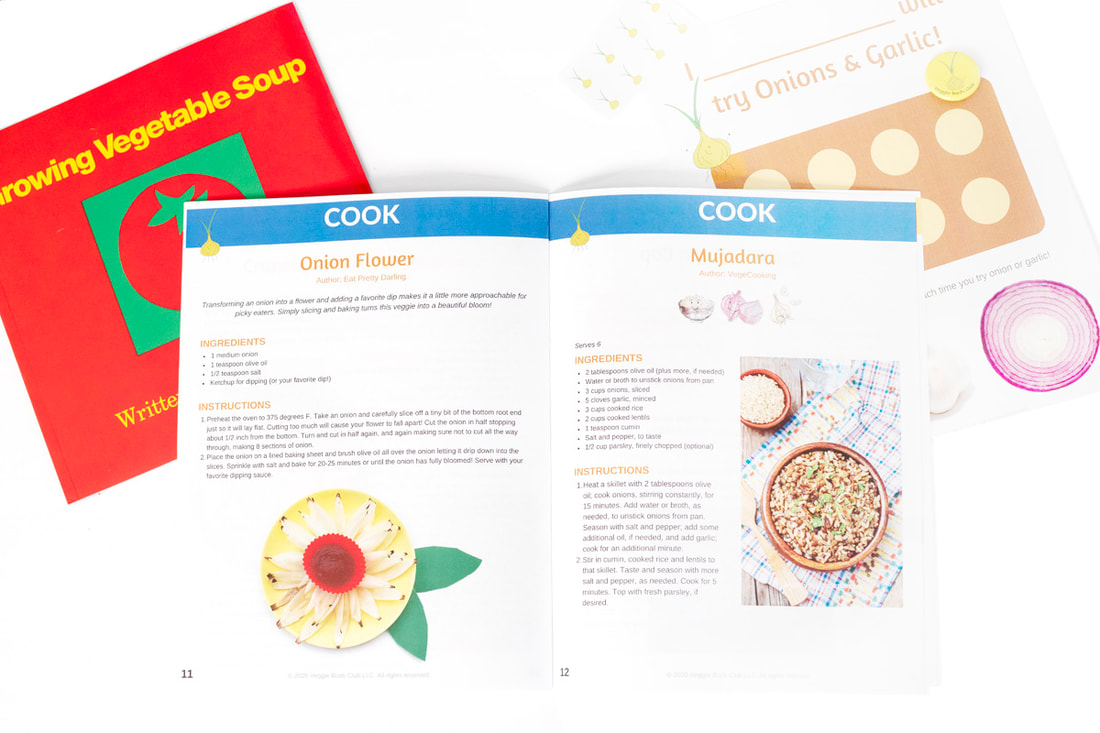
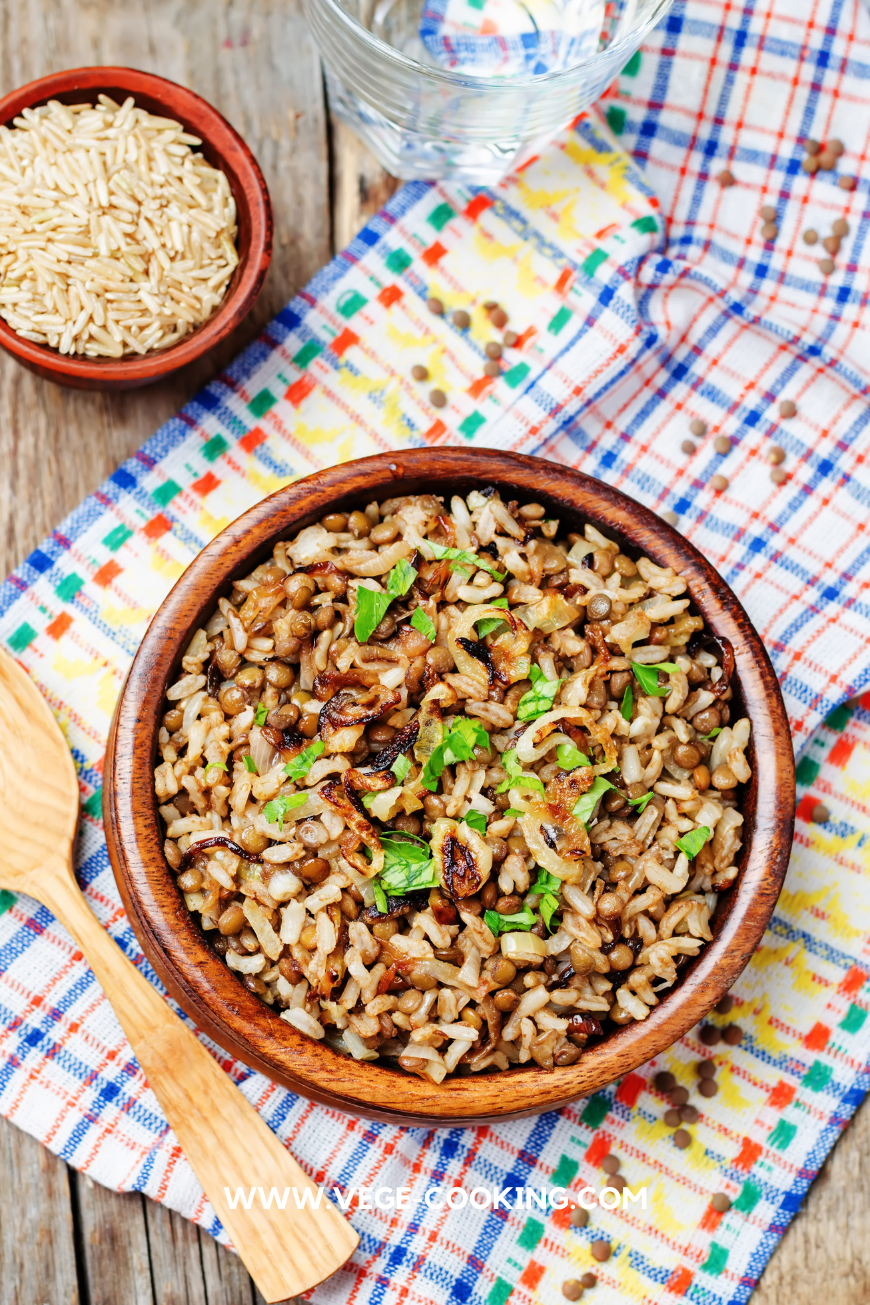
Mujadara is a pilaf featuring lentils, rice, and caramelized onions. This protein-rich combination of rice and lentils is a staple of Middle Eastern cuisine. Chef Dawn from VegeCooking shared this recipe with Veggie Buds Club that features onions and garlic!
"Learn to Love Veggies" Tip
Caramelizing onions really brings out the sweet flavor of this not so kid-friendly veggie. Have you child lick a raw piece of onion, before caramelizing it, and then have them try one caramelized and ask, "How has the flavor changed?" Really emphasize how awesome it is that a "spicy" onion can be transformed into such a sweet treat!
 Mujadara
Yield: 6
Prep time: 10 MinCook time: 20 MinTotal time: 30 Min
Mujadara is a pilaf featuring lentils, rice, and caramelized onions. This protein-rich combination of rice and lentils is a staple of Middle Eastern cuisine.
Ingredients
Instructions
Check out our shop for products that teach kids to learn to love veggies! This includes veggie activity boxes, kid-safe knives, interactive placemats, and more.
What kid doesn't love garlic bread?! These tasty Garlic Knots are a very kid-friendly way to help your kids get acquainted with garlic.
This recipe was developed byEat Pretty Darling for Veggie Buds Club. "Learn to Love Veggies" Tip
Get your kids in the kitchen! Kids love to bake and this recipe allows them to mix up all of the ingredients with their hands (in the biggest bowl you have... spills will happen!). Finally, they can help twist up the garlic knots! The knots don't have to look perfect, have fun with this recipe and let your kids take the lead.
 Garlic Knots
Yield: 8
Prep time: 5 MinCook time: 20 MinTotal time: 25 Min
Fresh, warm garlic bread can't be beat! Enjoy these tasty Garlic Knots with your favorite pasta, soup, or as a side dish to a variety of meals.
Ingredients
Instructions
Check out our shop for products that teach kids to learn to love veggies! This includes veggie activity boxes, kid-safe knives, interactive placemats, and more.
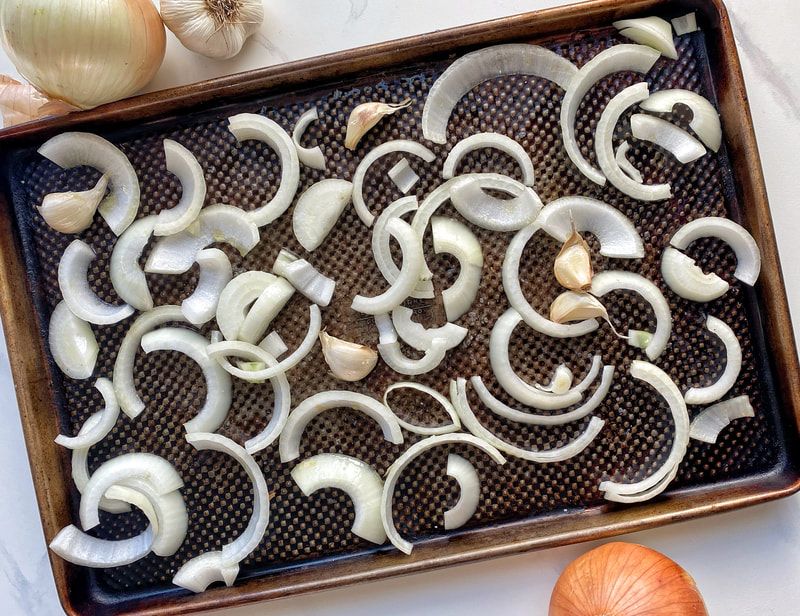
Made from just 4 ingredients, this pasta sauce is so simple but so delicious! Roasted sliced onion and whole cloves of garlic makes them super sweet and cuts out any of the “spicy” or strong flavor kiddos might not enjoy. Little chefs can help toss the onion and garlic in oil and sprinkle on salt before roasting. Then they can help add the can of tomatoes and blend up the sauce. Serve on top of or tossed with whatever kind of pasta your family enjoys. Spaghetti is our favorite. The flavorful tomato sauce is also great for pizza or any other recipe you’d use marinara.
"Learn to Love Veggies" Tip
You can leave the garlic unpeeled or peeled for roasting. If you peel them, be sure to have your kids do the job! First they can smash the garlic cloves a bit using the flat end of a butter knife and then they peel it. Peeling garlic is great for fine motor skills and gets that garlic-y flavor on their fingers and aroma in the air, this is a great introduction to garlic for kids!
 Roasted Garlic and Onion Marinara
Yield: 4-6
Prep time: 10 MinCook time: 25 MinTotal time: 35 Min
Made from just 4 ingredients, this pasta sauce is so simple but so delicious! Serve on top of or tossed with whatever kind of pasta your family enjoys. The flavorful tomato sauce is also great for pizza or any other recipe you’d use marinara.
Ingredients
Instructions

Check out our shop for products that teach kids to learn to love veggies! This includes veggie activity boxes, kid-safe knives, interactive placemats, and more.
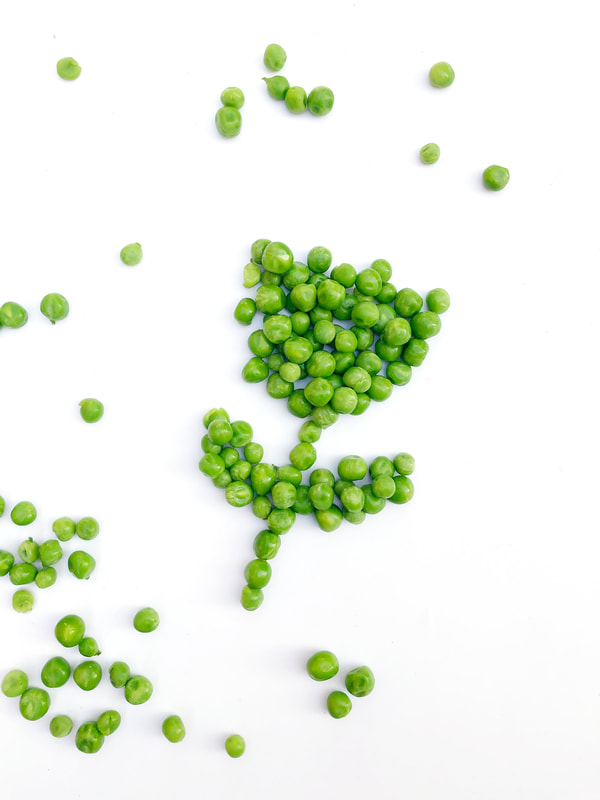
One of the best ways to make a picky eater more comfortable around a food is to have them play with it! There’s no pressure to eat it but it gets them to engage with the food in a new way and you never know, they might even try a bite. This "Pea Shapes" recipe created by Eat Pretty Darling is a super simple and engaging way for your children to play with peas!
"Learn to Love Veggies" Tip
Have your kids ever tried peas straight from the freezer? Many children prefer veggies this way! Frozen peas are easy for kids to pick up and the peas thaw pretty quickly, making them easy to eat.
Note, babies and toddlers can start eating frozen peas as soon as they start teething (bonus: they help with teething pains!).  Pea Shapes
One of the best ways to make a picky eater more comfortable around a food is to have them play with it! There’s no pressure to eat it but it gets them to engage with the food in a new way and you never know, they might even try a bite. Try this strategy with this "Pea Shapes" recipe and have fun!
Ingredients
Instructions
Check out our shop for products that teach kids to learn to love veggies! This includes veggie activity boxes, kid-safe knives, interactive placemats, and more.
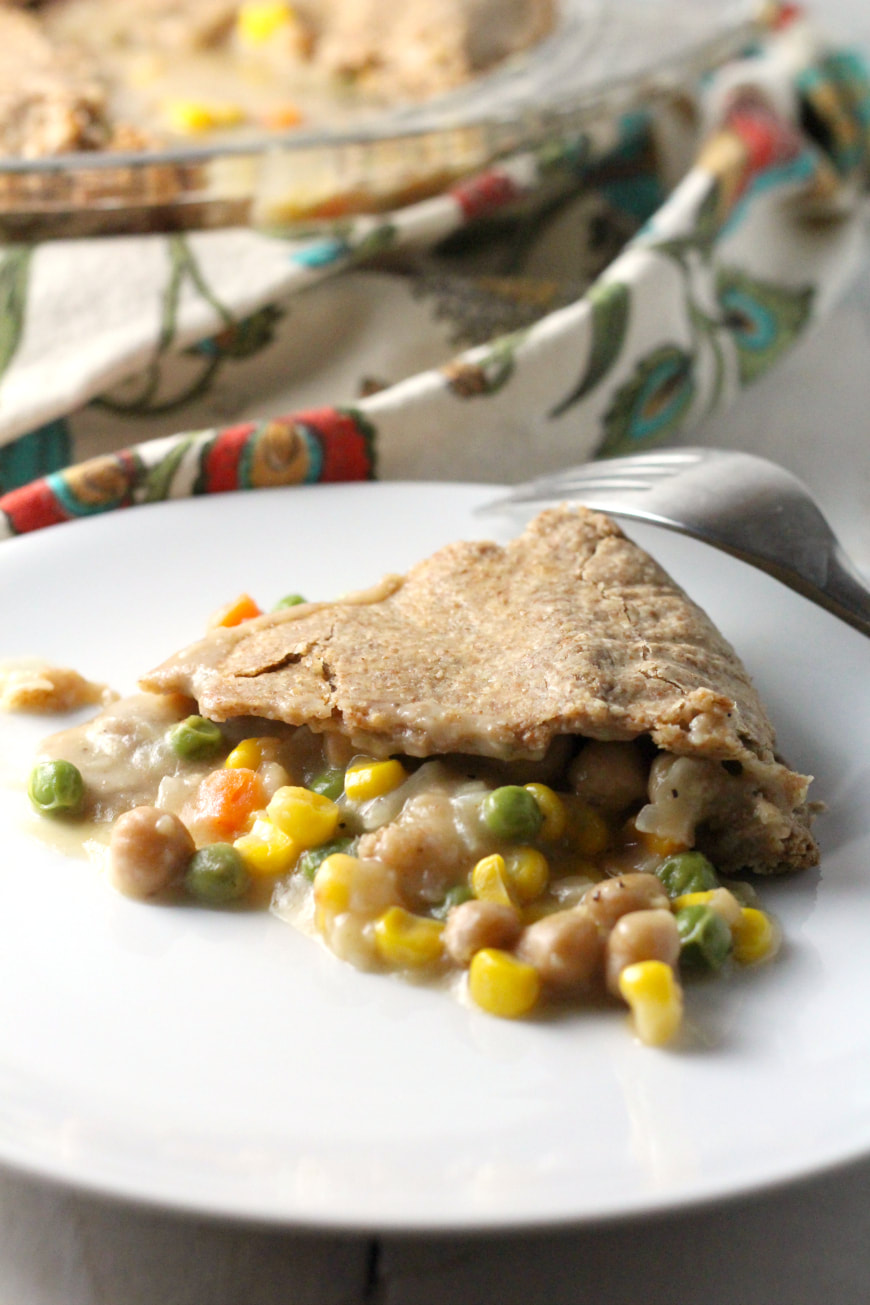
Your whole family is sure to love this vegetarian spin on a classic pot pie! This filling and nourishing meal is packed with veggies (corn, peas, and carrots!) and is rich in plant-based protein from the chickpeas. The recipe is adaptable for vegetarian, vegan, and gluten-free diets.
Chef Dawn from VegeCooking developed this recipe for Veggie Buds Club. "Learn to Love Veggies" Tip
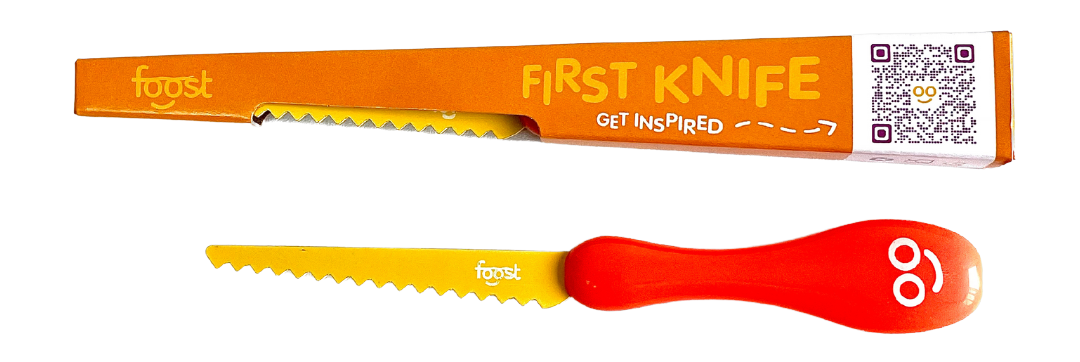
Have your child wear swim goggles or safety goggles when they chop onions, this will help prevent their eyes from tearing up and makes chopping this veggie extra fun! Check out our favorite child-safe knife here. They are more likely to try the Chickpea Pot Pie if they help make it!
 Chickpea Pot Pie
Yield: 4-6
Prep time: 10 MinCook time: 40 MinTotal time: 50 Min
Your whole family is sure to love this vegetarian spin on a classic pot pie! This filling and nourishing meal is packed with veggies (corn, peas, and carrots!) and is rich in plant-based protein from the chickpeas.
Ingredients
Crust
Filling
Instructions
Check out our shop for products that teach kids to learn to love veggies! This includes veggie activity boxes, kid-safe knives, interactive placemats, and more.
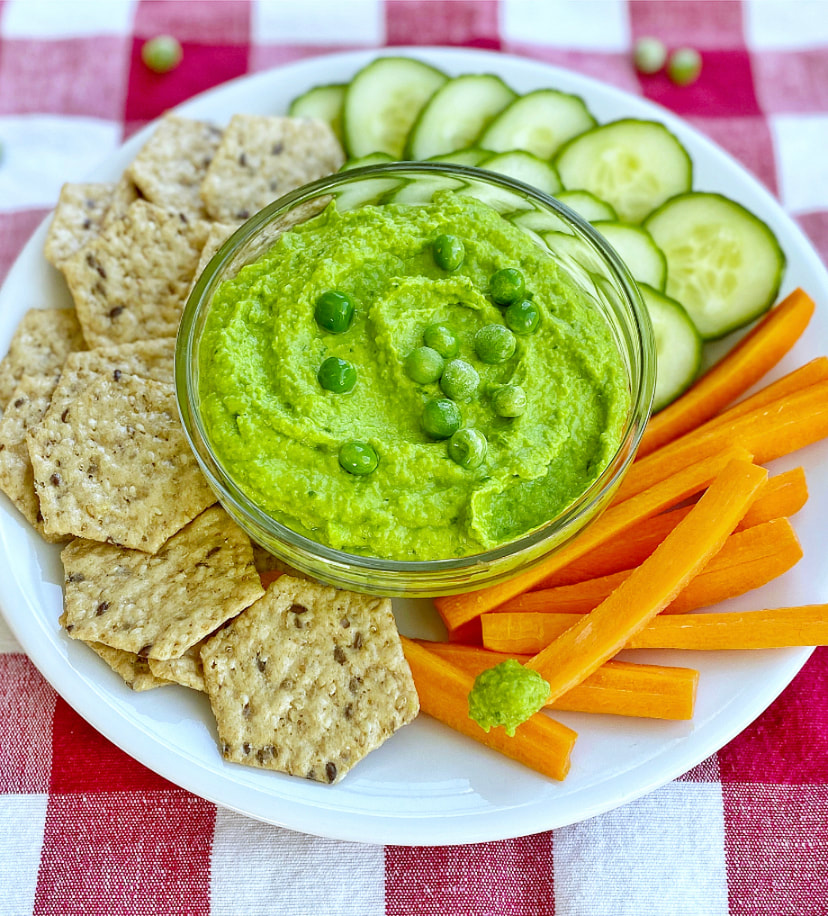
This simple bright green dip is such a fun way to celebrate peas! Little chefs can add the peas to the food processor or blender, scoop in the avocado, and measure the other simple ingredients in the recipe. The hummus takes a little while to get smooth, so don’t worry if you check on it and return to blending a couple of times. Do a countdown and put on some music and dance while the hummus is blending away. This makes about 4 cups of dip, so if you want to make a smaller batch, just cut all the measurements in half.
"Learn to Love Veggies" Tip
Many kids are big dip fans so blending veggies into a dip is a great way to introduce them to veggies in a form other than simply raw or cooked.
 Pea and Avocado Hummus
Prep time: 5 MinCook time: 10 MinTotal time: 15 Min
This simple bright green dip is a fun way to celebrate peas! Serve this Pea and Avocado Hummus with crackers and other veggies such as carrot sticks and sliced bell peppers.
Ingredients
Instructions
To Make Christmas Trees

Check out our shop for products that teach kids to learn to love veggies! This includes veggie activity boxes, kid-safe knives, interactive placemats, and more.
These sweet potato stackers are just like fries but cut them into even logs and you’ve got a building just waiting to be created!
"Learn to Love Veggies" Tip
We are fans of "playing with your food" here at Veggie Buds Club because sometimes kids need to play with their food to make it a little less scary to try!
 Sweet Potato Stackers
Prep time: 5 MinCook time: 25 MinTotal time: 30 Min
These sweet potato stackers are just like fries but cut them into even logs and you’ve got a building just waiting to be created. Sometimes kids need to play with their food to make it a little less scary to try!
Ingredients
Instructions
Check out our shop for products that teach kids to learn to love veggies! This includes veggie activity boxes, kid-safe knives, interactive placemats, and more.
|