|
Have you ever roasted corn? Cooking the fresh kernels at a high temperature, intensifies the corn's sweetness and takes corn flavor to a whole new level. The sweet kernels get golden brown and crunchy around the edges, making them reminiscent of popcorn. Roasted corn is great as a side dish, on its own, or combined with other fresh, seasonal produce like in our Roasted Corn and Watermelon Salsa recipe.
This recipe was developed by Happy Kids Kitchen for Veggie Buds Club. "Learn to Love Veggies" Tip
Get your kids in the kitchen to help prepare the corn for the oven. They can help transfer the cut corn to a bowl, drizzle the corn with oil, sprinkle the salt, and spread the corn on the baking sheet. Simple, delicious, and easy... what could be better?!
 Simple Roasted Corn
Prep time: 5 MinCook time: 15 MinTotal time: 20 Min
Roasting fresh corn kernels at a high temperature intensifies the corn's sweetness and takes the corn flavor to a whole new level. The sweet kernels get golden brown and crunchy around the edges, making them reminiscent of popcorn.
Ingredients
Instructions
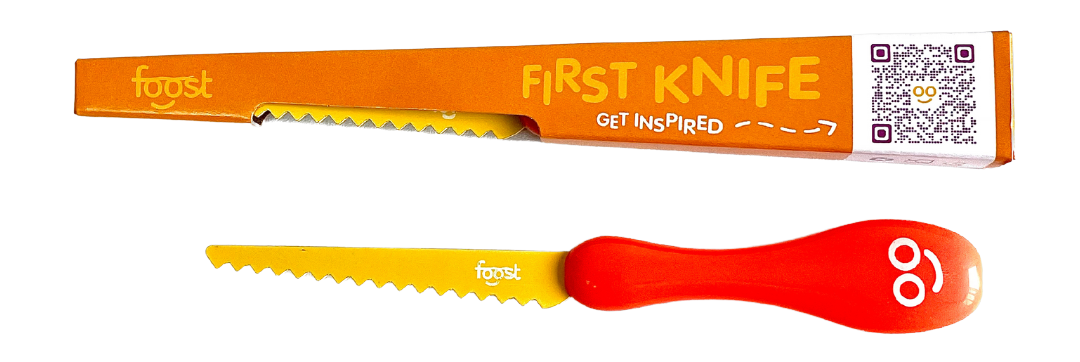
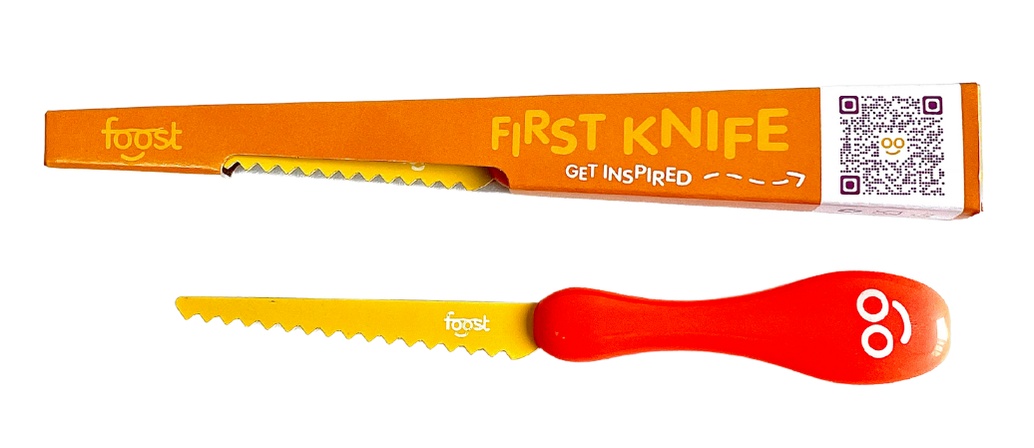
Get cooking with your kids! Purchase our recommended kid-safe knife from our friends at Foost :)
0 Comments
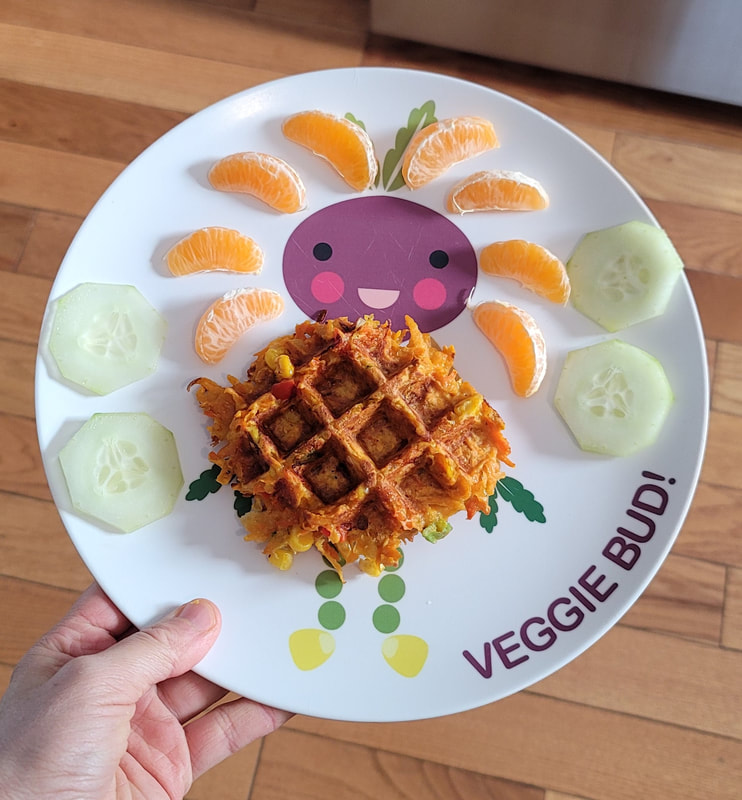
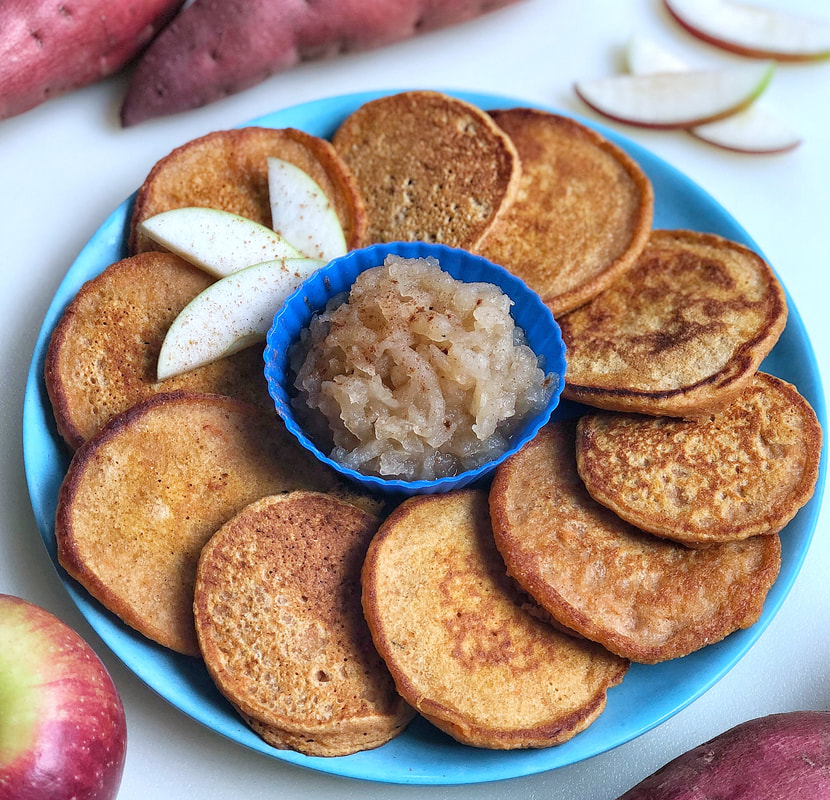
These savory veggie-packed waffles are great for breakfast, lunch, or a snack any time of the day. Experiment with the ingredients, you can add or omit veggies from this recipe and still have a delicious outcome! These Rainbow Veggie Waffles taste great paired with sour cream and/or applesauce, you can find our recipe for pretty pink Beet Applesauce here.
"Learn to Love Veggies" Tip
Give your child some "power" over this recipe and have them help pick out the veggies for these savory waffles! The base of the waffles are shredded sweet potatoes and carrots but the extras are very flexible. We have used sweet corn, bell pepper, and green onion in this recipe but you can add or omit these... some other great veggies that you can include are cubed zucchini, frozen peas, chopped green beans, and fresh herbs!
Get cooking with your kids! Purchase our recommended kid-safe knife from our friends at Foost :)
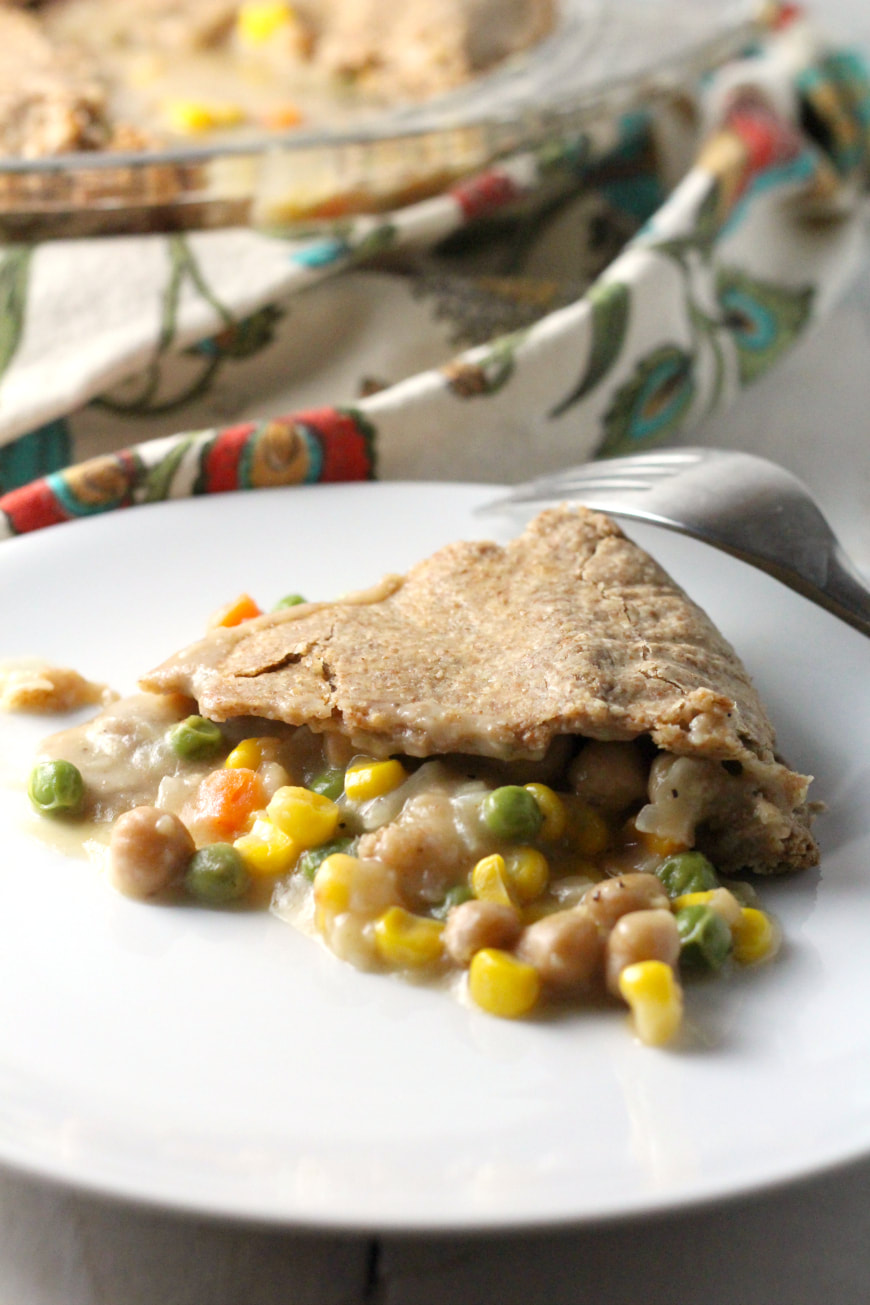
Your whole family is sure to love this vegetarian spin on a classic pot pie! This filling and nourishing meal is packed with veggies (corn, peas, and carrots!) and is rich in plant-based protein from the chickpeas. The recipe is adaptable for vegetarian, vegan, and gluten-free diets.
Chef Dawn from VegeCooking developed this recipe for Veggie Buds Club. "Learn to Love Veggies" Tip
Have your child wear swim goggles or safety goggles when they chop onions, this will help prevent their eyes from tearing up and makes chopping this veggie extra fun! Check out our favorite child-safe knife here. They are more likely to try the Chickpea Pot Pie if they help make it!
 Chickpea Pot Pie
Yield: 4-6
Prep time: 10 MinCook time: 40 MinTotal time: 50 Min
Your whole family is sure to love this vegetarian spin on a classic pot pie! This filling and nourishing meal is packed with veggies (corn, peas, and carrots!) and is rich in plant-based protein from the chickpeas.
Ingredients
Crust
Filling
Instructions
Check out our shop for products that teach kids to learn to love veggies! This includes veggie activity boxes, kid-safe knives, interactive placemats, and more.
Veggie Buds Club's "Let's Grow!" Box is full of quick, fun, and tasty growing projects that you can do at home. 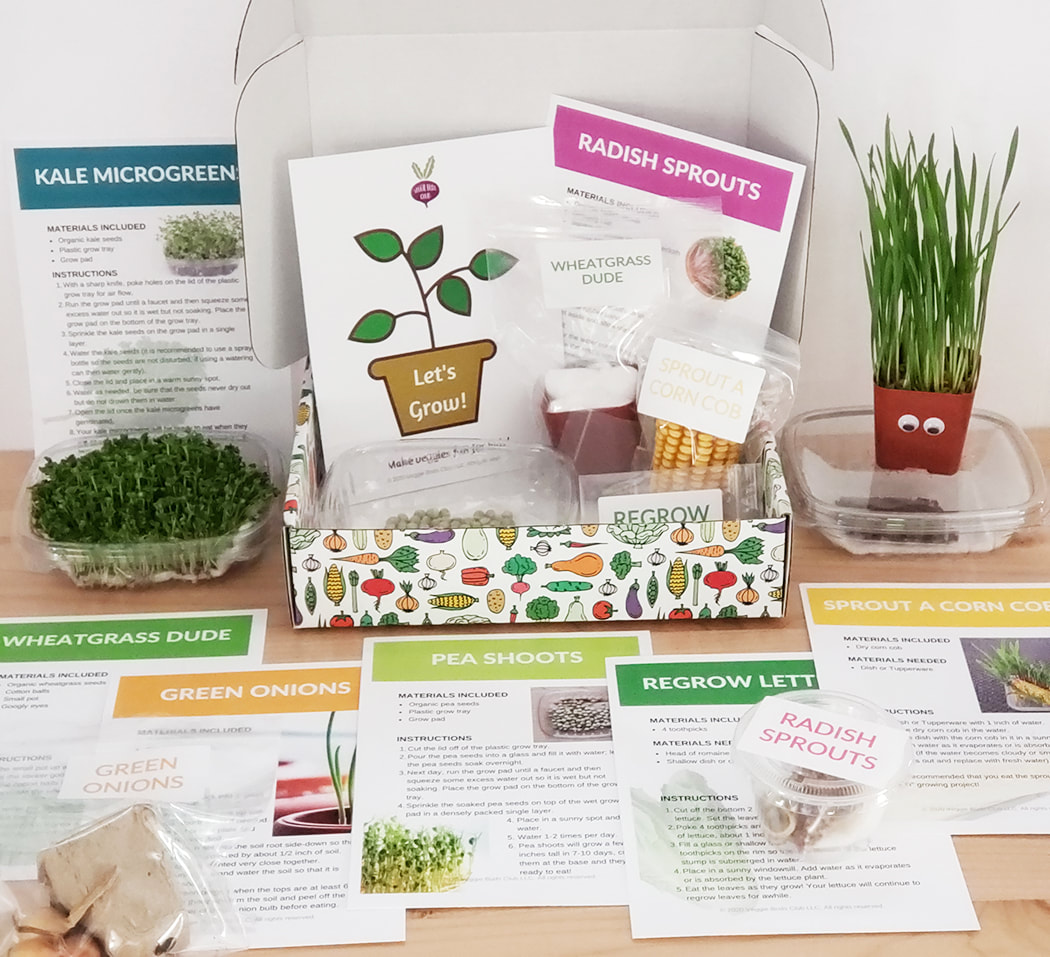 What's included:
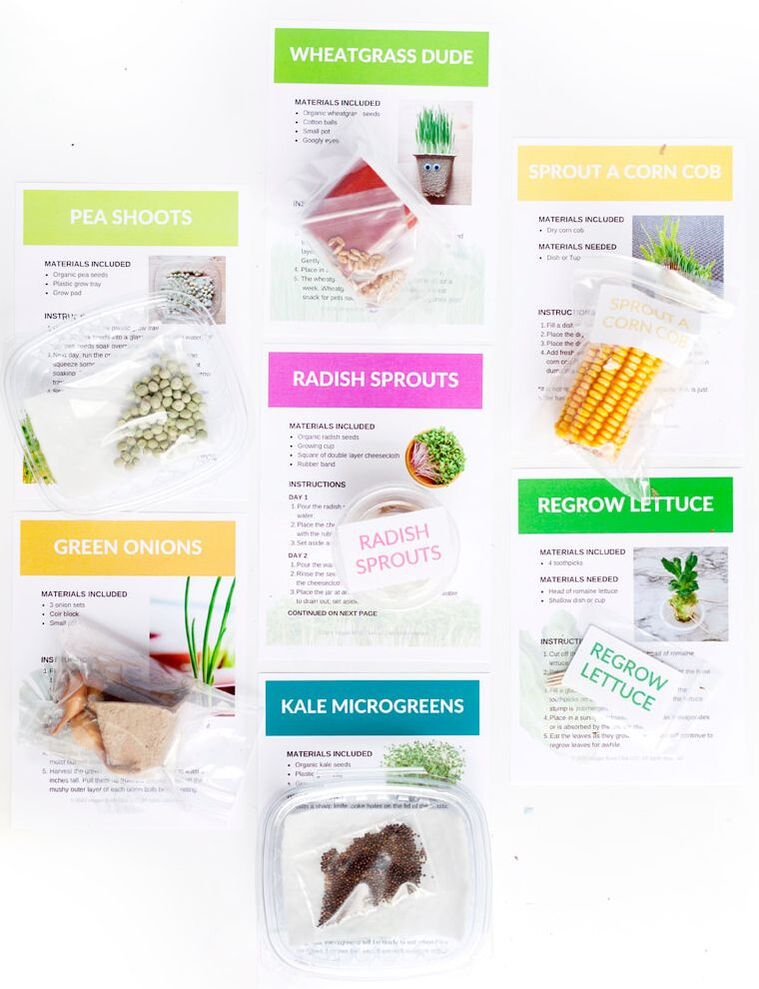 Growing Projects Included:
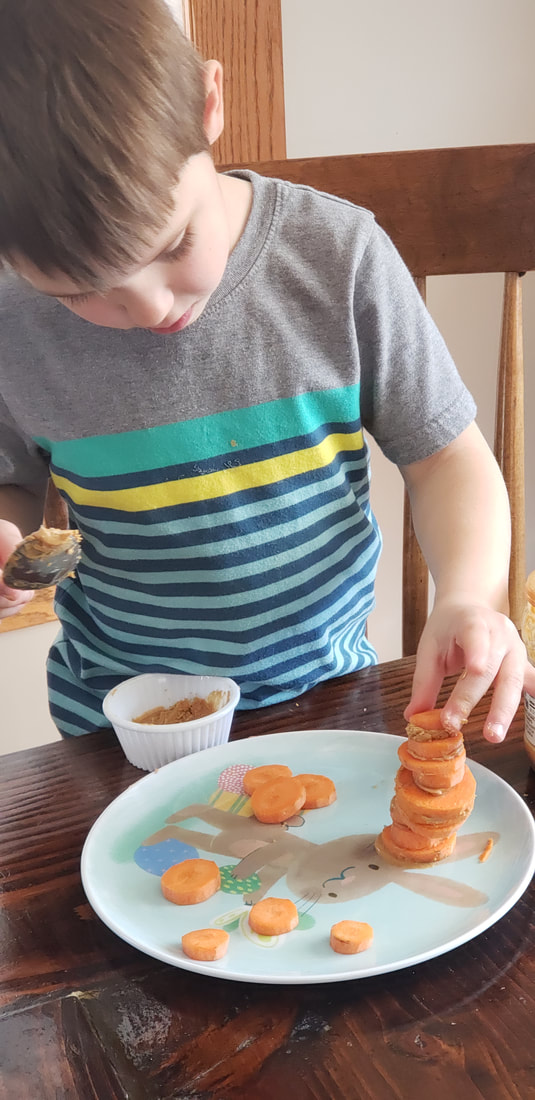
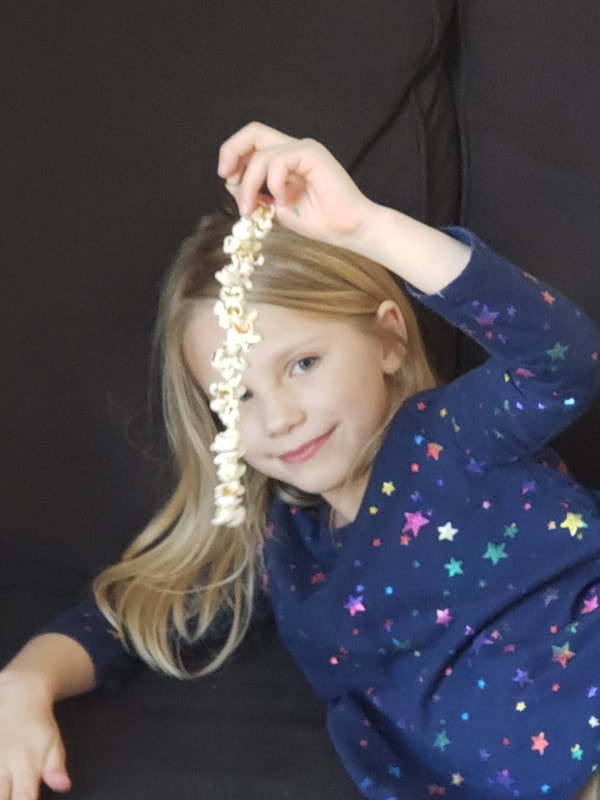
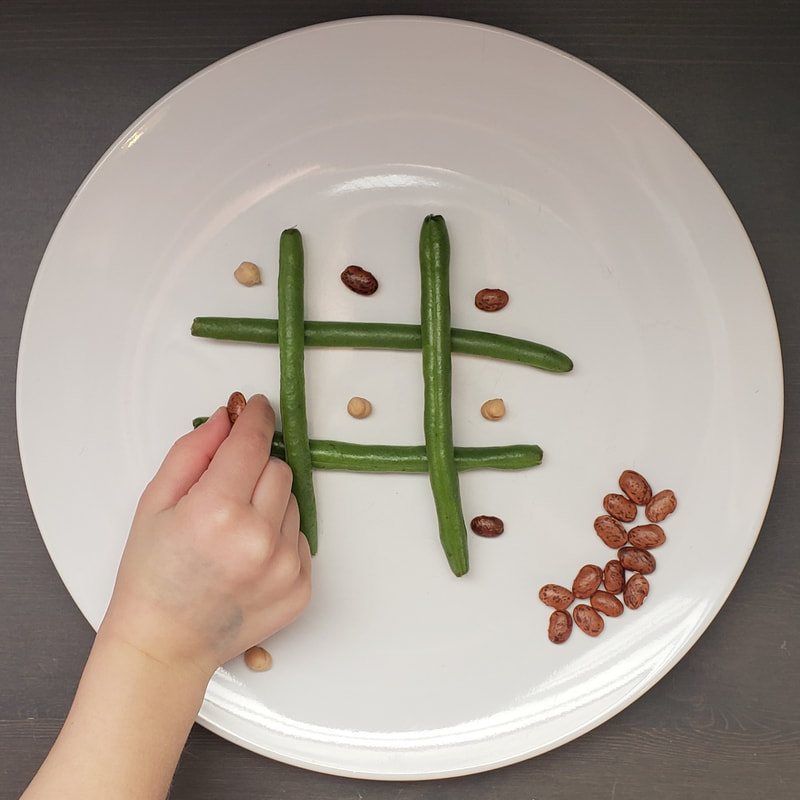
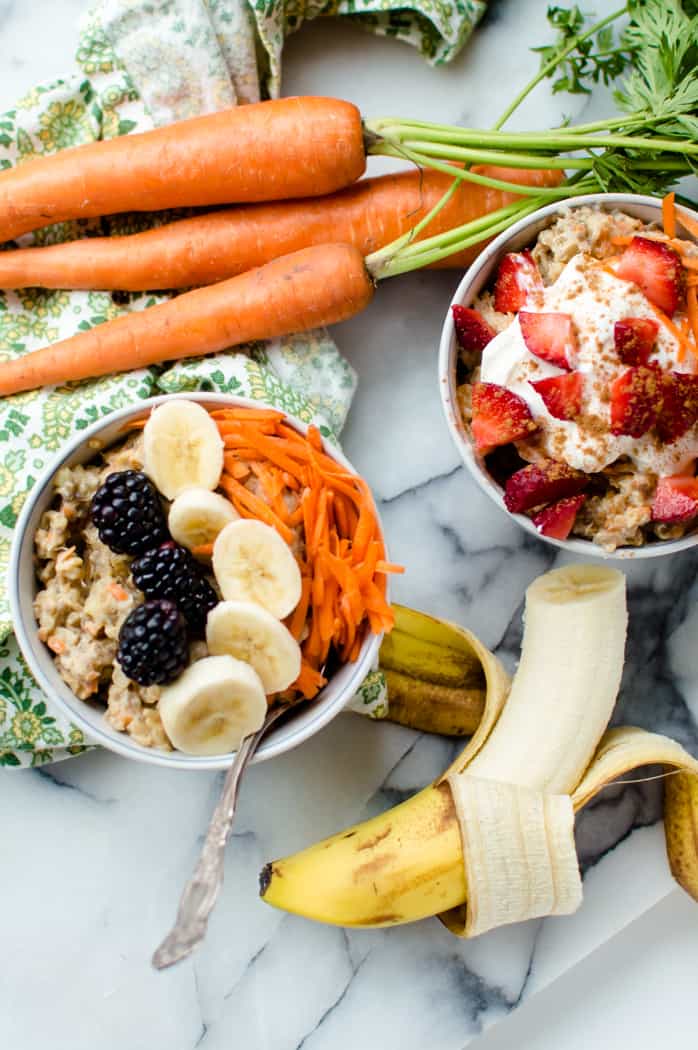
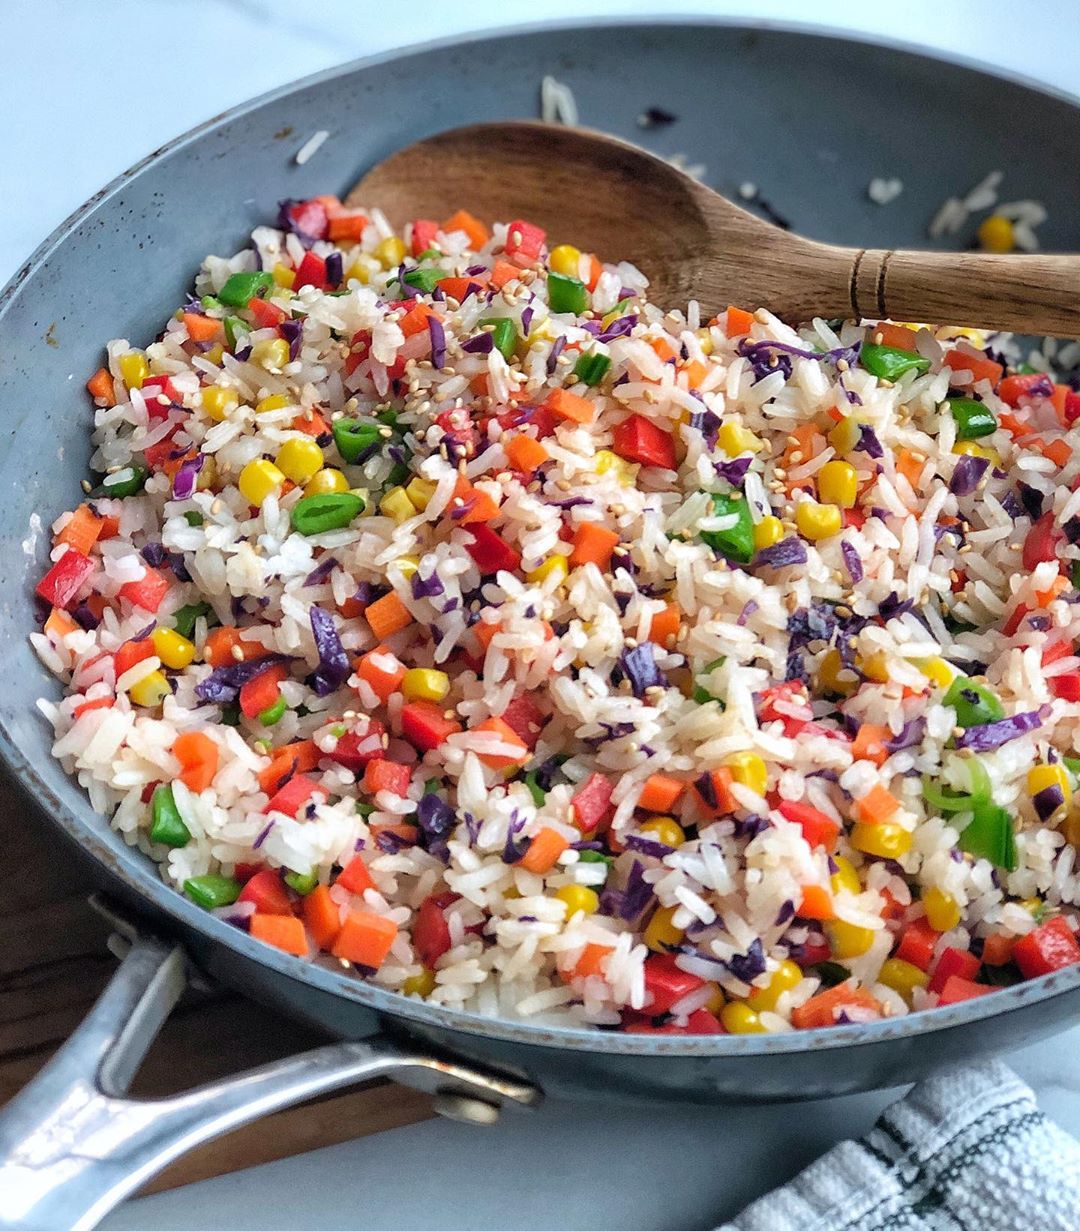
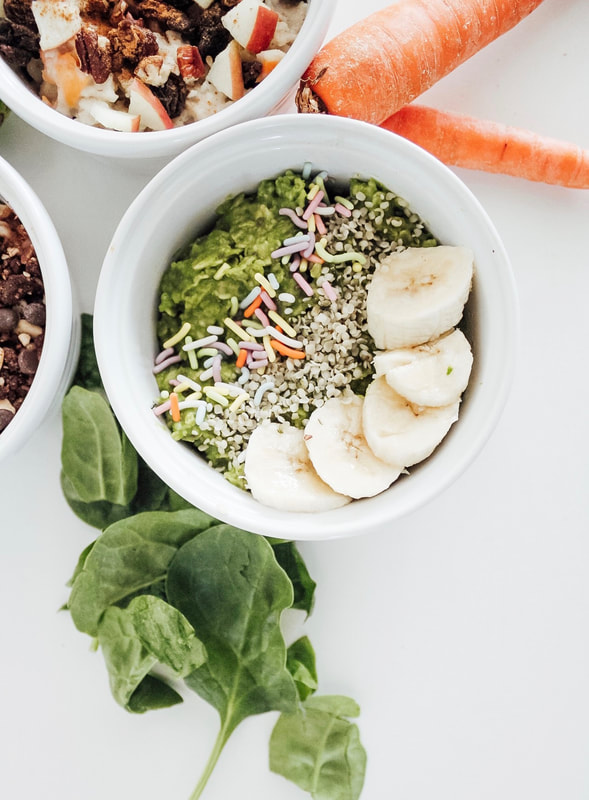
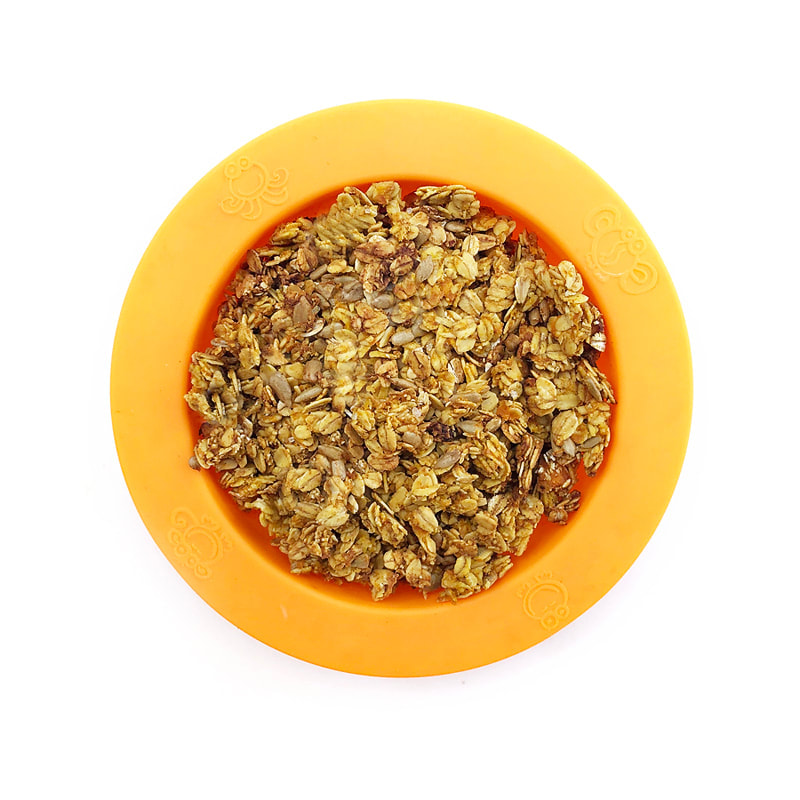
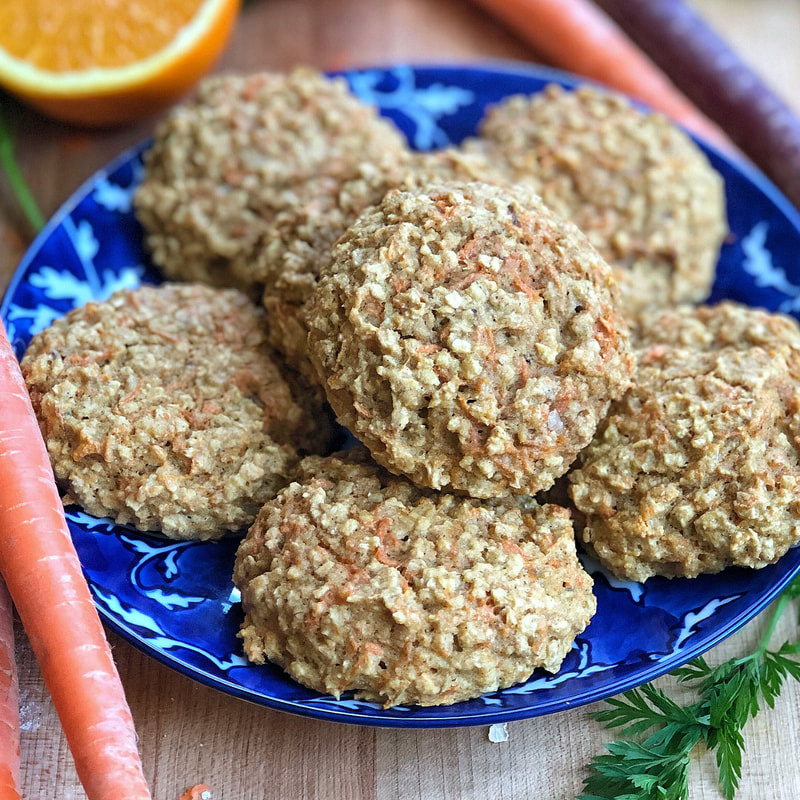
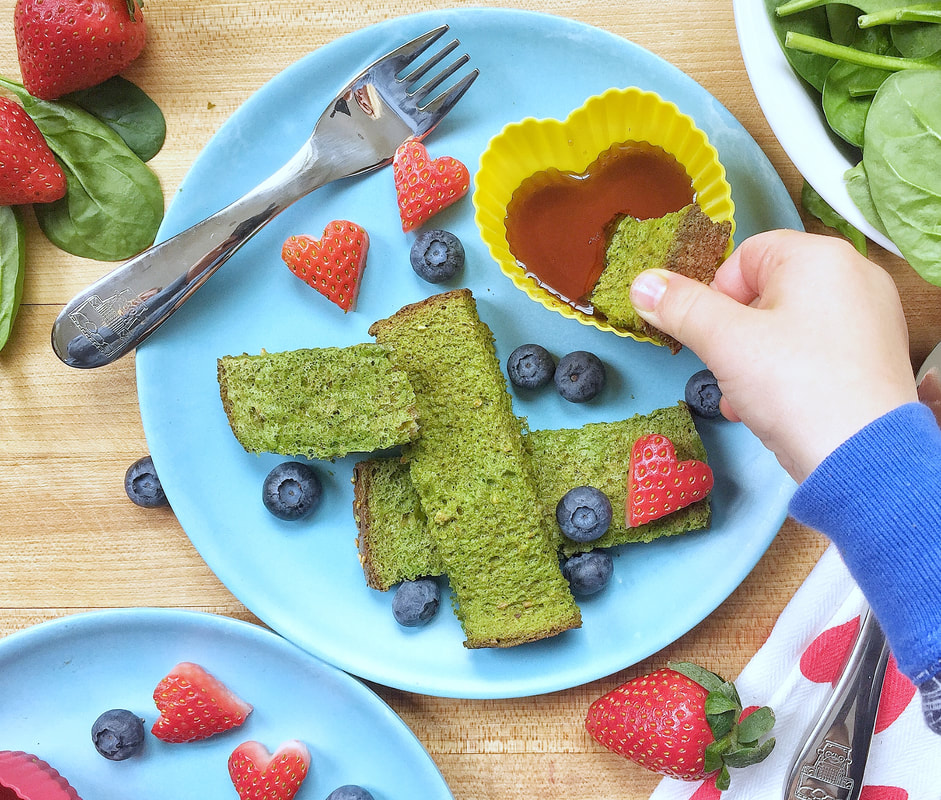
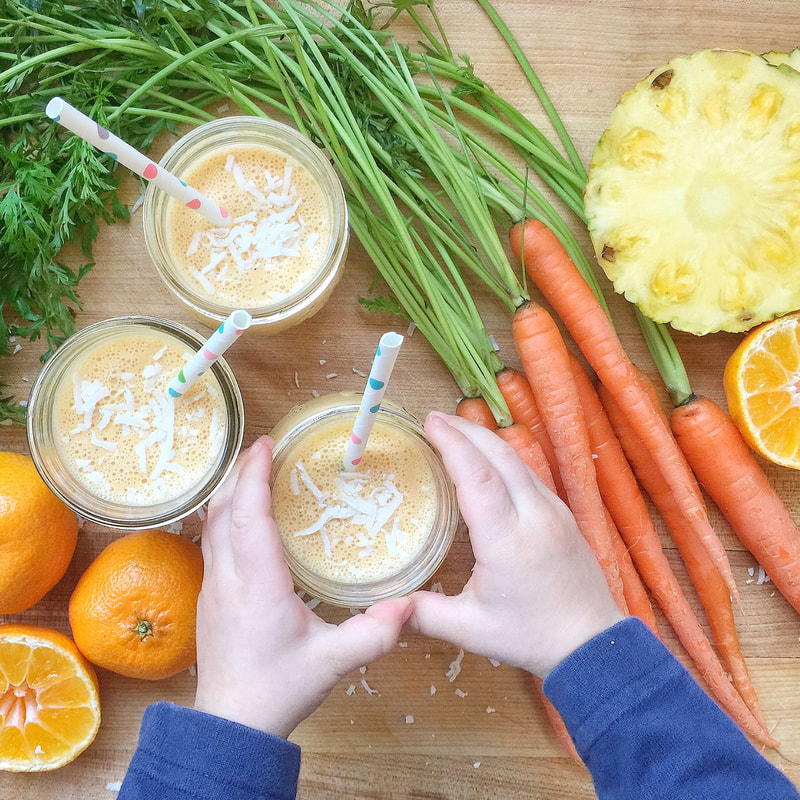
Monica Irwin, the creator of Veggie Buds Club, recently Skyped with Twin Cities Live to discuss 4 simple snacktivities (1-2 ingredients!) that are guaranteed to keep your kids entertained and well-nourished. A snacktivity is simply a snack and activity combination, they are all guaranteed to make veggies fun for your kids! Carrot Tower: Slice 1-2 carrots into “coin” shapes. Place them on a plate with some of your child’s favorite dip (i.e. nut/seed butter, ranch, or hummus). Encourage your child to stack the carrot “coins” as high as they can to make a Carrot Tower while they snack on carrots and dip at the same time. They can also use the dip as “glue” to help hold the tower together! Bean Tic Tac Toe: Create a “Tic Tac Toe” board with 4 green beans. Use any type of veggie, snack food, or dry beans for the “X’s” and “O’s” and play Bean Tic Tac Toe with your child! Place some extra green beans on the side and encourage your child to snack on these while you play. Peas & Cheese Necklace: Twist 2 pipe cleaners together. Place a plate of sugar snap peas and cubed cheese in front of your child and have them poke them on the pipe cleaners to make a “Peas & Cheese Necklace”. Have fun with patterns and counting as you do this activity with your child. They can eat their necklace when complete! Popcorn Garland: Pop some popcorn, preferably unsalted and unbuttered. Prepare a needle and thread for your child (you know your child best, only have them do this activity if you’re comfortable letting them use a real needle!). Have them poke popcorn on the needle and create a garland while snacking on popcorn at the same time. Check out our shop for products that teach kids to learn to love veggies! This includes veggie activity boxes, kid-safe knives, interactive placemats, and more. 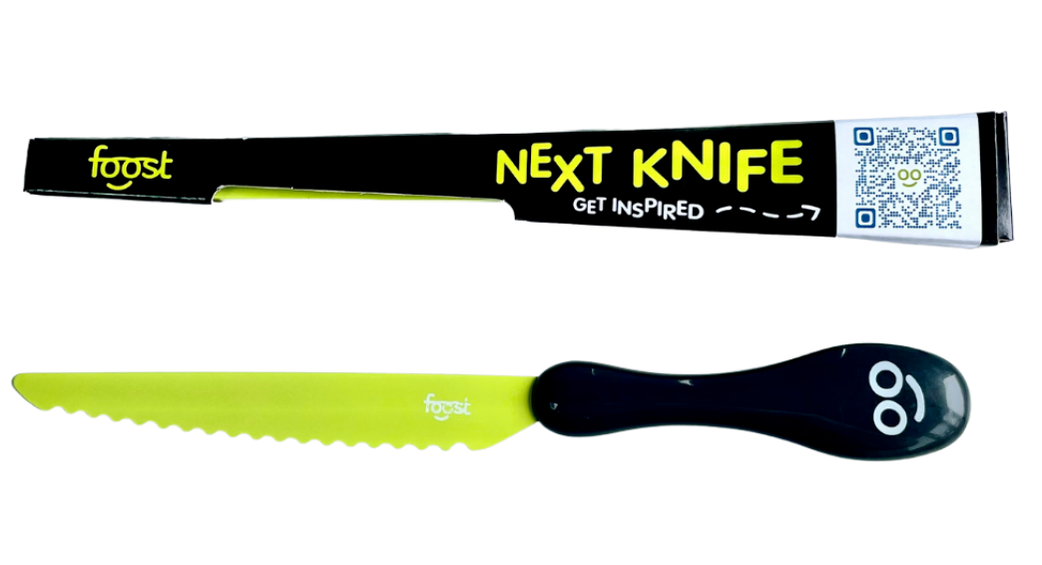 Breakfast is an important meal that gives you energy to get the day started. But often a major food group is missing from your breakfast plate or bowl... veggies! We have compiled some of our favorite veggie-packed breakfasts into 3 categories: Savory, Baked Goods, and Smoothies. Each recipe below includes veggies, is delicious, and is simple to make! 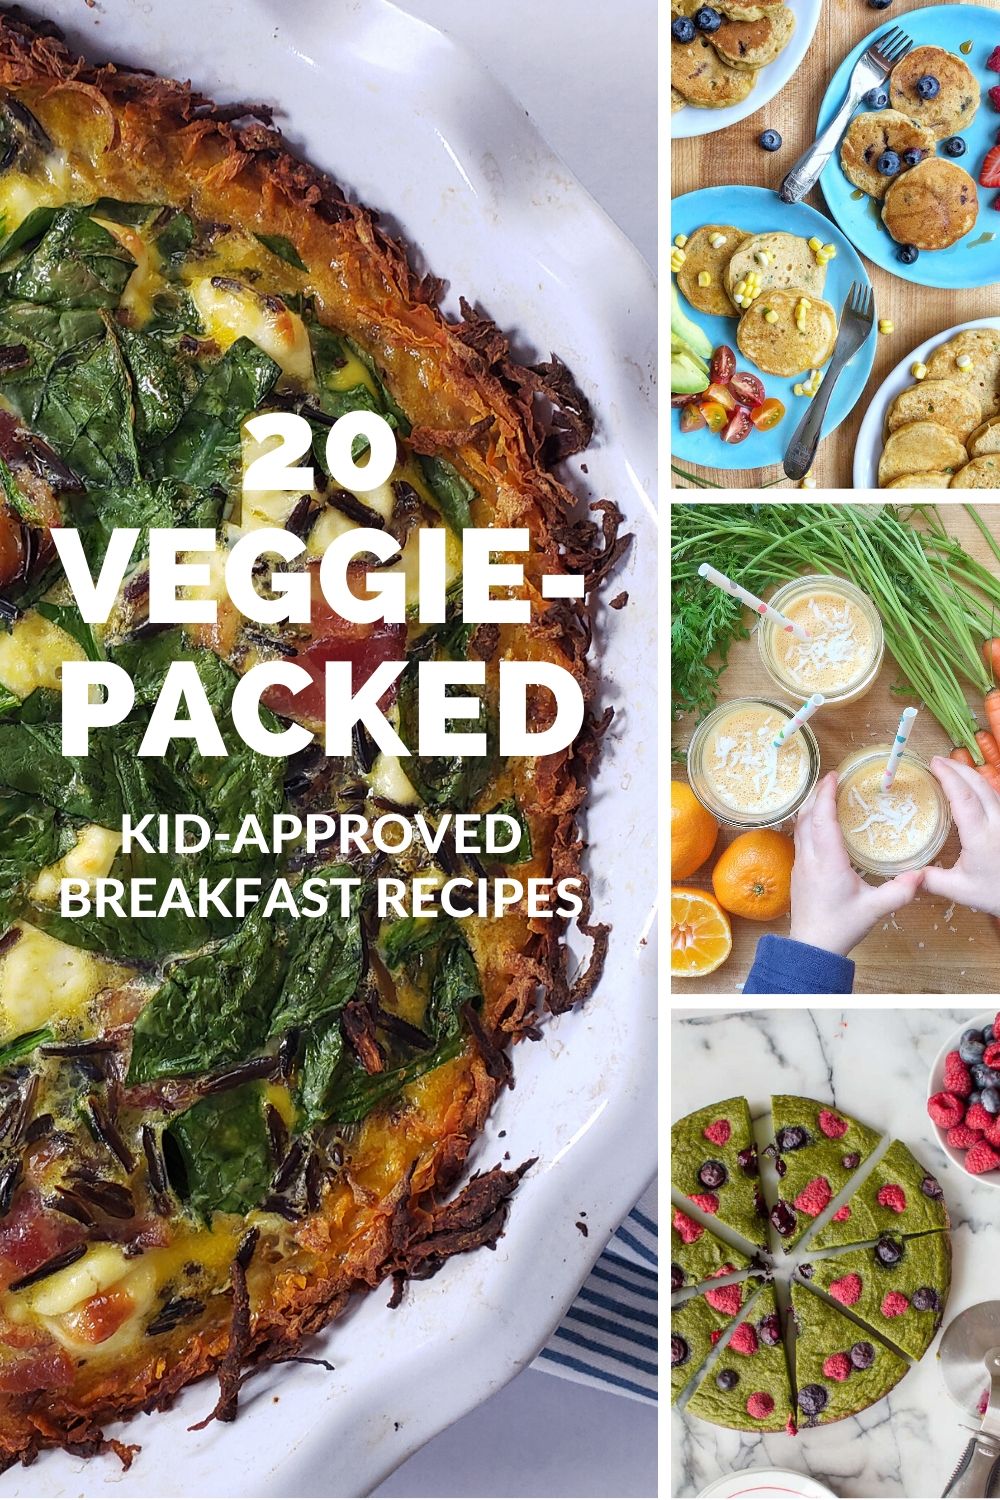 Savory Veggie-Packed Breakfast IdeasSweet Potato Quiche: This tasty quiche is packed with veggies and bacon (optional) and swaps the standard crust with shredded sweet potato instead for an extra veggie boost. Savory Corn Pancakes: These savory pancakes are great with avocado or spread with a little cream cheese and made into sandwiches. Yum! Sweet Potato Toasts: These sweet potato toasts are so versatile because they are delicious both sweet and savory. That’s what makes them the perfect toast substitute! Rainbow Fried Rice: This rainbow fried rice from Happy Kids Kitchen is colorful, easy, healthy, and delicious for breakfast! Vegetable Frittata: Healthy Little Foodies has a great kid-approved and veggie-packed frittata recipe, make it ahead and reheat in the morning. Cheesy Cauliflower Egg Muffins: Be sure to let your kiddos know that their yummy egg muffins have some "hidden" cauliflower inside! 5-Ingredient Bacon & Broccoli Egg Cups: These are a great grab-and-go breakfast option from The Natural Nurturer. Carrot Banana Protein Oatmeal: This oatmeal from The Natural Nurturer is full of nothing but the good stuff and is super easy to make! Veggie Oatmeal: Happy Healthy Casa has some great options for veggie-packed oatmeal including how to incorporate zucchini, carrots, cauliflower, squash, sweet potato, and spinach! Veggie-Packed Breakfast Baked GoodsCarrot Cake Muffin Tops: The top of the muffin is the best part, right? These wholesome treats are a combination of a tender muffin and an oatmeal breakfast cookie. One-Bowl Sweet Potato Pancakes: These pancakes from are a great way to add some extra nutrients into your morning! No-Bake Pumpkin Energy Balls: These no-bake pumpkin energy balls from are tasty, and they freeze well so they're a perfect on-the-go breakfast or snack for your kiddos. Green French Toast Sticks: Enjoy this delicious kid-friendly way to "sneak" in some spinach! Little chefs will know that greens are in this fun breakfast, but they sure won't be able to taste them. Outrageous Orange Granola: This granola is packed with pumpkin, sweet potato, and carrots- so much orange veggie goodness! Sweet Spinach Muffins: These kid-favorite muffins from Super Healthy Kids are 100% whole wheat, refined-sugar-free, and packed with fresh spinach! Banana Spinach Pancake Pizza: This pancake pizza from The Natural Nurturer is a perfectly delicious way to serve up veggies for breakfast! Sweetened entirely with fruit and loaded with spinach. Veggie-Packed Breakfast SmoothiesTropical Carrot Smoothie: Your kids are sure to love this tropical vacation in a glass! Kids will love measuring and adding ingredients to the blender, helping to chop the carrot, and pressing the buttons on the blender. Spinach Superhero Smoothie: This recipe is called "superhero smoothie" because just as superheroes in stories fight crime, the spinach in this smoothie helps fight off illness! Ants on a Log Smoothie: Adding celery to a smoothie with the addition of peanut butter in a tasty protein-and-veggie packed breakfast! Vitamin C Immune Boosting Smoothie: This smoothie from The Natural Nurturer is made with strawberry, banana, red bell pepper and is the perfect way to start your day! Cauliflower Strawberry Banana Smoothie: Just 4 ingredients! Enjoy this simple and delicious smoothie from Live Eat Learn. Check out our shop for products that teach kids to learn to love veggies! This includes veggie activity boxes, kid-safe knives, interactive placemats, and more.
Kids love sweet corn but sometimes a whole corn on the cob can be difficult to eat. Try slicing the cobs into smaller rounds and transforming them into sunflowers! The cobs are smaller so they're easier to eat and the sunflower "food art" becomes a special treat.
This recipe was developed by Eat Pretty Darling for Veggie Buds Club. "Learn to Love Veggies" Tip
Transforming veggies into food art is a very effective way to get children interested in trying them! These "Corn Sunflowers" are so simple to make that your children can make them with little assistance.
 Corn Sunflowers
Kids love sweet corn but sometimes a whole corn on the cob can be difficult to eat. Try slicing the cobs into smaller rounds and transforming them into sunflowers! The cobs are smaller so they're easier to eat and the sunflower "food art" becomes a special treat.
Ingredients
Instructions
Check out our shop for products that teach kids to learn to love veggies! This includes veggie activity boxes, kid-safe knives, interactive placemats, and more.
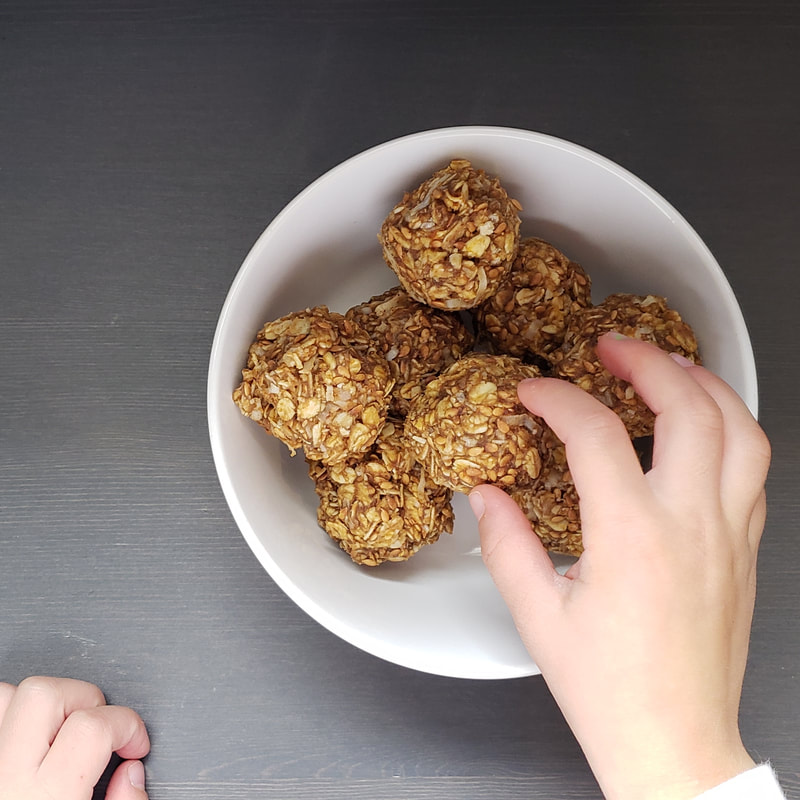
You are sure to enjoy this simple and all-natural caramel popcorn! Popped in coconut oil and sweetened with maple syrup and a little bit of vanilla, it's the perfect afternoon snack or popcorn treat for your next movie night.
"Learn to Love Veggies" Tip
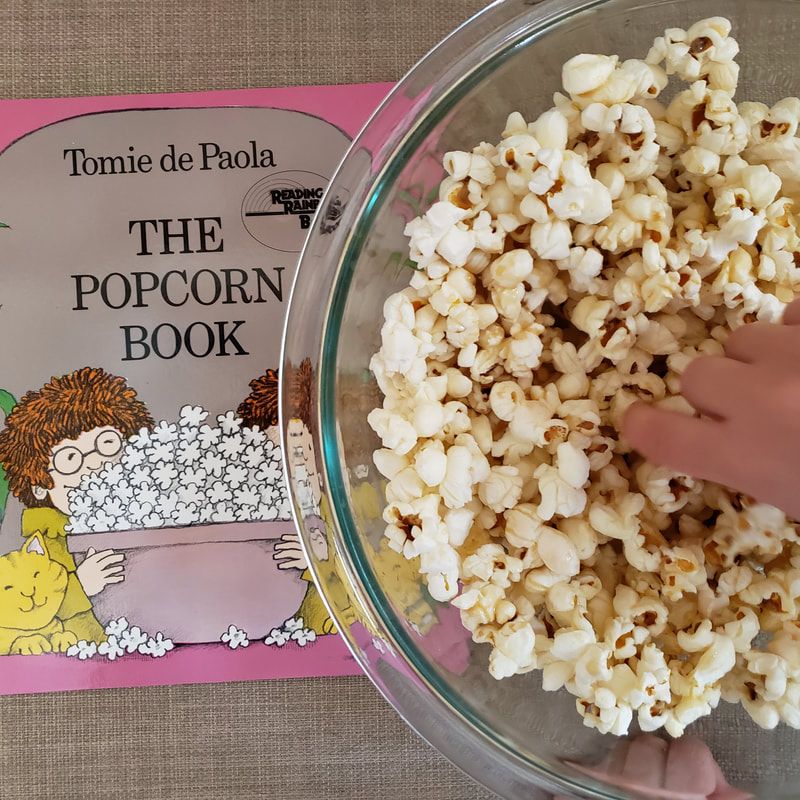
Read the classic children's book, "The Popcorn Book" by Tomie dePaola while enjoying this sweet popcorn snack!
More about this book: Tony likes to cook. Tiny likes to read. But both twins like to eat . . . POPCORN! So while Tony cooks it, Tiny reads about what popcorn is, how it's stored, how it's cooked, how different Native American people made it, how much popcorn Americans eat, popcorn stories and legends, and popcorn recipes.  Clean Caramel Corn
Popped in coconut oil and sweetened with maple syrup and a little bit of vanilla, this Clean Caramel Corn is the perfect afternoon snack or popcorn treat for your next movie night!
Ingredients
Instructions
Check out our shop for products that teach kids to learn to love veggies! This includes veggie activity boxes, kid-safe knives, interactive placemats, and more.

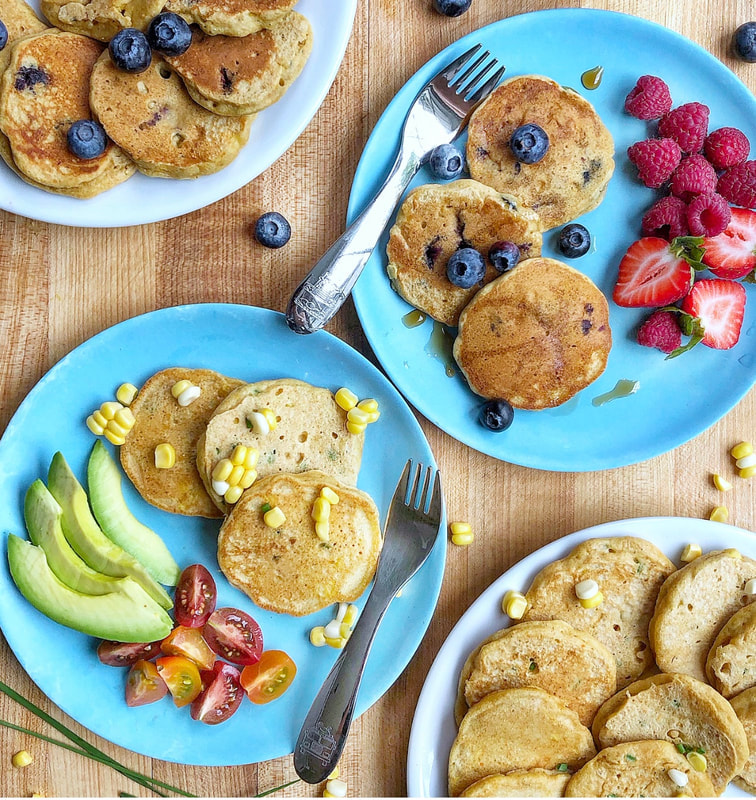
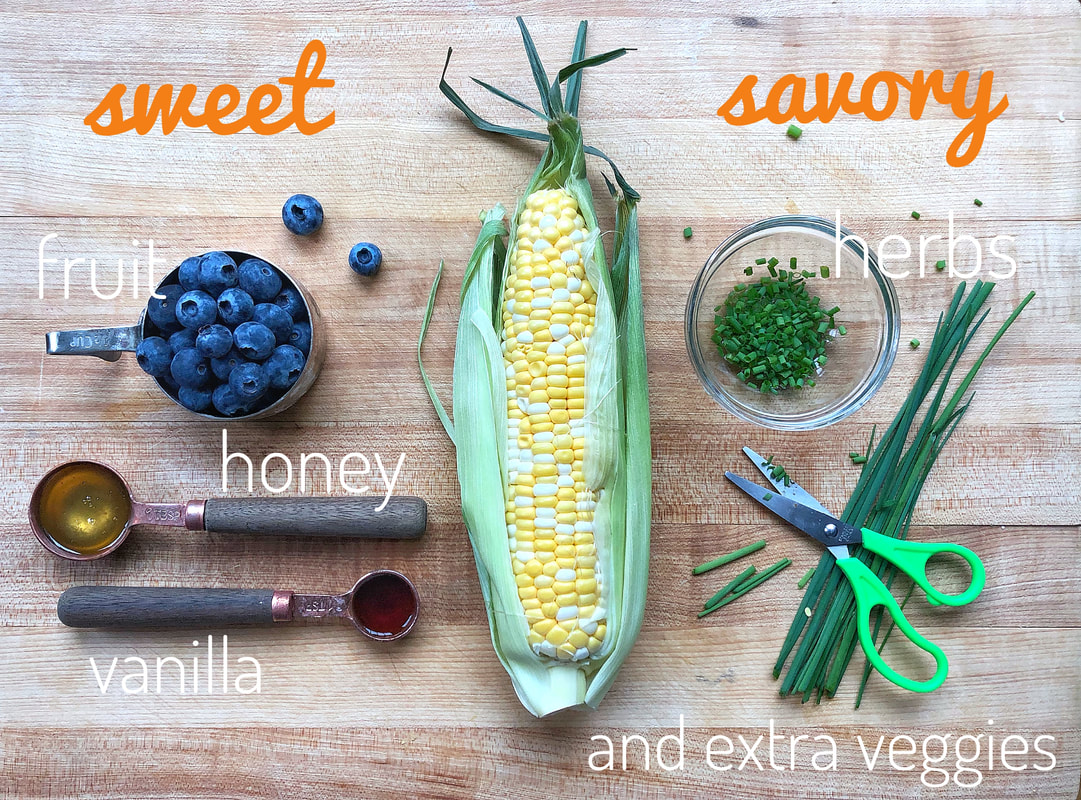
Are you on Team Sweet or Team Savory?!
Take pancakes beyond breakfast and serve them as a snack or a side dish at lunch or dinner. You can mix up the base pancake batter and really add in anything you'd like. For the sweet pancakes, add in fruit, like blueberries or diced strawberries. For a savory pancake, keep the batter as written or add soft herbs like chives or chopped cilantro. You could even add in extra veggies like shredded zucchini or diced bell peppers. Serve sweet pancakes as is or with a drizzle of maple syrup or honey. The savory pancakes are great with avocado or spread with a little cream cheese and made into sandwiches. Try both recipes and come tell us whether you are on team sweet or on team savory! "Learn to Love Veggies" Tip
Fresh corn is so versatile so be sure to have your children try it in a variety of ways! It is delicious in cornbread, corn muffins, corn soups, and corn salads, so why not make a kid favorite, pancakes, and try them out in both sweet and savory ways?!
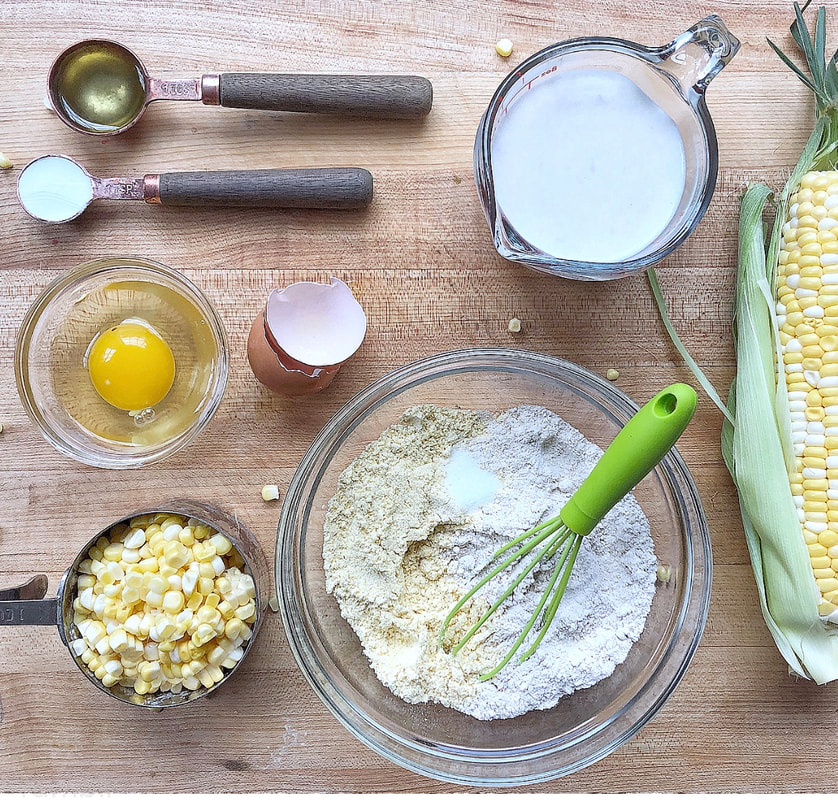
 Sweet or Savory Corn Pancakes
Are you on Team Sweet or Team Savory?! Take pancakes beyond breakfast and serve them as a snack or a side dish at lunch or dinner.
Ingredients
Corn Pancakes
Sweet
Savory (optional)
Instructions

Check out our shop for products that teach kids to learn to love veggies! This includes veggie activity boxes, kid-safe knives, interactive placemats, and more.
Scoop up this fresh salsa with your favorite chips, serve on top of simply cooked chicken or fish, or pile on top of a green salad. Feel free to add whatever produce you have on hand: fresh herbs like cilantro or basil would be delicious. Bell or spicy peppers would also be a great addition. Click here for our Simple Roasted Corn recipe or substitute canned sweet corn in this recipe instead.
This recipe was developed by Happy Kids Kitchen for Veggie Buds Club. "Learn to Love Veggies" Tip
Watermelon is a great fruit for children to practice their knife skills on because it's very "soft". Have them dice the watermelon using a kid-safe knife or butter knife then mix all of the other ingredients together for this sweet and savory dip.
 Roasted Corn and Watermelon Salsa
Scoop up this fresh salsa with your favorite chips, serve on top of simply cooked chicken or fish, or pile on top of a green salad. Feel free to add whatever produce you have on hand: fresh herbs like cilantro or basil would be delicious. Bell or spicy peppers would also be a great addition.
Ingredients
Instructions
Check out our shop for products that teach kids to learn to love veggies! This includes veggie activity boxes, kid-safe knives, interactive placemats, and more.
|