|
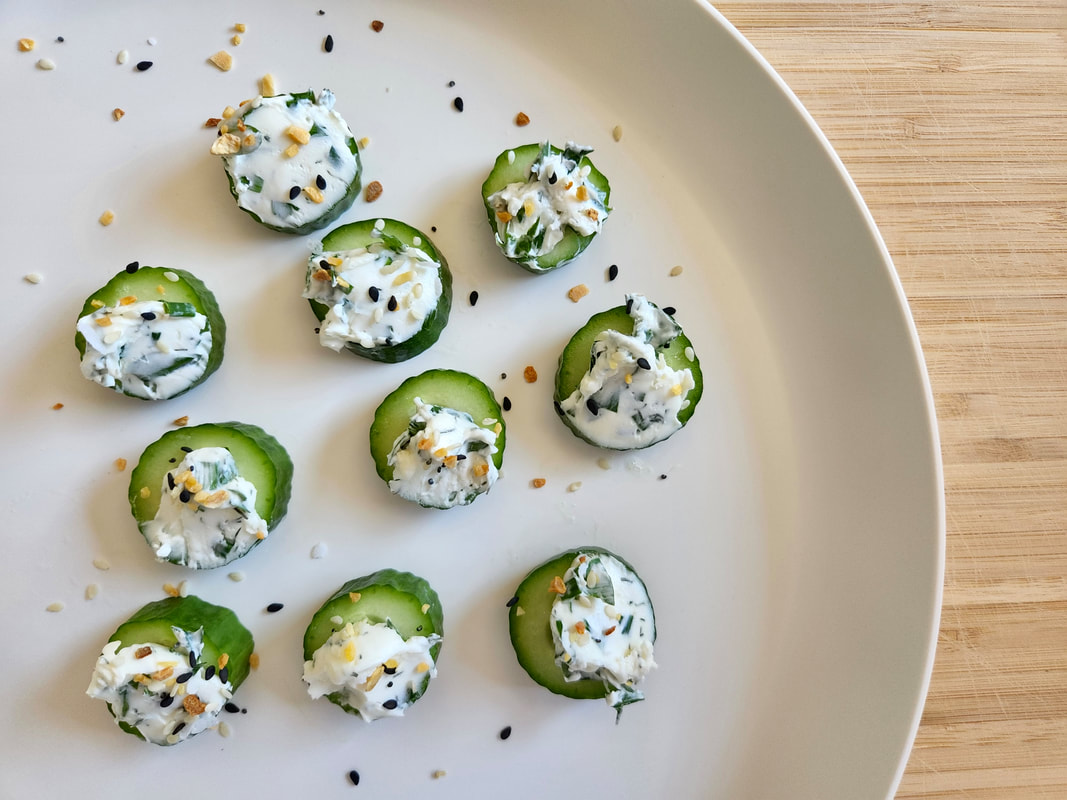
These Cucumber "Bagel" Bites are an absolutely delicious kid-friendly appetizer or snack! Bring them to your next potluck and they are sure to be a hit!
"Learn to Love Veggies" Tip
Have your child help slice a cucumber into "coin" shapes and top with a store bought Veggie Cream Cheese or our delicious Herbed Cream Cheese. Finally, they can sprinkle on the seasoning and voila... it's the perfect bite-sized veggie snack!
 Cucumber "Bagel" Bites
These Cucumber "Bagel" Bites are an absolutely delicious kid-friendly appetizer or snack! Bring them to your next potluck and they are sure to be a hit!
Ingredients
Instructions
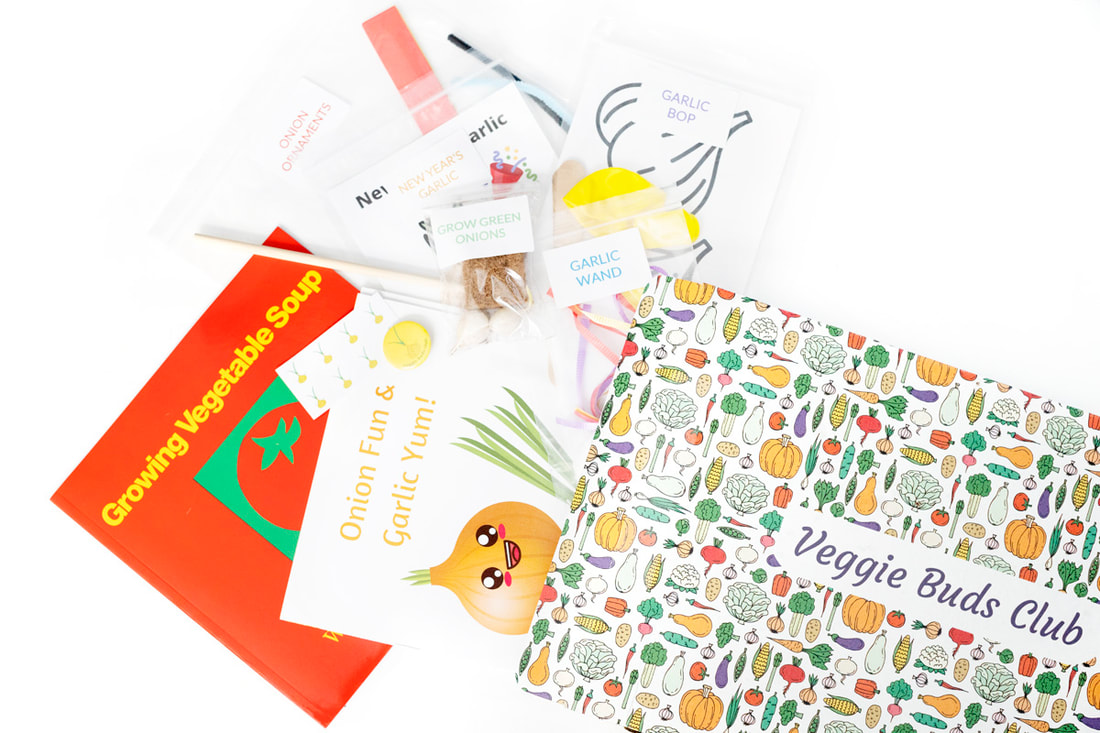
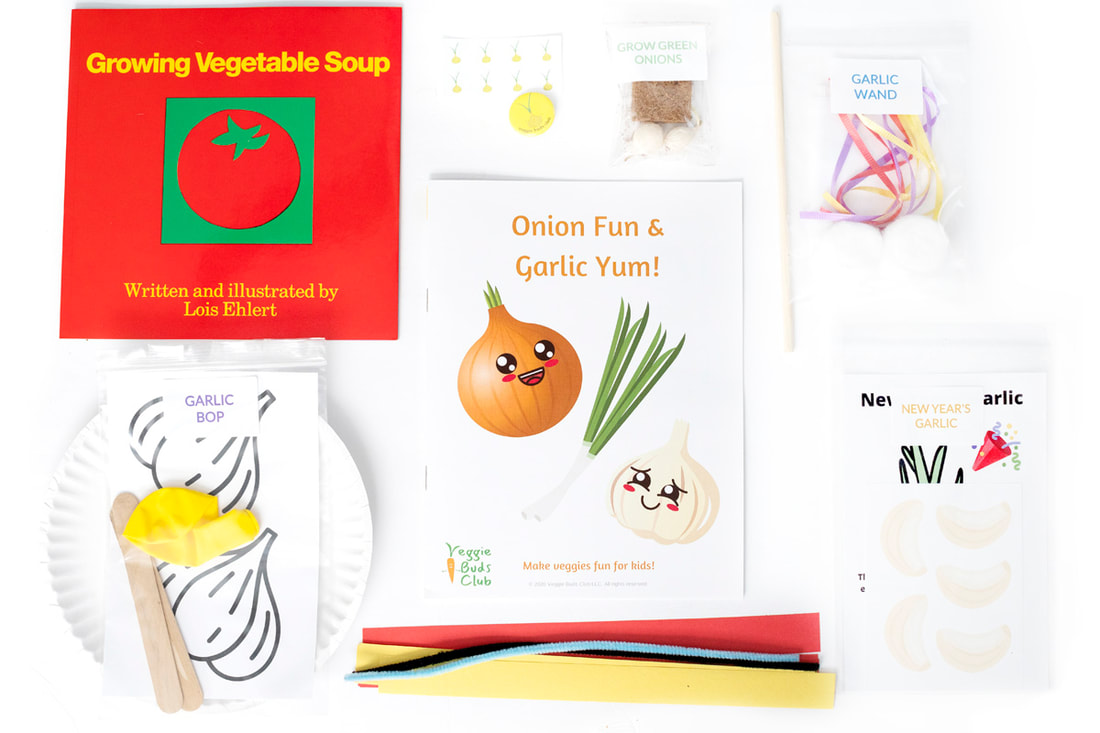
Want to teach your kids to learn to love veggies?! We have a solution! Check out our veggie-packed printable recipe and activity books for children. You can find them over in our Teachers Pay Teachers shop. These popular interactive guides have been downloaded by thousands of parents, teachers, and care takers!
0 Comments
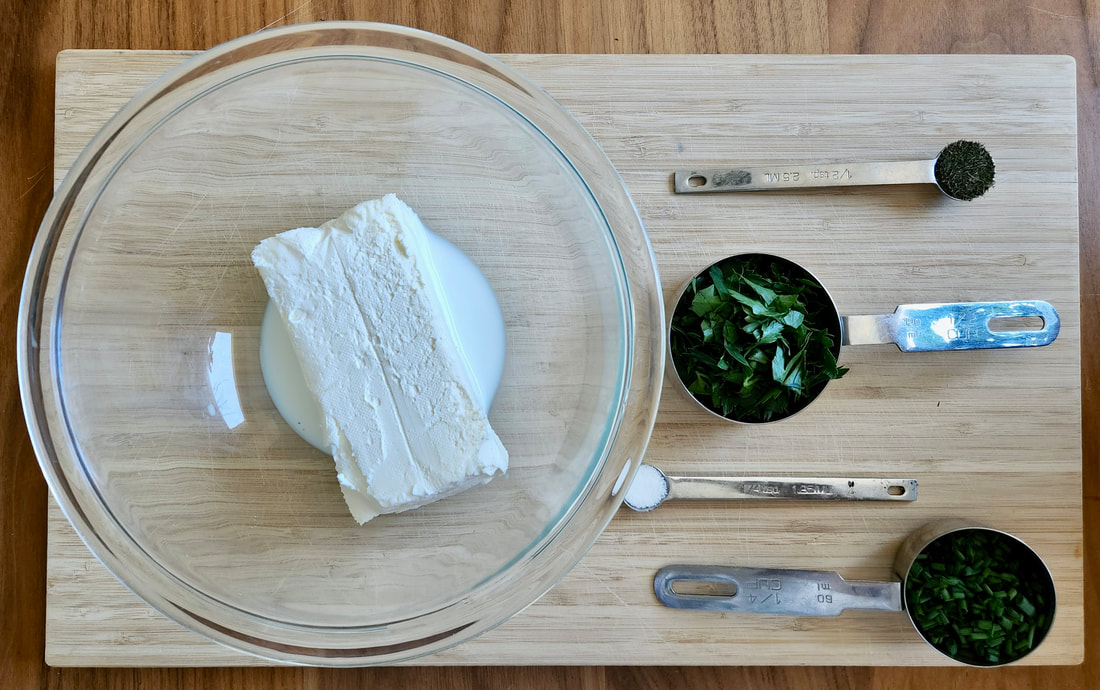
This cream cheese is packed full of fresh flavor with green herbs! You can spread it on bagels or sandwiches, use it as a fresh veggie dip, make these scrumptious and kid-friendly Cucumber "Bagel" Bites, or make these yummy Spinach and Turkey Roll Ups (great for a picnic lunch or potluck!).
"Learn to Love Veggies" Tip
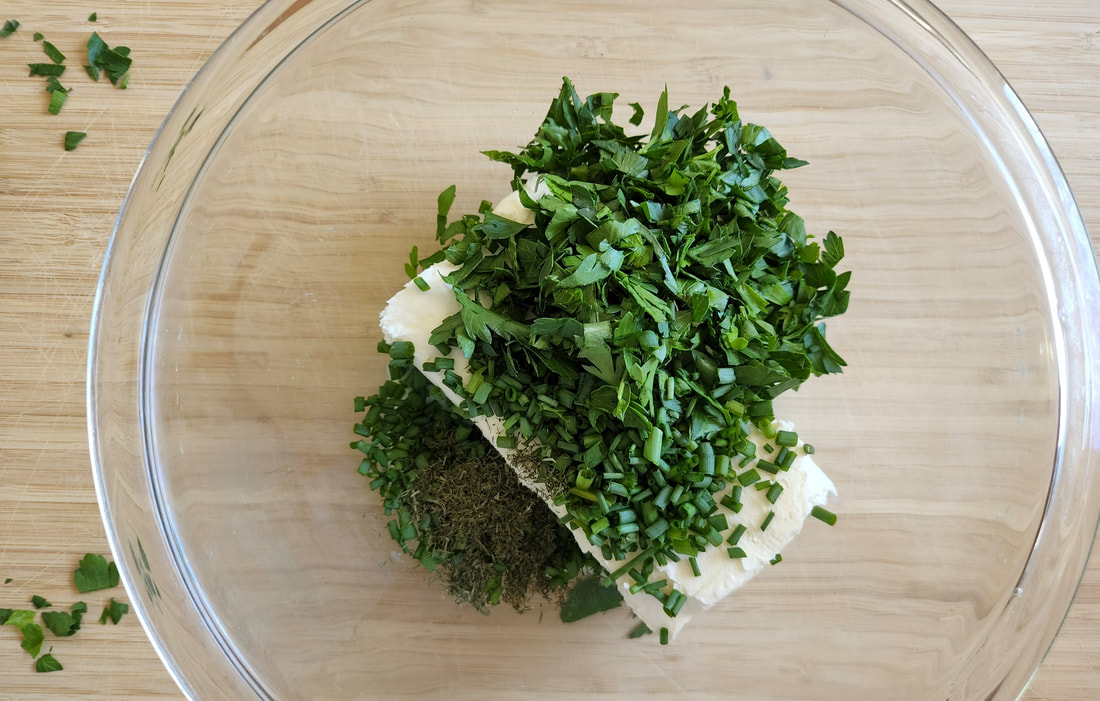
Adding fresh herbs or veggies to cream cheese makes a great veggie-packed dip for those kiddos out there that are dip lovers! And it's so simple to make, be sure to have your kids help with the preparation!
 Simple Herbed Cream Cheese
Prep time: 5 MinCook time: 5 MinTotal time: 10 Min
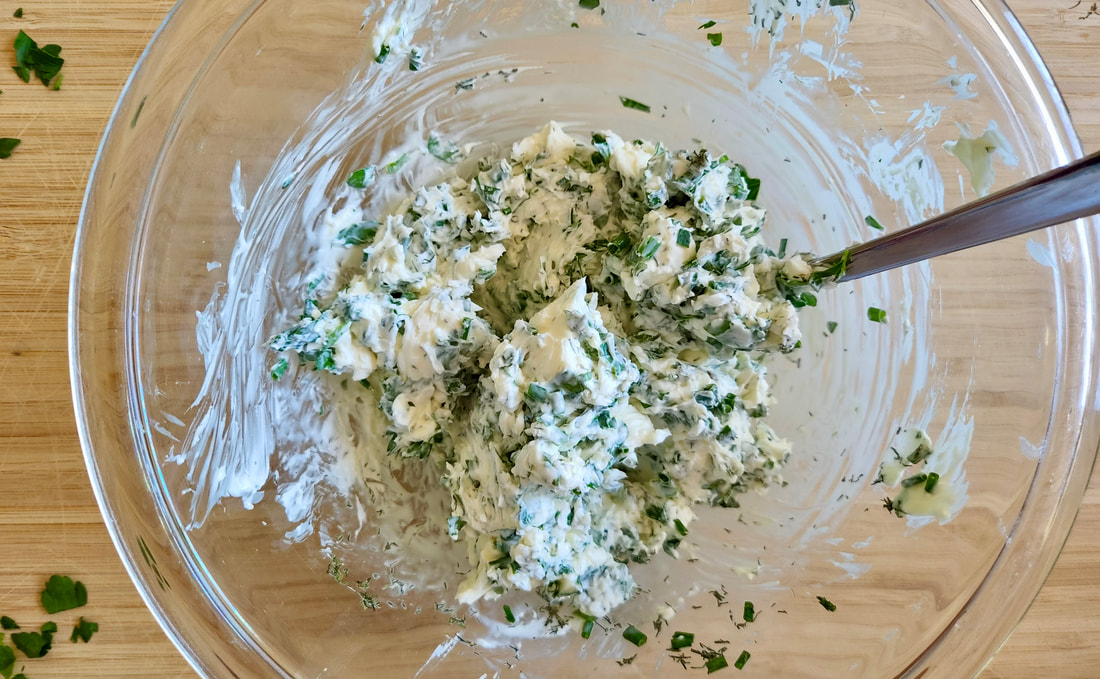
This cream cheese is packed full of fresh flavor with green herbs! You can spread it on bagels or sandwiches, use it as a fresh veggie dip, or top cucumber "coins" for a healthy appetizer.
Ingredients
Instructions
Want to teach your kids to learn to love veggies?! We have a solution! Check out our veggie-packed printable recipe and activity books for children. You can find them over in our Teachers Pay Teachers shop. These popular interactive guides have been downloaded by thousands of parents, teachers, and care takers!
Have you ever roasted corn? Cooking the fresh kernels at a high temperature, intensifies the corn's sweetness and takes corn flavor to a whole new level. The sweet kernels get golden brown and crunchy around the edges, making them reminiscent of popcorn. Roasted corn is great as a side dish, on its own, or combined with other fresh, seasonal produce like in our Roasted Corn and Watermelon Salsa recipe.
This recipe was developed by Happy Kids Kitchen for Veggie Buds Club. "Learn to Love Veggies" Tip
Get your kids in the kitchen to help prepare the corn for the oven. They can help transfer the cut corn to a bowl, drizzle the corn with oil, sprinkle the salt, and spread the corn on the baking sheet. Simple, delicious, and easy... what could be better?!
 Simple Roasted Corn
Prep time: 5 MinCook time: 15 MinTotal time: 20 Min
Roasting fresh corn kernels at a high temperature intensifies the corn's sweetness and takes the corn flavor to a whole new level. The sweet kernels get golden brown and crunchy around the edges, making them reminiscent of popcorn.
Ingredients
Instructions
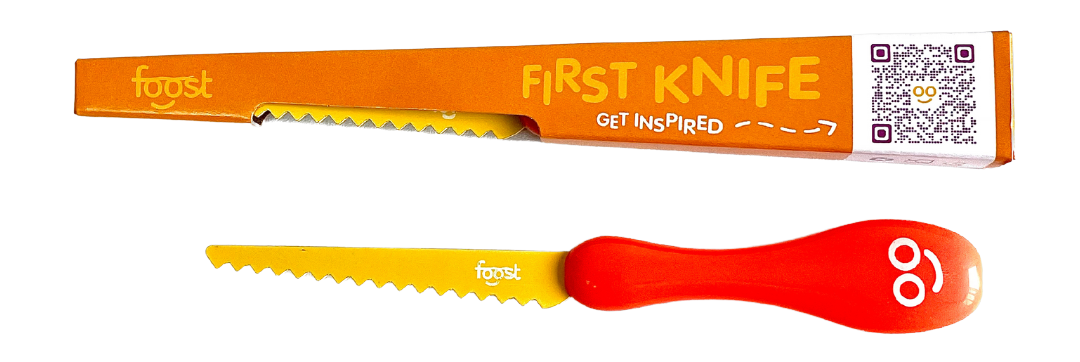
Get cooking with your kids! Purchase our recommended kid-safe knife from our friends at Foost :)
Who knew that broccoli was such a party veggie?! And with a name like "Rockin' Broccoli Salad", this recipe is sure to sound exciting to kids who may not be too keen on salad.
Chef Dawn, from VegeCooking, developed this recipe for Veggie Buds Club. This "Rockin' Broccoli Salad" makes a great side dish for any picnic or gathering and is vegetarian/vegan. "Learn to Love Veggies" Tip
Let your child mix up the salad ingredients and taste the salad before the Creamy Dressing is added. Have your child whisk up the Creamy Dressing and stir it into the salad. Ask them, "How has the sweet dressing changed the flavor of our Rockin' Broccoli Salad?".
 Rockin' Broccoli Salad
Yield: 4-6
Prep time: 10 MinCook time: 4 MinTotal time: 14 Min
Who knew that broccoli was such a party veggie?! This Rockin' Broccoli Salad is a party in your mouth, full of sweet and savory flavors. It makes a great side-dish at any picnic or gathering and is vegetarian/vegan.
Ingredients
Salad
Creamy Dressing
Instructions
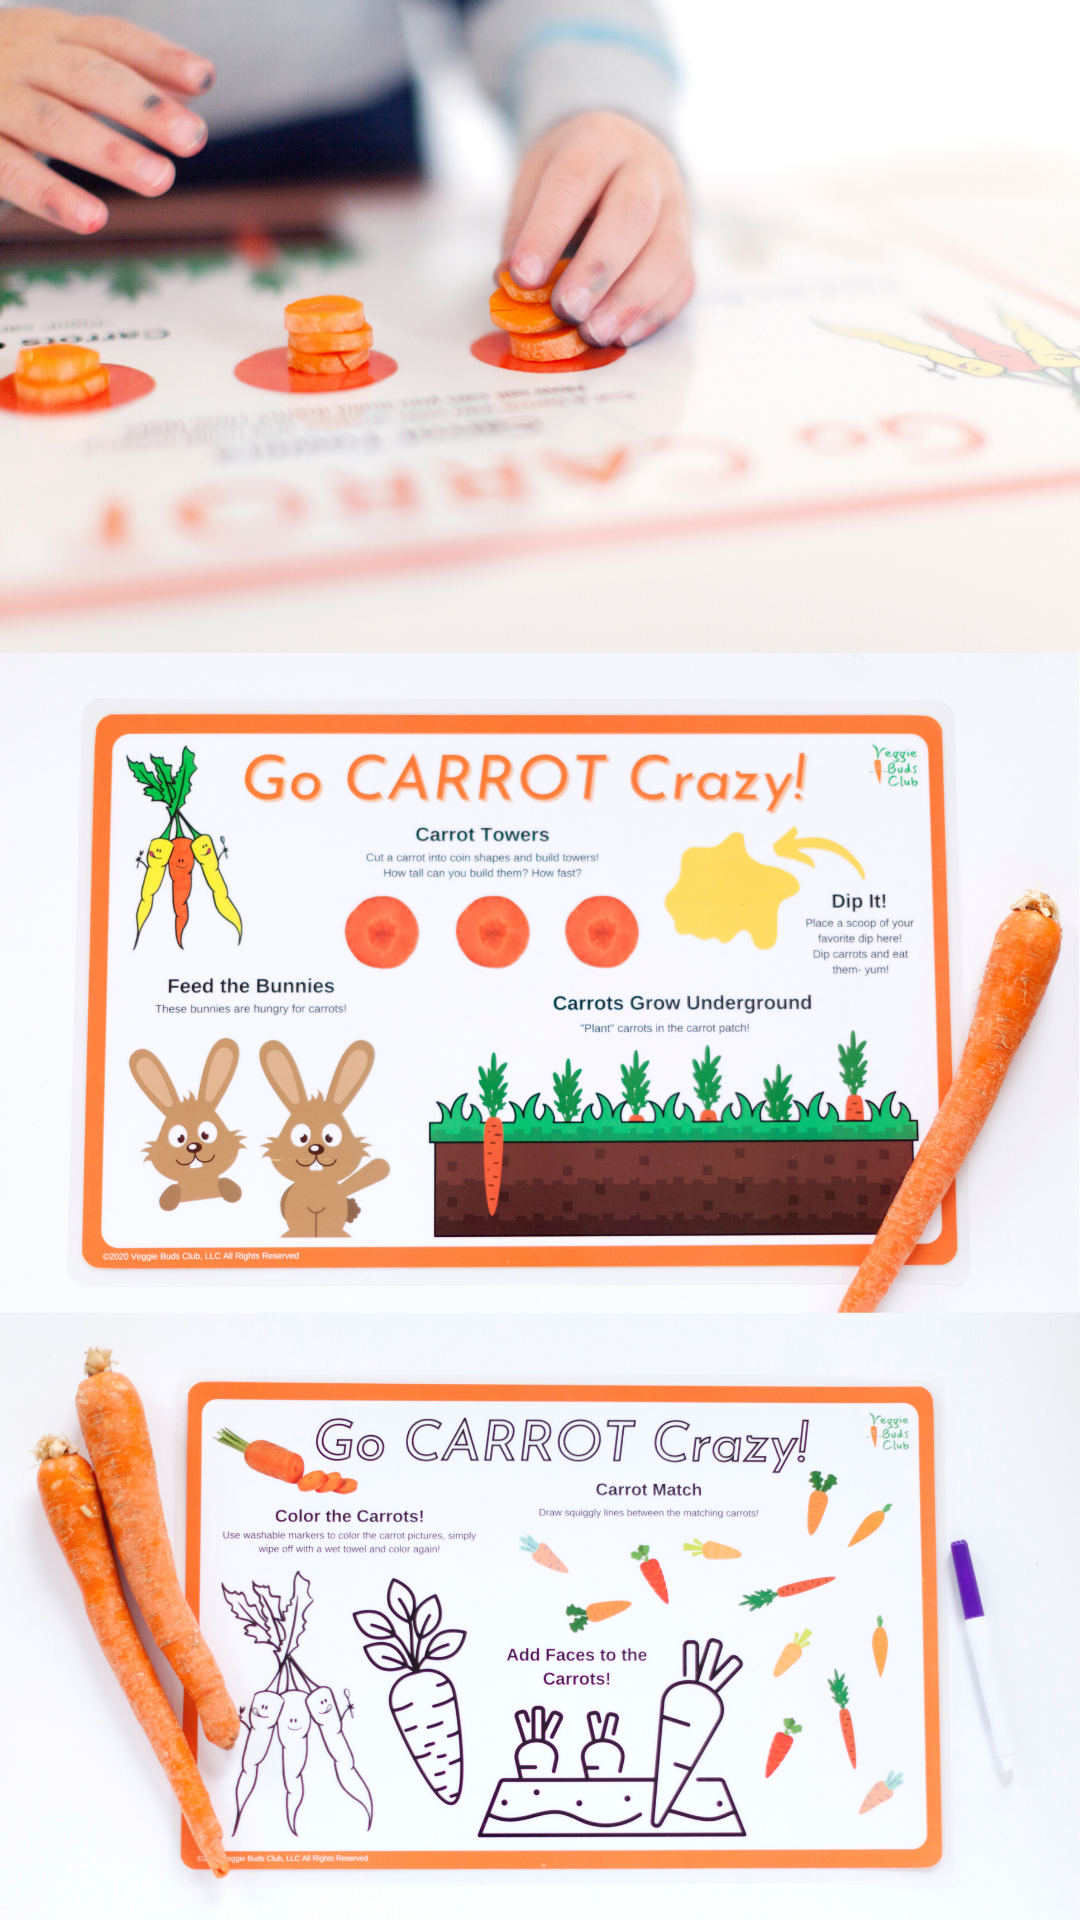
Check out our shop for products that teach kids to learn to love veggies! This includes veggie activity boxes, kid-safe knives, interactive placemats, and more!
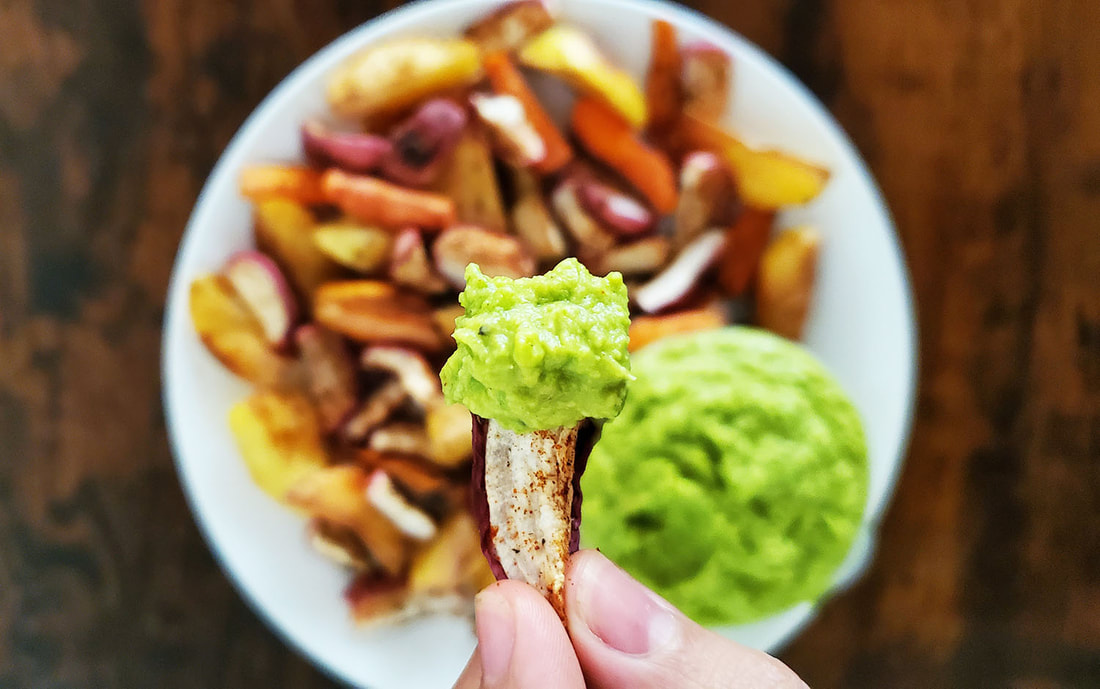
Have you ever tried roasting radishes?! Roasting really brings out the sweet qualities of this sometimes "spicy" veggie. And dip lovers rejoice, these roasted veggies taste delicious dipped in Pea Hummus!
This recipe was developed by Gratefully Vegan for Veggie Buds Club. Please lettuce know if you make it by leaving a comment! "Learn to Love Veggies" Tip
Pairing radishes with some other (possibly more familiar) veggies such as potatoes and carrots is an excellent way to introduce this veggie to kids!
 Roasted Radishes with Pea Hummus
Yield: 4-6
Prep time: 15 MinCook time: 35 MinTotal time: 50 Min
Roasting radishes really brings out the sweet qualities of this sometimes "spicy" veggie. And dip lovers rejoice, these roasted veggies taste delicious dipped in Pea Hummus!
Ingredients
Roasted Radishes
Pea Hummus
Instructions
Roasted Radishes
Pea Hummus
Check out our shop for products that teach kids to learn to love veggies! This includes veggie activity boxes, kid-safe knives, interactive placemats, and more.
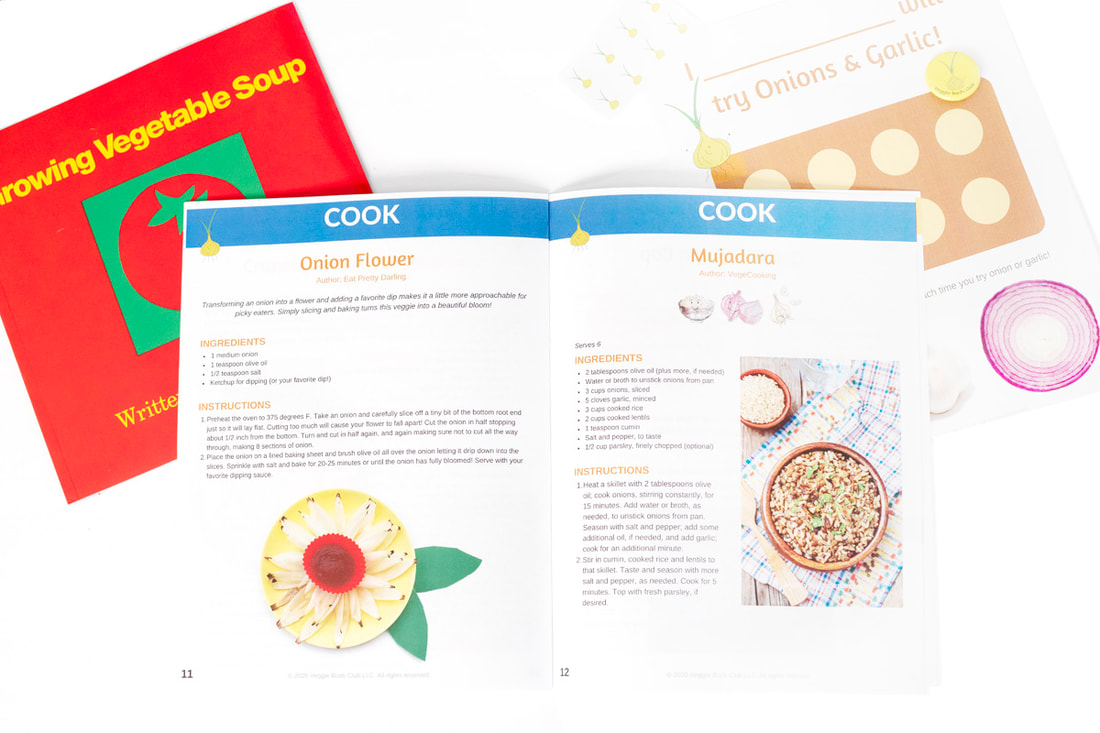
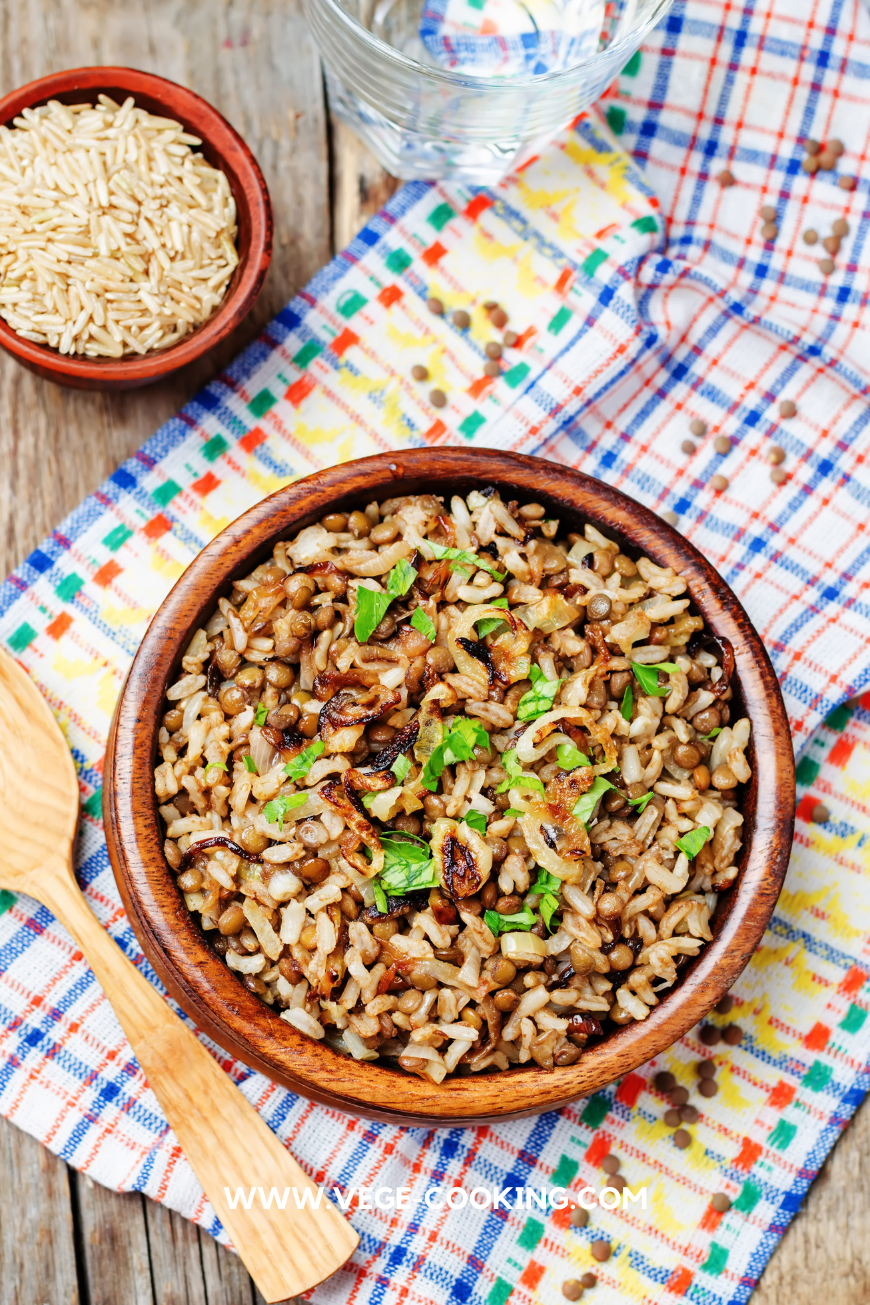
Mujadara is a pilaf featuring lentils, rice, and caramelized onions. This protein-rich combination of rice and lentils is a staple of Middle Eastern cuisine. Chef Dawn from VegeCooking shared this recipe with Veggie Buds Club that features onions and garlic!
"Learn to Love Veggies" Tip
Caramelizing onions really brings out the sweet flavor of this not so kid-friendly veggie. Have you child lick a raw piece of onion, before caramelizing it, and then have them try one caramelized and ask, "How has the flavor changed?" Really emphasize how awesome it is that a "spicy" onion can be transformed into such a sweet treat!
 Mujadara
Yield: 6
Prep time: 10 MinCook time: 20 MinTotal time: 30 Min
Mujadara is a pilaf featuring lentils, rice, and caramelized onions. This protein-rich combination of rice and lentils is a staple of Middle Eastern cuisine.
Ingredients
Instructions
Check out our shop for products that teach kids to learn to love veggies! This includes veggie activity boxes, kid-safe knives, interactive placemats, and more.
What kid doesn't love garlic bread?! These tasty Garlic Knots are a very kid-friendly way to help your kids get acquainted with garlic.
This recipe was developed byEat Pretty Darling for Veggie Buds Club. "Learn to Love Veggies" Tip
Get your kids in the kitchen! Kids love to bake and this recipe allows them to mix up all of the ingredients with their hands (in the biggest bowl you have... spills will happen!). Finally, they can help twist up the garlic knots! The knots don't have to look perfect, have fun with this recipe and let your kids take the lead.
 Garlic Knots
Yield: 8
Prep time: 5 MinCook time: 20 MinTotal time: 25 Min
Fresh, warm garlic bread can't be beat! Enjoy these tasty Garlic Knots with your favorite pasta, soup, or as a side dish to a variety of meals.
Ingredients
Instructions
Check out our shop for products that teach kids to learn to love veggies! This includes veggie activity boxes, kid-safe knives, interactive placemats, and more.
This rice dish that tastes just like pizza, a kid favorite! Your child can help chop the tomatoes and mash and stir them over the stove (if you're comfortable with this step). Finally, they can top the tomato-rice mixture with shredded cheese and then enjoy the final tasty dish!
"Learn to Love Veggies" Tip
Here is a great opportunity to talk with your child about all of the great condiments that tomatoes can be found in such as ketchup, pasta sauce, and pizza sauce! Having them help out with this recipe will make it so that they are more likely to try it and not be alarmed that tomatoes, a.k.a the "pizza sauce veggie", are in this dish.
 Pizza Rice
Yield: 4-6
This rice dish that tastes just like pizza, a kid favorite!
Ingredients
Instructions
Check out our shop for products that teach kids to learn to love veggies! This includes veggie activity boxes, kid-safe knives, interactive placemats, and more!
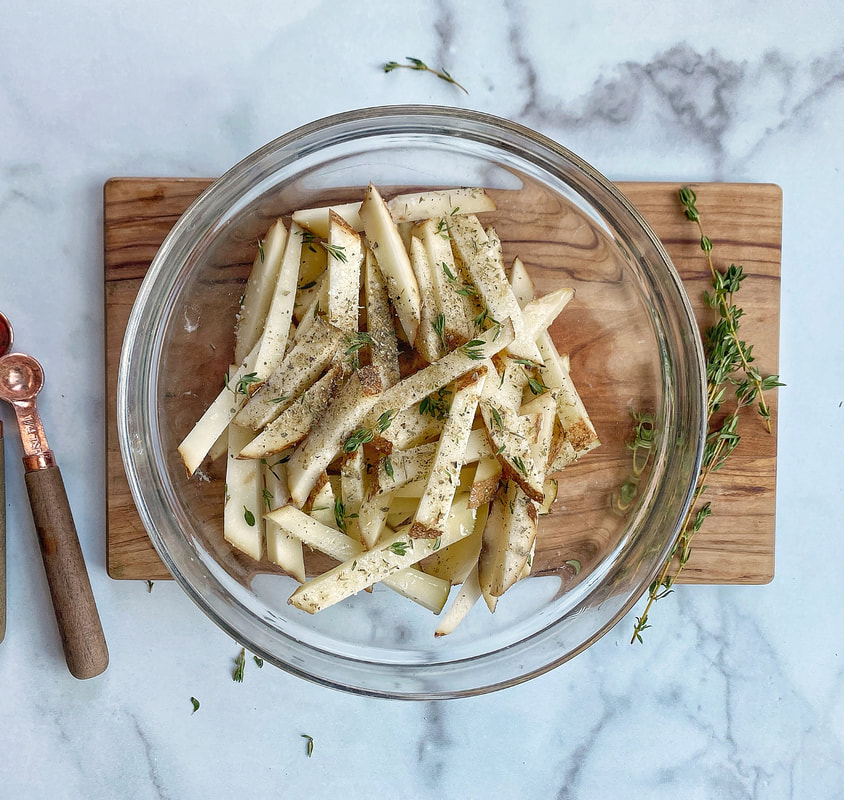
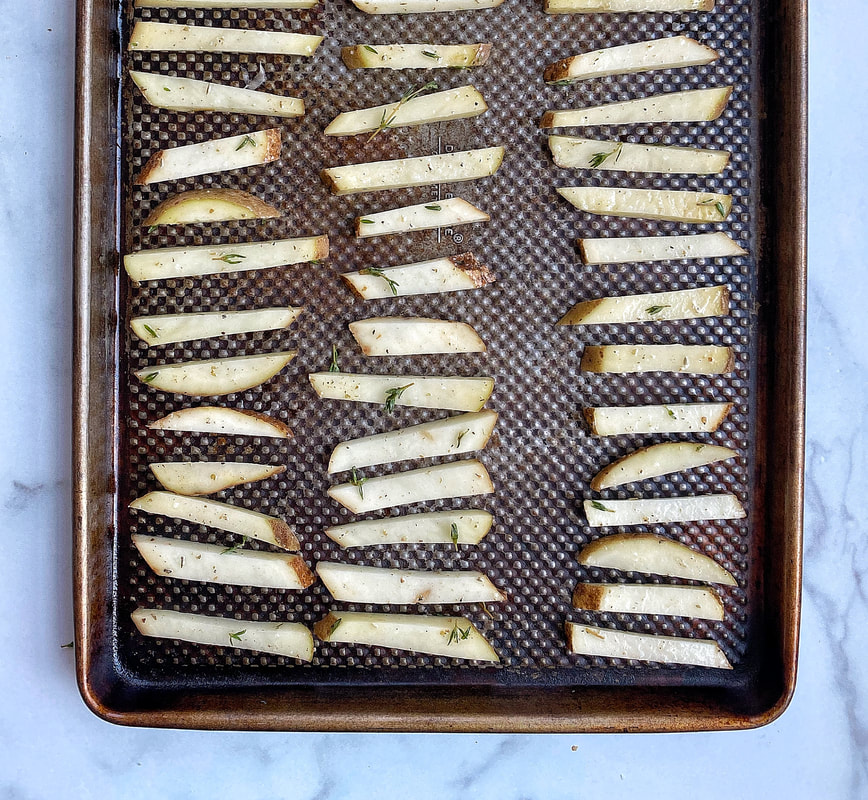
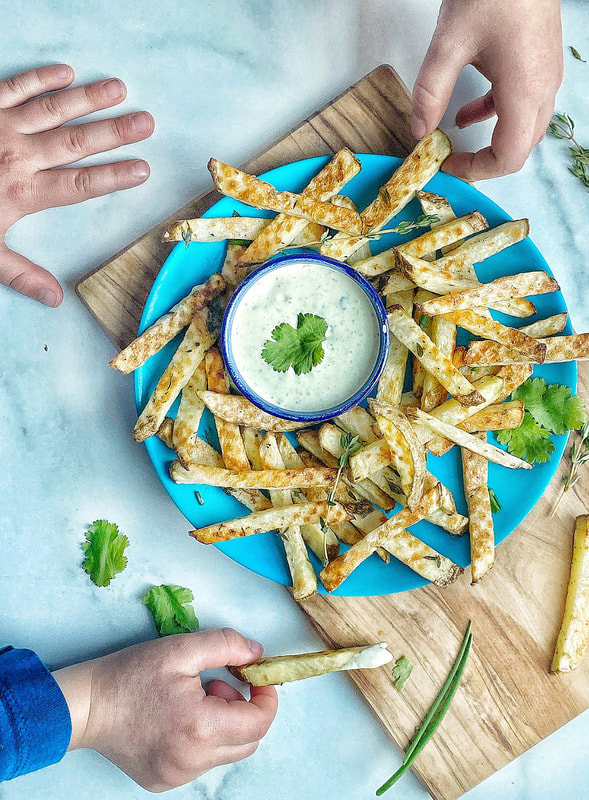
These oven fries with fresh or dried herbs are sure to become a new favorite side dish for your family. The Fresh Herb Yogurt Dip makes them a special treat and really amps up the herby-ness of this dish, teach your kids to learn to love culinary herbs!
This recipe was developed by Happy Kids Kitchen for Veggie Buds Club. "Learn to Love Veggies" Tip
We really wanted to focus on culinary herbs for this recipe so be sure to have your children smell each herb, fresh and dried, while preparing this dish! You can ask them questions along the way, such as:
 Herby Oven Fries with Fresh Herb Yogurt Dip
Yield: 4-6
Prep time: 5 MinCook time: 20 MinTotal time: 25 Min
These oven fries with fresh or dried herbs are sure to become a new favorite side dish for your family. The Fresh Herb Yogurt Dip makes them a special treat and really amps up the herby-ness of this dish!
Ingredients
Fries
Dip
Instructions
Check out our shop for products that teach kids to learn to love veggies! This includes veggie activity boxes, kid-safe knives, interactive placemats, and more.
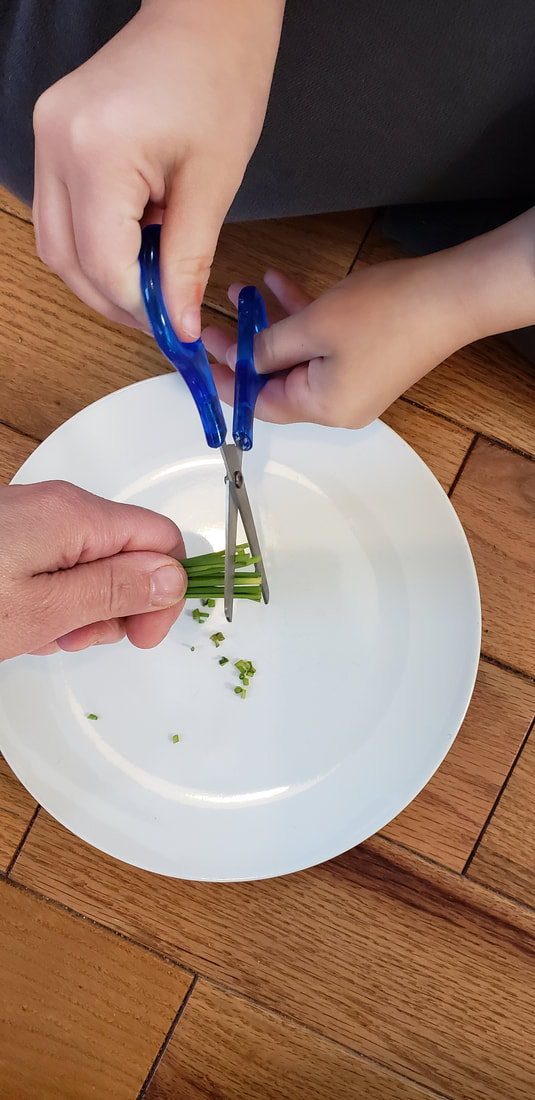
Kids love biscuits so these Chive and Cheddar Drop Biscuits are sure to be a family hit!
"Learn to Love Veggies" Tip
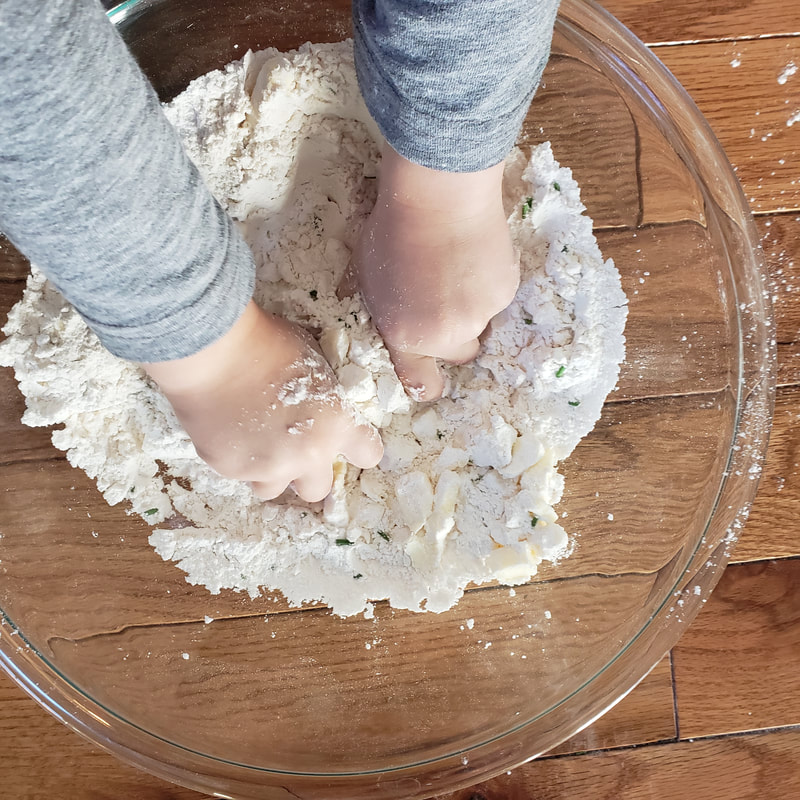
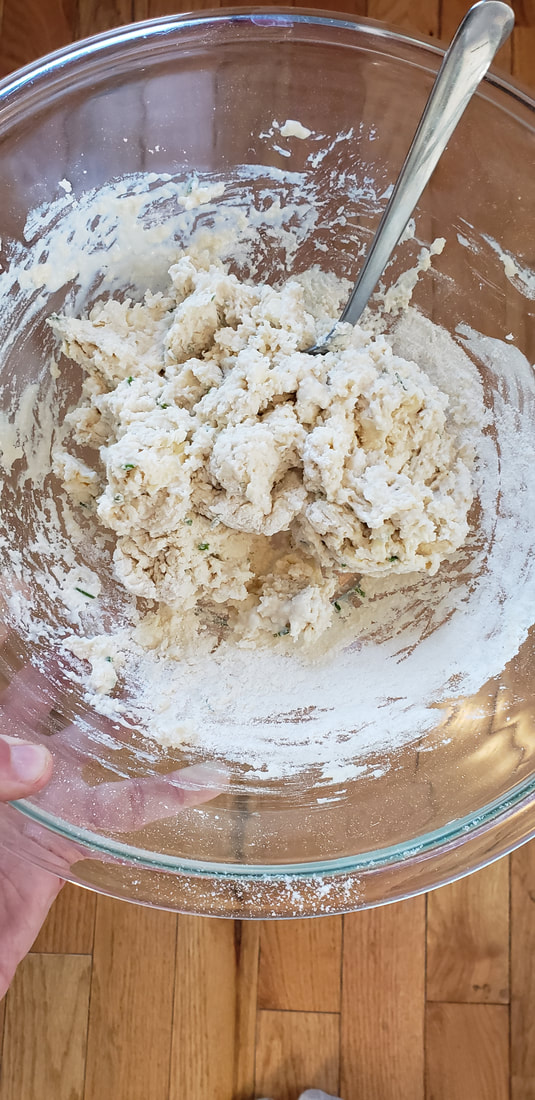
Drop biscuits are so simple to make and a great recipe for your child to help you with. Have your child use safety scissors to snip the chives (adult assistance may be required) and let them get messy during step #3 when they mix the batter with their hands! Finally, they can top each biscuit with the shredded cheese.
 Chive and Cheddar Drop Biscuits
Prep time: 5 MinCook time: 20 MinTotal time: 25 Min
Kids love biscuits so these Chive and Cheddar Drop Biscuits are sure to be a family hit!
Ingredients
Instructions
Check out our shop for products that teach kids to learn to love veggies! This includes veggie activity boxes, kid-safe knives, interactive placemats, and more.
|