|
This Carrot Soup recipe is about as easy as it gets and really celebrates the carrot-y goodness that this orange veggie packs! This is a great soup recipe for a quick weeknight meal and kids love it.
"Learn to Love Veggies" Tip
This carrot soup is a great starter recipe for kids! Carrots blend well with other flavors such as ginger and orange but we suggest starting with a recipe that is really simple and highlights a familiar carrot flavor for soup newbies.
 Easy Carrot Soup
Yield: 4-6
Prep time: 10 MinCook time: 20 MinTotal time: 30 Min
This Carrot Soup recipe is about as easy as it gets and really celebrates the carrot-y goodness that this orange veggie packs! This is a great soup recipe for a quick weeknight meal and kids love it.
Ingredients
Instructions
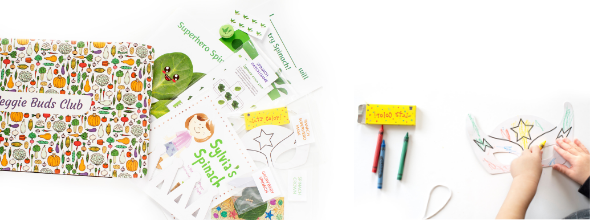
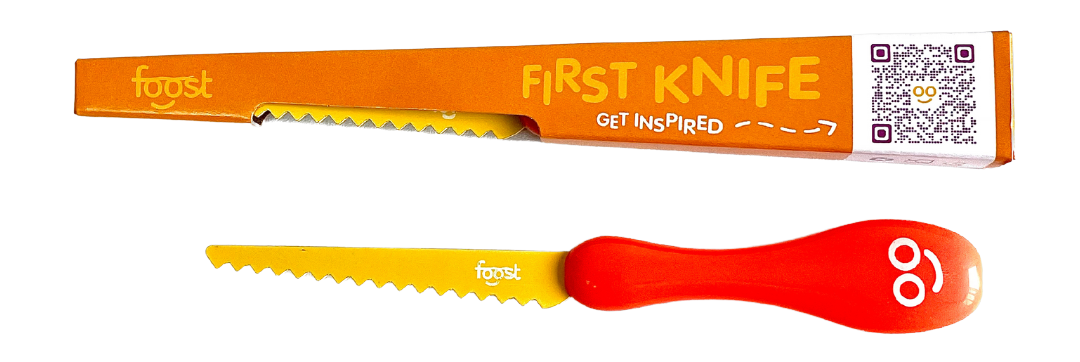
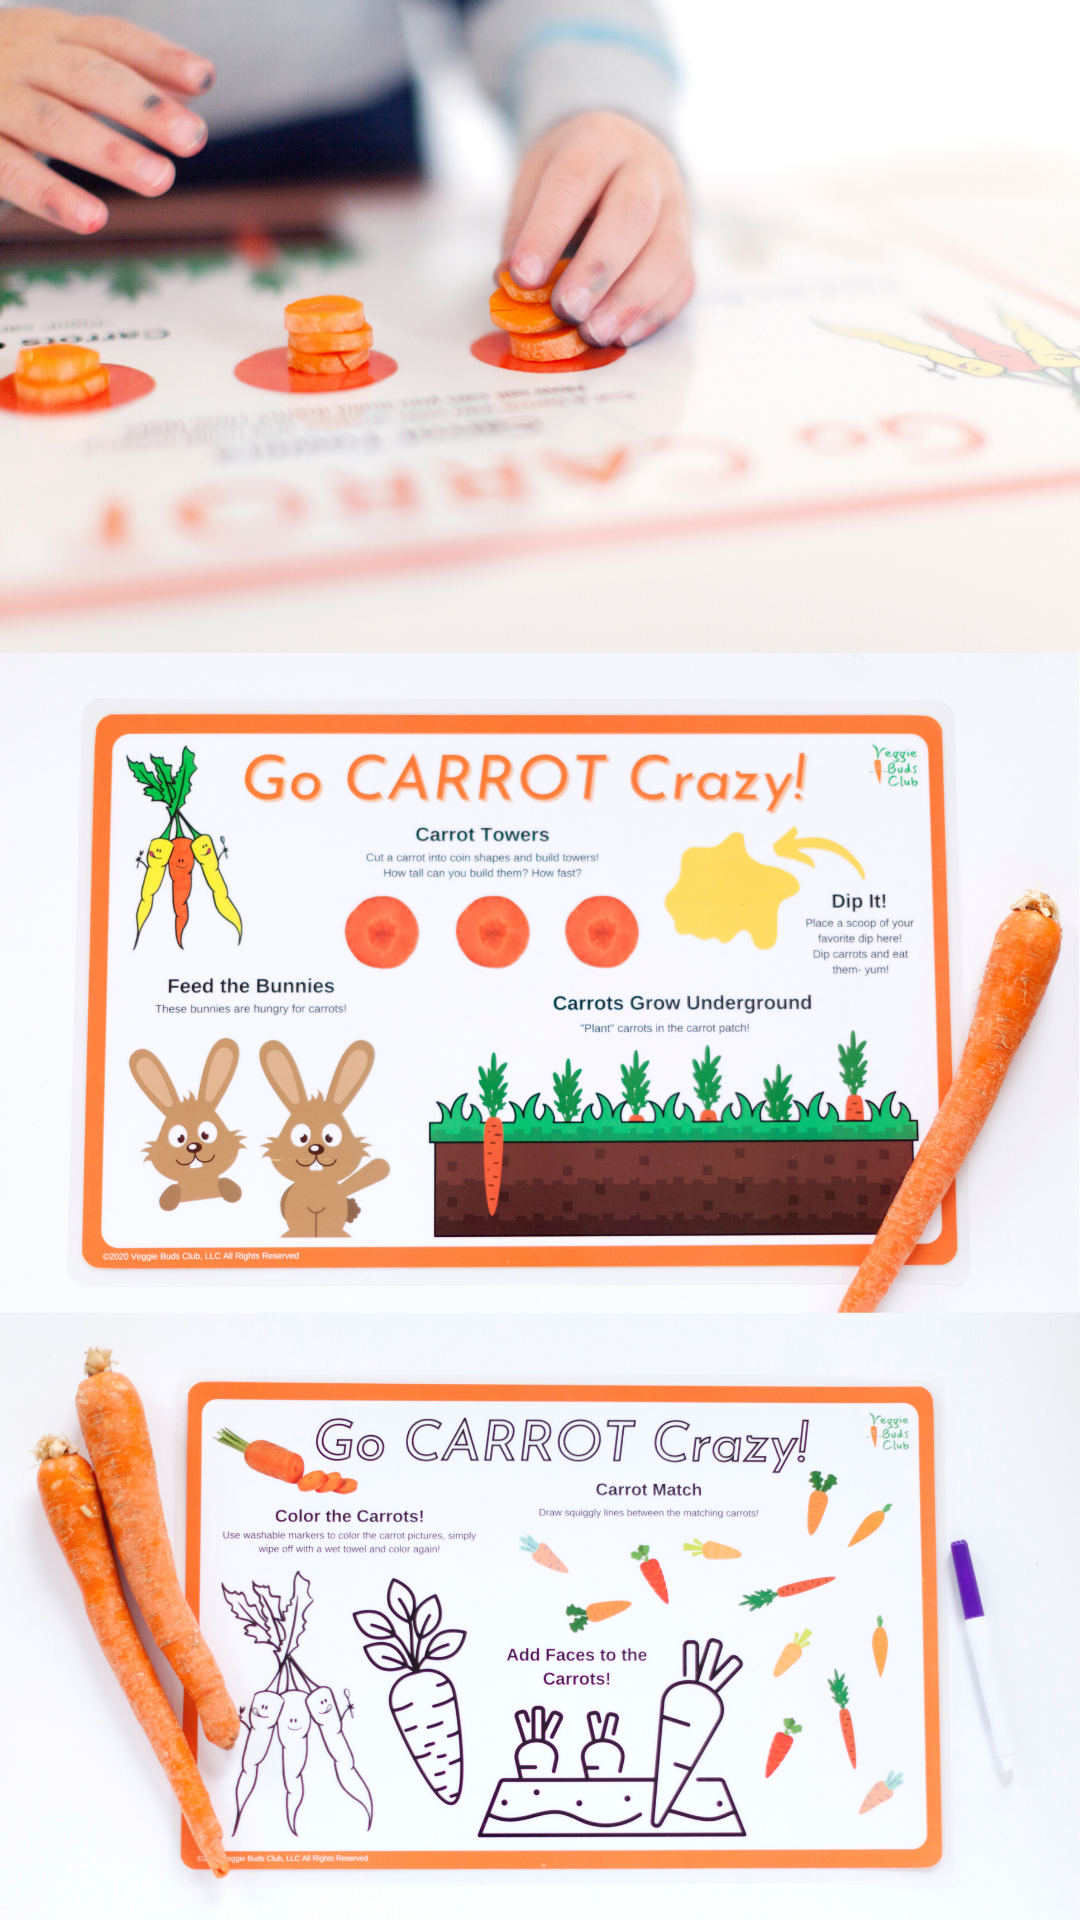
Check out our shop for products that teach kids to learn to love veggies! This includes veggie activity boxes, kid-safe knives, interactive placemats, and more.
0 Comments
These Epic Broccoli Burgers are sure to turn all of your family members into veggie burger lovers!
This recipe was developed by Gratefully Vegan for Veggie Buds Club. Please lettuce know if you make them by leaving a comment. "Learn to Love Veggies" Tip
Get your kids in the kitchen with you! Have your children break apart the broccoli heads into florets with their hands... kids LOVE this step. The broccoli is going to be steamed and pulsed in a food processor so the florets do not need to be uniform in size.
 Epic Broccoli Burgers
Yield: 6-8
Prep time: 15 MinCook time: 20 MinTotal time: 35 Min
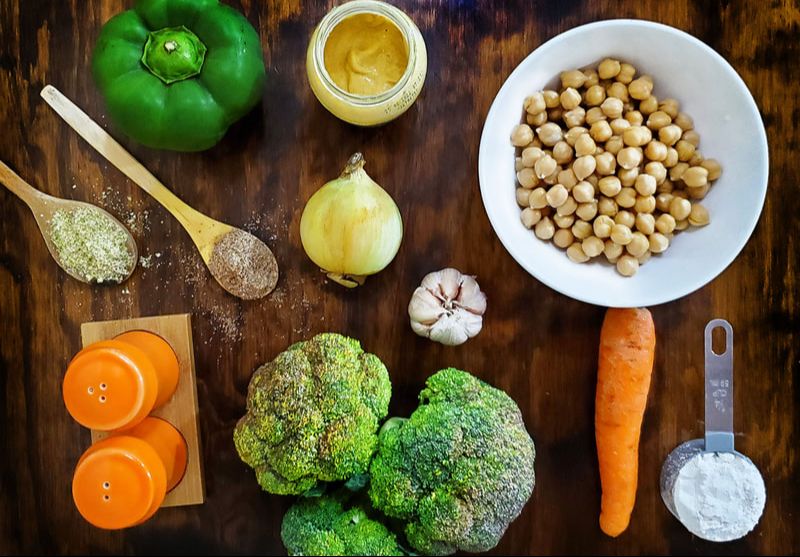
These Epic Broccoli Burgers are sure to turn all of your family members into veggie burger lovers! They are packed with broccoli, carrots, onion, bell pepper, and chickpeas so be sure to save this recipe for your next "Meatless Monday" meal.
Ingredients
Instructions
Check out our shop for products that teach kids to learn to love veggies! This includes veggie activity boxes, kid-safe knives, interactive placemats, and more.
This is a great broccoli recipe to make with kids because they can practice cutting and breaking broccoli florets into pieces. The pieces then get cooked and blended so it doesn’t matter if they are all the same size. This green soup is great served with grilled cheese for dipping, crackers, or plain toast. You can also top it with a little extra cheese or some broccoli “sprinkles”!
This tasty broccoli recipe was developed by Happy Kids Kitchen for Veggie Buds Club. "Learn to Love Veggies" Tip
Sometimes soup is difficult for children to eat with a spoon so give them some other "tools" to try their soup with. Examples include a straw (those large silicone straws work great for soup), a large scoop from a protein powder container, and dippers such as grilled cheese or crackers.
 Easy Broccoli Soup
Yield: 4-6
Prep time: 10 MinCook time: 25 MinTotal time: 35 Min
This Easy Broccoli Soup is great served with grilled cheese for dipping, crackers, or plain toast. You can also top it with a little extra cheese or some broccoli “sprinkles”!
Ingredients
Instructions
Check out our shop for products that teach kids to learn to love veggies! This includes veggie activity boxes, kid-safe knives, interactive placemats, and more.
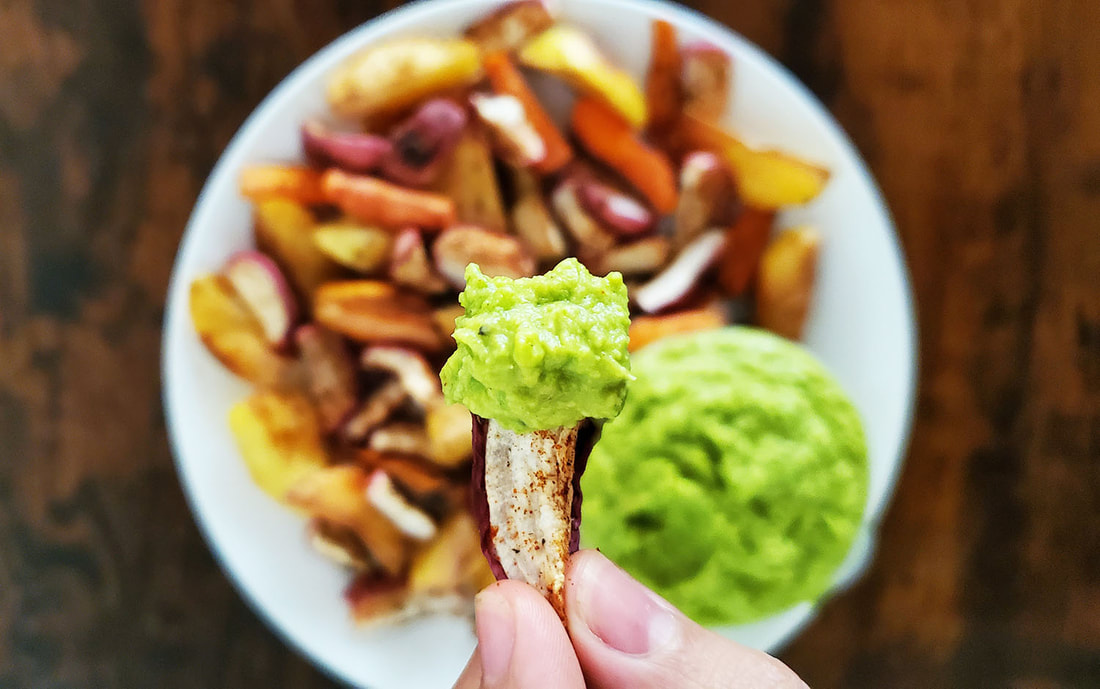
Have you ever tried roasting radishes?! Roasting really brings out the sweet qualities of this sometimes "spicy" veggie. And dip lovers rejoice, these roasted veggies taste delicious dipped in Pea Hummus!
This recipe was developed by Gratefully Vegan for Veggie Buds Club. Please lettuce know if you make it by leaving a comment! "Learn to Love Veggies" Tip
Pairing radishes with some other (possibly more familiar) veggies such as potatoes and carrots is an excellent way to introduce this veggie to kids!
 Roasted Radishes with Pea Hummus
Yield: 4-6
Prep time: 15 MinCook time: 35 MinTotal time: 50 Min
Roasting radishes really brings out the sweet qualities of this sometimes "spicy" veggie. And dip lovers rejoice, these roasted veggies taste delicious dipped in Pea Hummus!
Ingredients
Roasted Radishes
Pea Hummus
Instructions
Roasted Radishes
Pea Hummus
Check out our shop for products that teach kids to learn to love veggies! This includes veggie activity boxes, kid-safe knives, interactive placemats, and more.
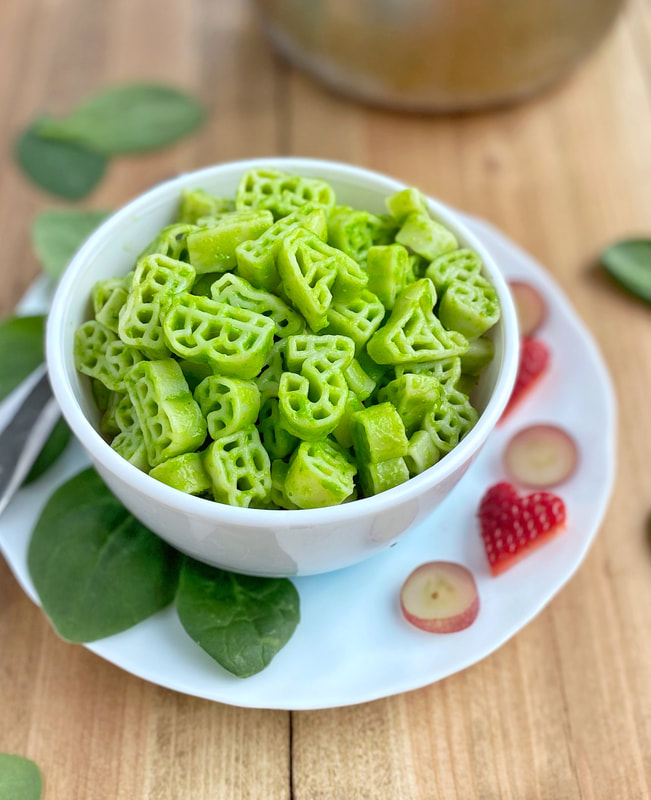
Add a few ingredients to a blender with a couple handfuls of spinach and *poof* your Mac and Cheese is magically GREEN! Little chefs will love to help make this fun and delicious pasta dish that’s packed with spinach.
This recipe was developed by the very talented Happy Kids Kitchen for Veggie Buds Club. "Learn to Love Veggies" Tip
Make this recipe extra magical by having your little chef/s join you in the kitchen! They can add all of the the green cheese sauce ingredients to a blender and press the buttons (kids sure love to press buttons!).
Spinach really is a magical veggie, it turns everything a gorgeous green color and packs a powerful nutritious punch but the flavor is so mild that it blends in well with many recipes!  Magical Green Mac & Cheese
Yield: 4-6
Prep time: 5 MinCook time: 15 MinTotal time: 20 Min
Add a few ingredients to a blender with a couple handfuls of spinach and *poof* your Mac & Cheese is magically GREEN!
Ingredients
Instructions
Check out our shop for products that teach kids to learn to love veggies! This includes veggie activity boxes, kid-safe knives, interactive placemats, and more.
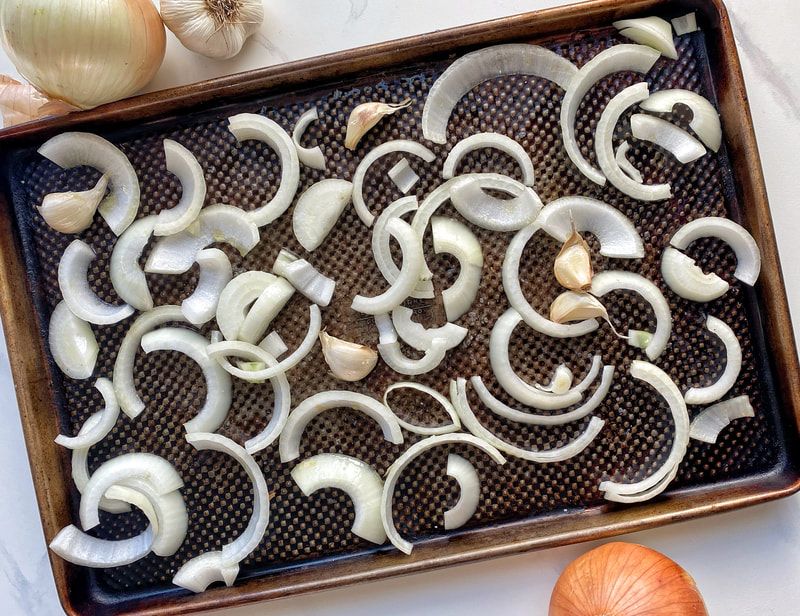
Made from just 4 ingredients, this pasta sauce is so simple but so delicious! Roasted sliced onion and whole cloves of garlic makes them super sweet and cuts out any of the “spicy” or strong flavor kiddos might not enjoy. Little chefs can help toss the onion and garlic in oil and sprinkle on salt before roasting. Then they can help add the can of tomatoes and blend up the sauce. Serve on top of or tossed with whatever kind of pasta your family enjoys. Spaghetti is our favorite. The flavorful tomato sauce is also great for pizza or any other recipe you’d use marinara.
"Learn to Love Veggies" Tip
You can leave the garlic unpeeled or peeled for roasting. If you peel them, be sure to have your kids do the job! First they can smash the garlic cloves a bit using the flat end of a butter knife and then they peel it. Peeling garlic is great for fine motor skills and gets that garlic-y flavor on their fingers and aroma in the air, this is a great introduction to garlic for kids!
 Roasted Garlic and Onion Marinara
Yield: 4-6
Prep time: 10 MinCook time: 25 MinTotal time: 35 Min
Made from just 4 ingredients, this pasta sauce is so simple but so delicious! Serve on top of or tossed with whatever kind of pasta your family enjoys. The flavorful tomato sauce is also great for pizza or any other recipe you’d use marinara.
Ingredients
Instructions

Check out our shop for products that teach kids to learn to love veggies! This includes veggie activity boxes, kid-safe knives, interactive placemats, and more.
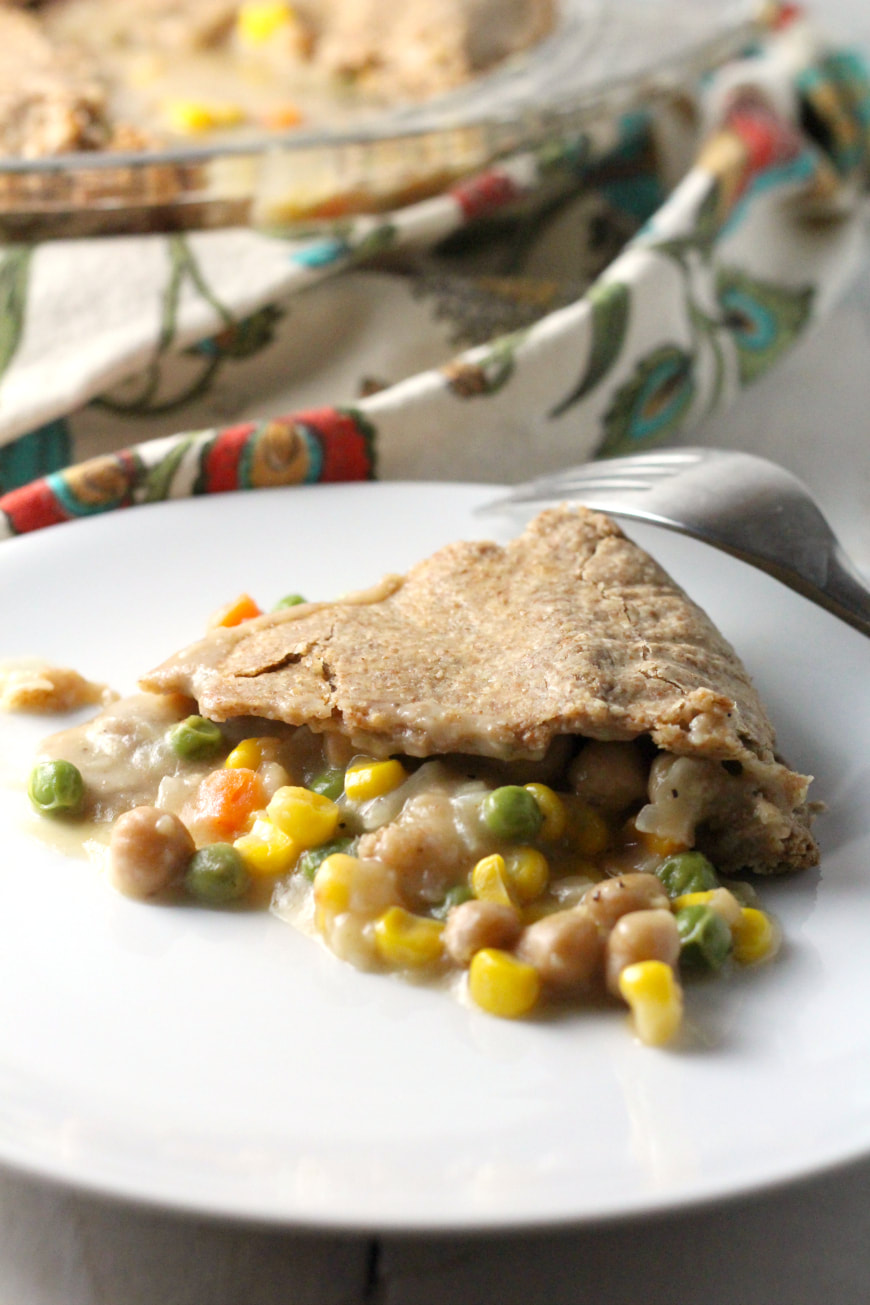
Your whole family is sure to love this vegetarian spin on a classic pot pie! This filling and nourishing meal is packed with veggies (corn, peas, and carrots!) and is rich in plant-based protein from the chickpeas. The recipe is adaptable for vegetarian, vegan, and gluten-free diets.
Chef Dawn from VegeCooking developed this recipe for Veggie Buds Club. "Learn to Love Veggies" Tip
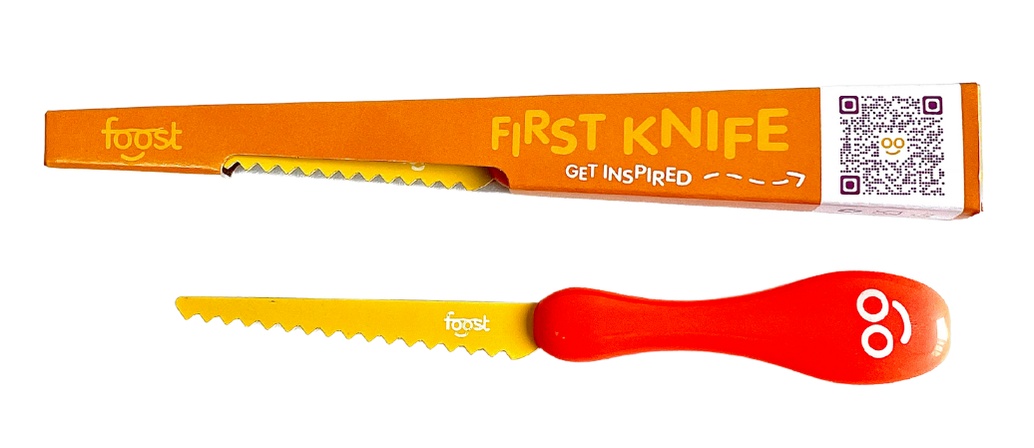
Have your child wear swim goggles or safety goggles when they chop onions, this will help prevent their eyes from tearing up and makes chopping this veggie extra fun! Check out our favorite child-safe knife here. They are more likely to try the Chickpea Pot Pie if they help make it!
 Chickpea Pot Pie
Yield: 4-6
Prep time: 10 MinCook time: 40 MinTotal time: 50 Min
Your whole family is sure to love this vegetarian spin on a classic pot pie! This filling and nourishing meal is packed with veggies (corn, peas, and carrots!) and is rich in plant-based protein from the chickpeas.
Ingredients
Crust
Filling
Instructions
Check out our shop for products that teach kids to learn to love veggies! This includes veggie activity boxes, kid-safe knives, interactive placemats, and more.
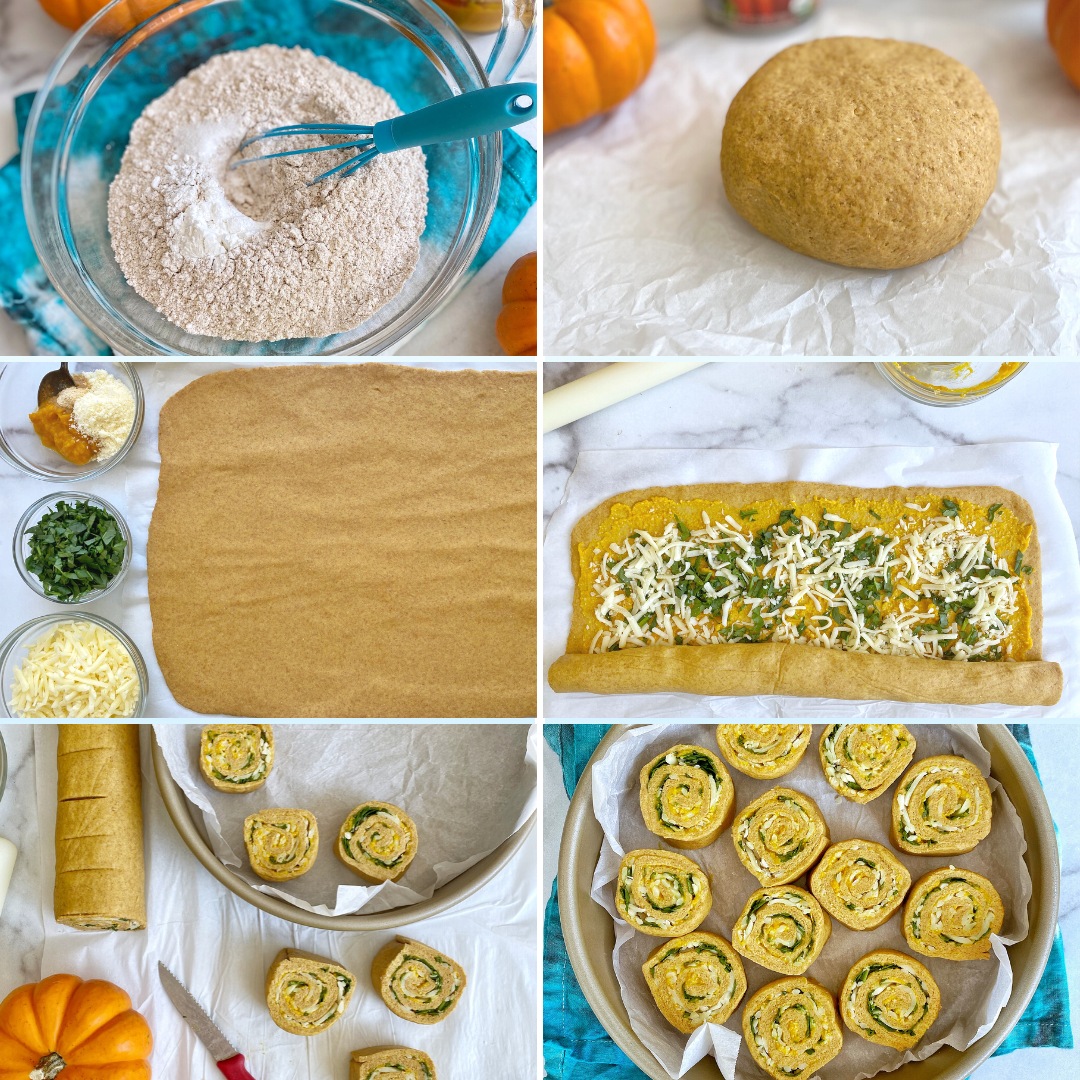
Pizza lovers rejoice! Pumpkin purée, cheese, and pizza dough combine to make a delicious and super kid-friendly way to enjoy pumpkin. You can make your own pizza dough with more pumpkin purée mixed right in or use store-bought pizza dough for a quicker option. Either way, it’s a great recipe to get kids into the kitchen and explore this orange veggie. Happy Kids Kitchen developed this recipe for Veggie Buds Club. "Learn to Love Veggies" TipYou can watch Monica Irwin, from Veggie Buds Club, make this tasty savory treat on Twin Cities Live! She chats with the hosts about fun ways to get your kids involved.  Pumpkin Pizza RollsPrep time: 5 MinCook time: 20 MinTotal time: 25 Min Pizza lovers rejoice! Pumpkin purée, cheese, and pizza dough combine to make a delicious and super kid-friendly way to enjoy pumpkin. Ingredients
Instructions
  Homemade Pumpkin Pizza DoughPrep time: 5 MinCook time: 10 MinTotal time: 15 Min Enjoy this homemade pizza dough with pumpkin purée mixed right in! Ingredients
Instructions
 Check out our shop for products that teach kids to learn to love veggies! This includes veggie activity boxes, kid-safe knives, interactive placemats, and more. 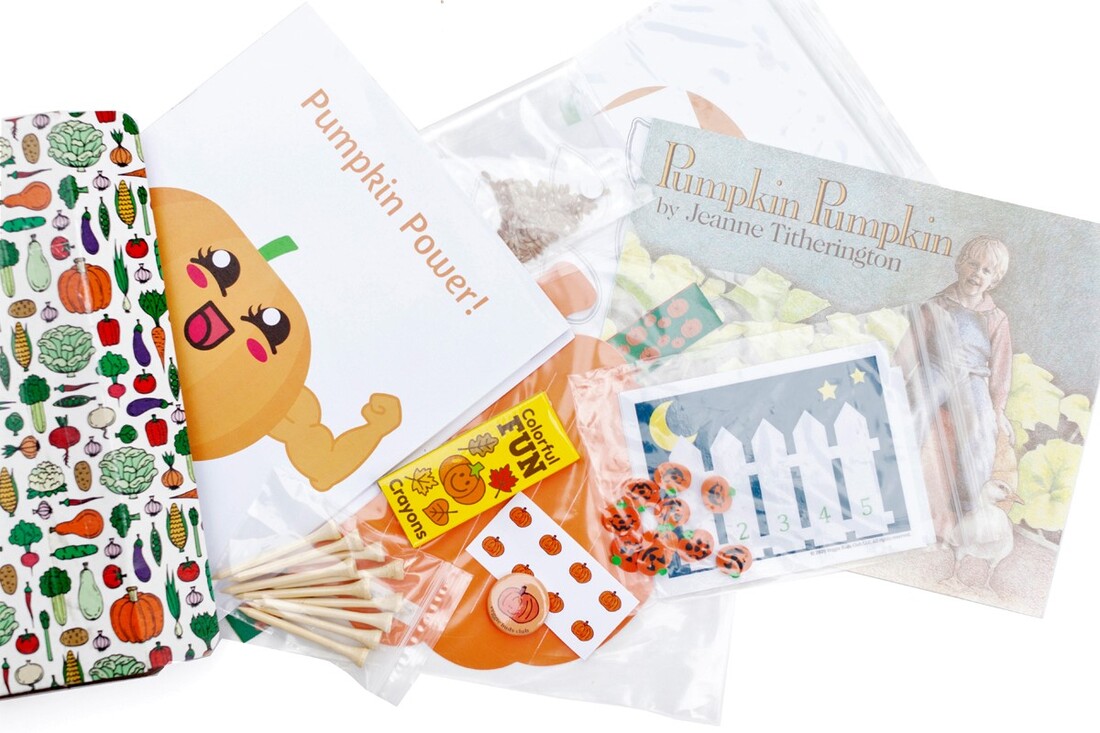
This rice dish that tastes just like pizza, a kid favorite! Your child can help chop the tomatoes and mash and stir them over the stove (if you're comfortable with this step). Finally, they can top the tomato-rice mixture with shredded cheese and then enjoy the final tasty dish!
"Learn to Love Veggies" Tip
Here is a great opportunity to talk with your child about all of the great condiments that tomatoes can be found in such as ketchup, pasta sauce, and pizza sauce! Having them help out with this recipe will make it so that they are more likely to try it and not be alarmed that tomatoes, a.k.a the "pizza sauce veggie", are in this dish.
 Pizza Rice
Yield: 4-6
This rice dish that tastes just like pizza, a kid favorite!
Ingredients
Instructions
Check out our shop for products that teach kids to learn to love veggies! This includes veggie activity boxes, kid-safe knives, interactive placemats, and more!
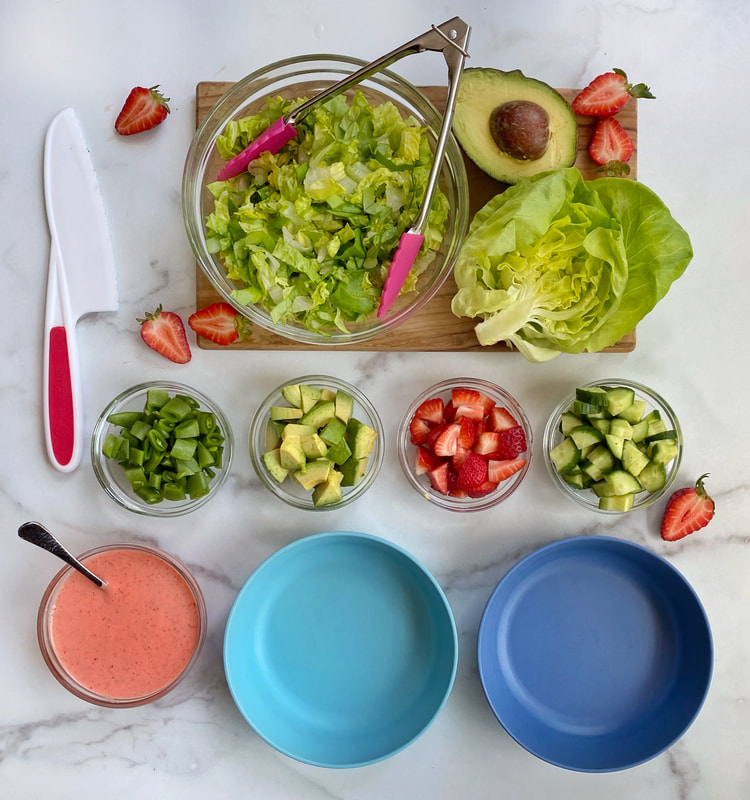
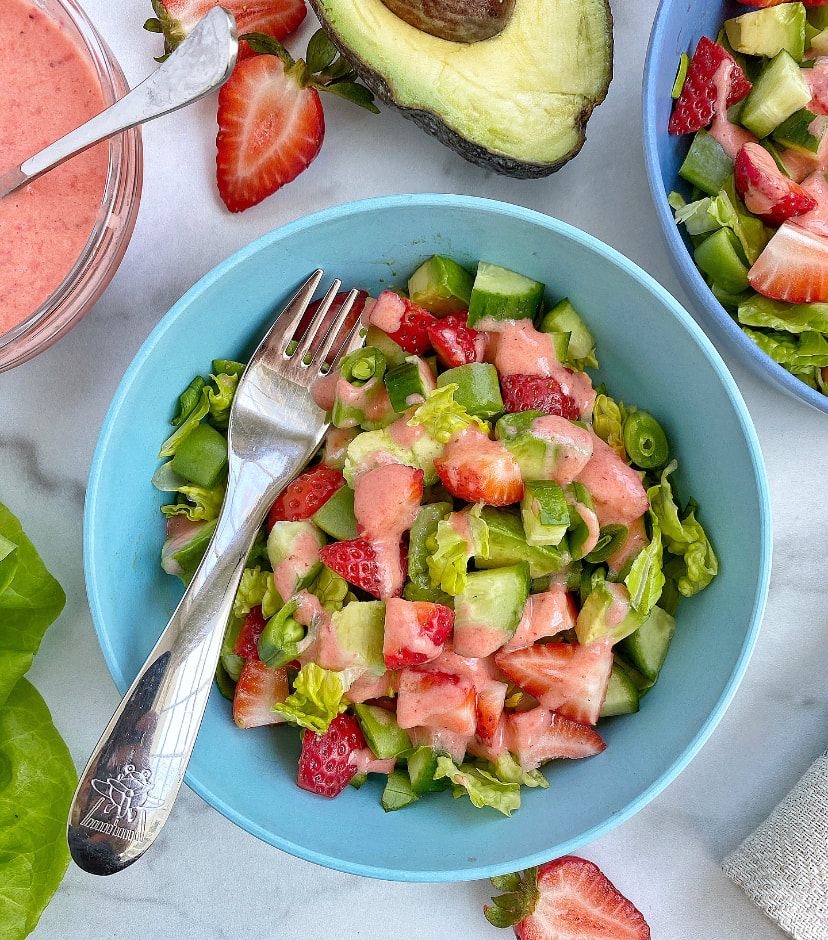
For this easy, colorful salad, you can really use whatever fresh veggies your family enjoys. Mix up the types of lettuce you use and try out different toppings as well. I really love to make this salad a more complete meal by adding some crumbled feta or goat cheese and some sliced almonds. You can also add some cooked chicken or shrimp too. The dressing is so simple and sweet. Plus, the pink color makes it extra fun for kids!
This recipe was developed by Happy Kids Kitchen for Veggie Buds Club. "Learn to Love Veggies" Tips
Salad can be tricky for most kids to enjoy. For one, we don’t often serve kids salad and two, lots of greens can have a slightly bitter taste. Here are some things I’ve found that help kids eat and enjoy salad greens:
 Chopped Salad with Sweet Strawberry Dressing
For this easy, colorful salad, you can really use whatever fresh veggies your family enjoys. Mix up the types of lettuce you use and try out different toppings as well. I really love to make this salad a more complete meal by adding some crumbled feta or goat cheese and some sliced almonds. The dressing is so simple and sweet. Plus, the pink color makes it extra fun for kids!
Ingredients
Salad
Dressing
Instructions
Check out our shop for products that teach kids to learn to love veggies! This includes veggie activity boxes, kid-safe knives, interactive placemats, and more!
|