|
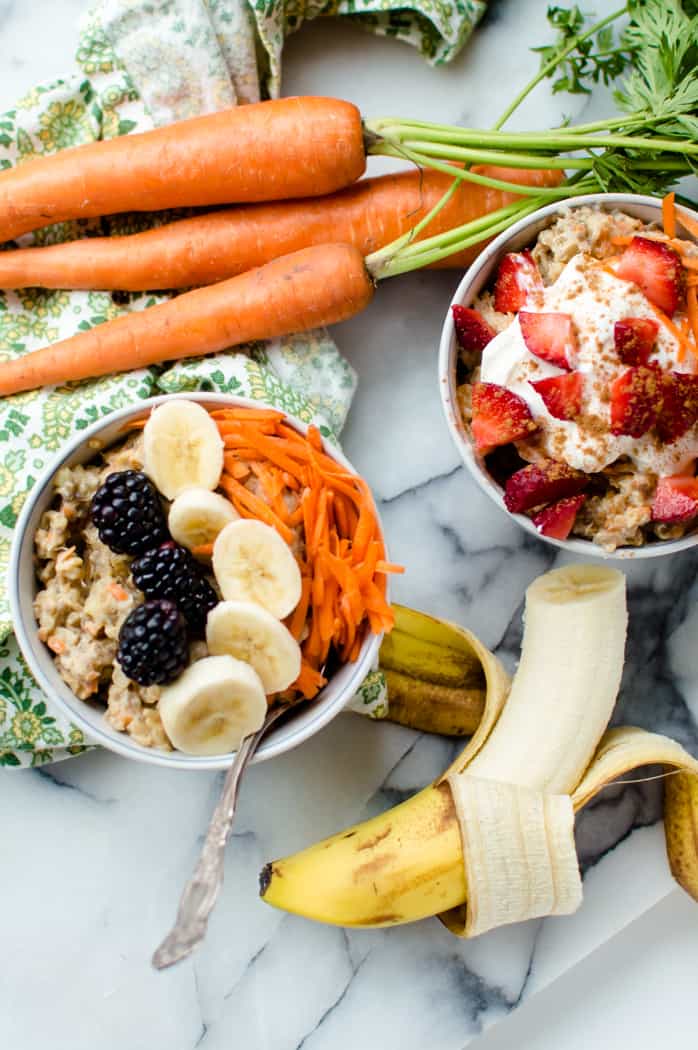
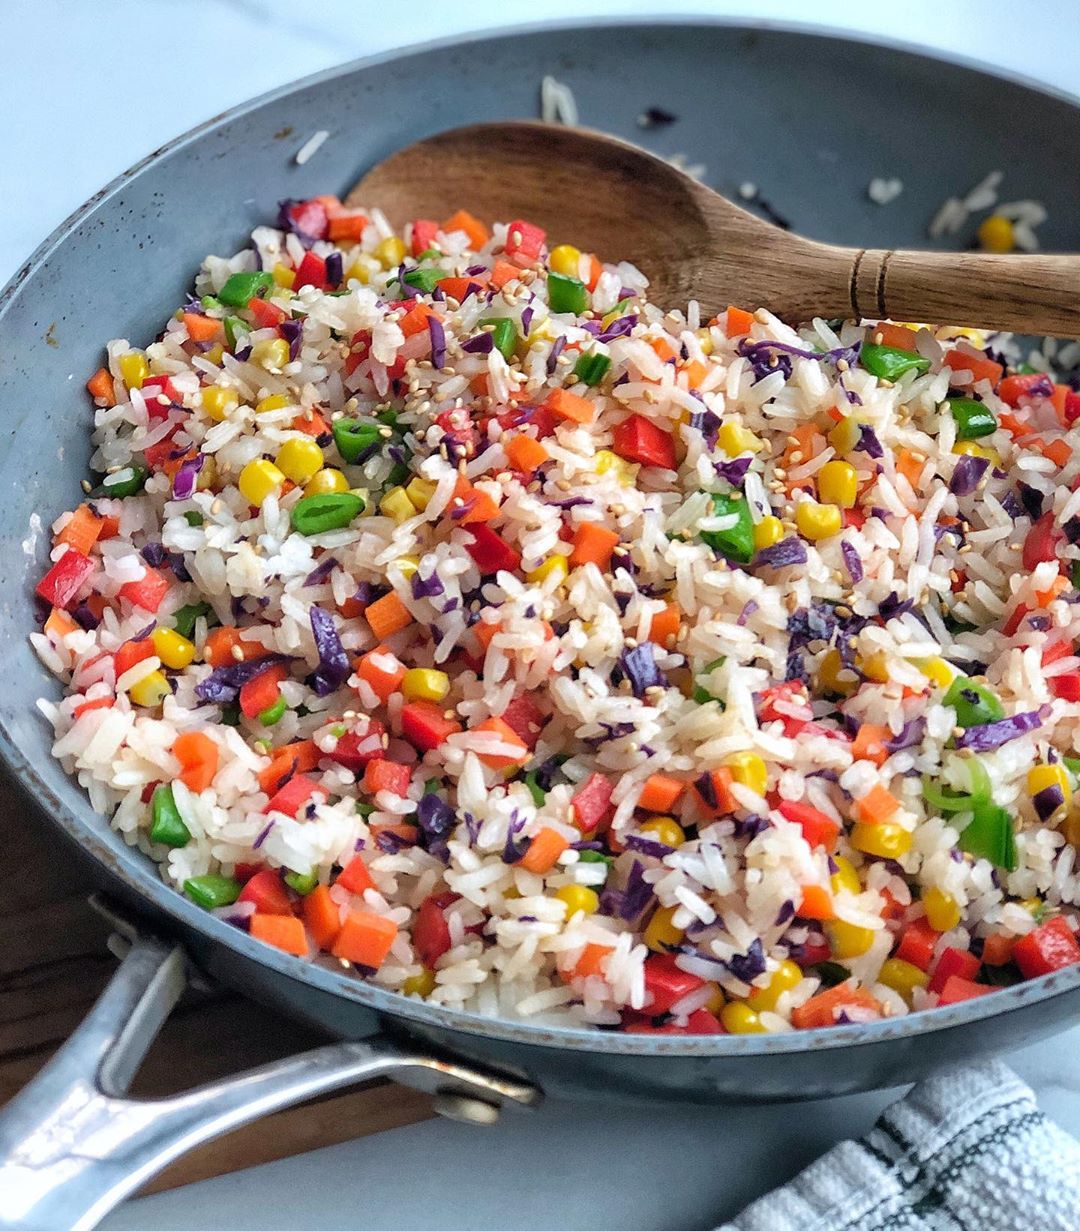
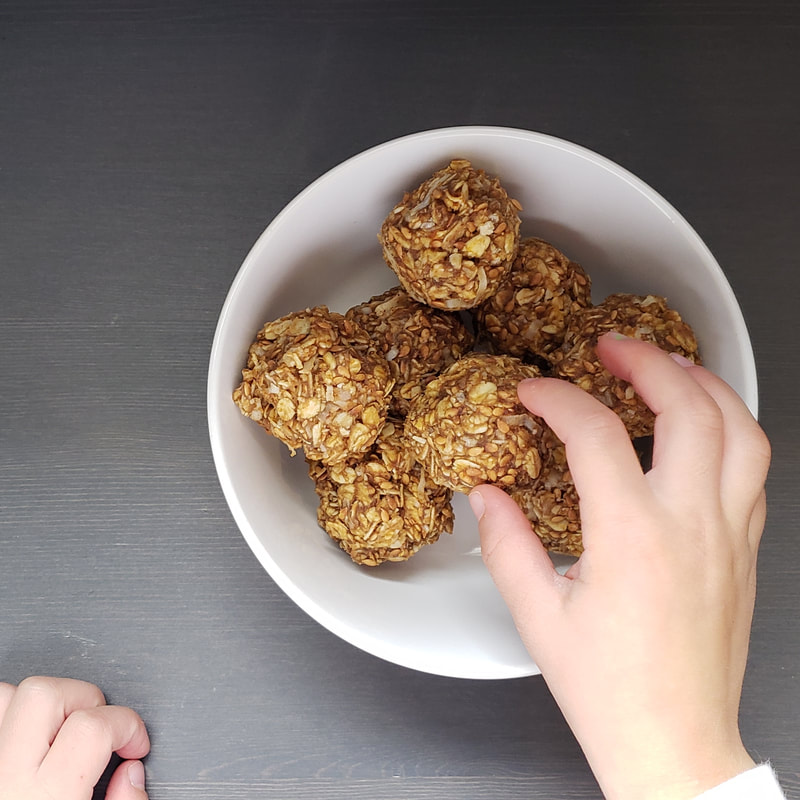
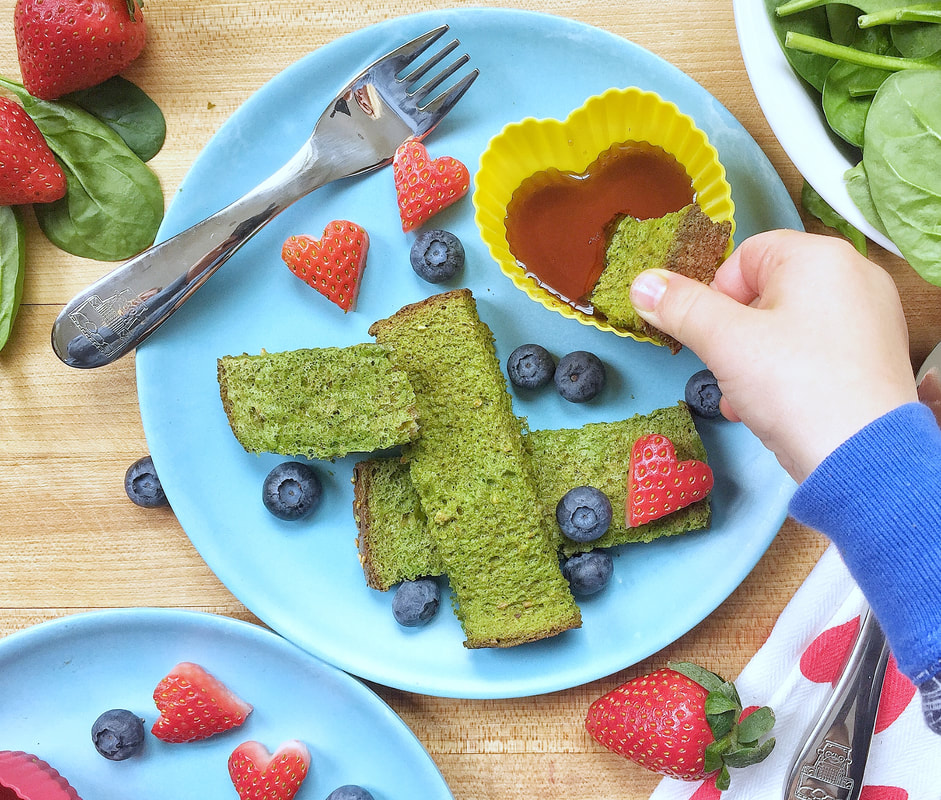
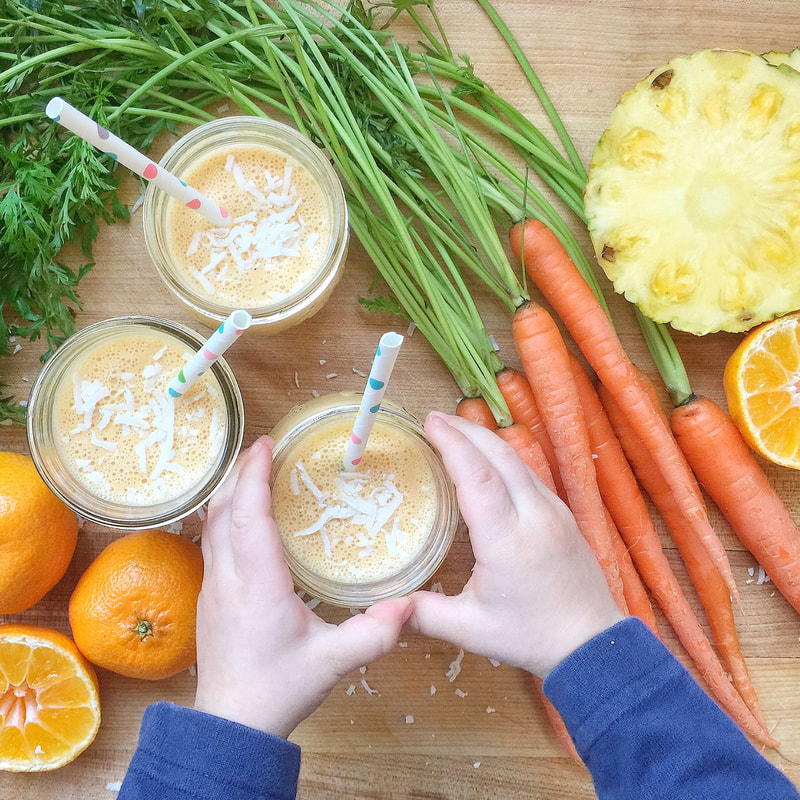
Breakfast is an important meal that gives you energy to get the day started. But often a major food group is missing from your breakfast plate or bowl... veggies! We have compiled some of our favorite veggie-packed breakfasts into 3 categories: Savory, Baked Goods, and Smoothies. Each recipe below includes veggies, is delicious, and is simple to make! 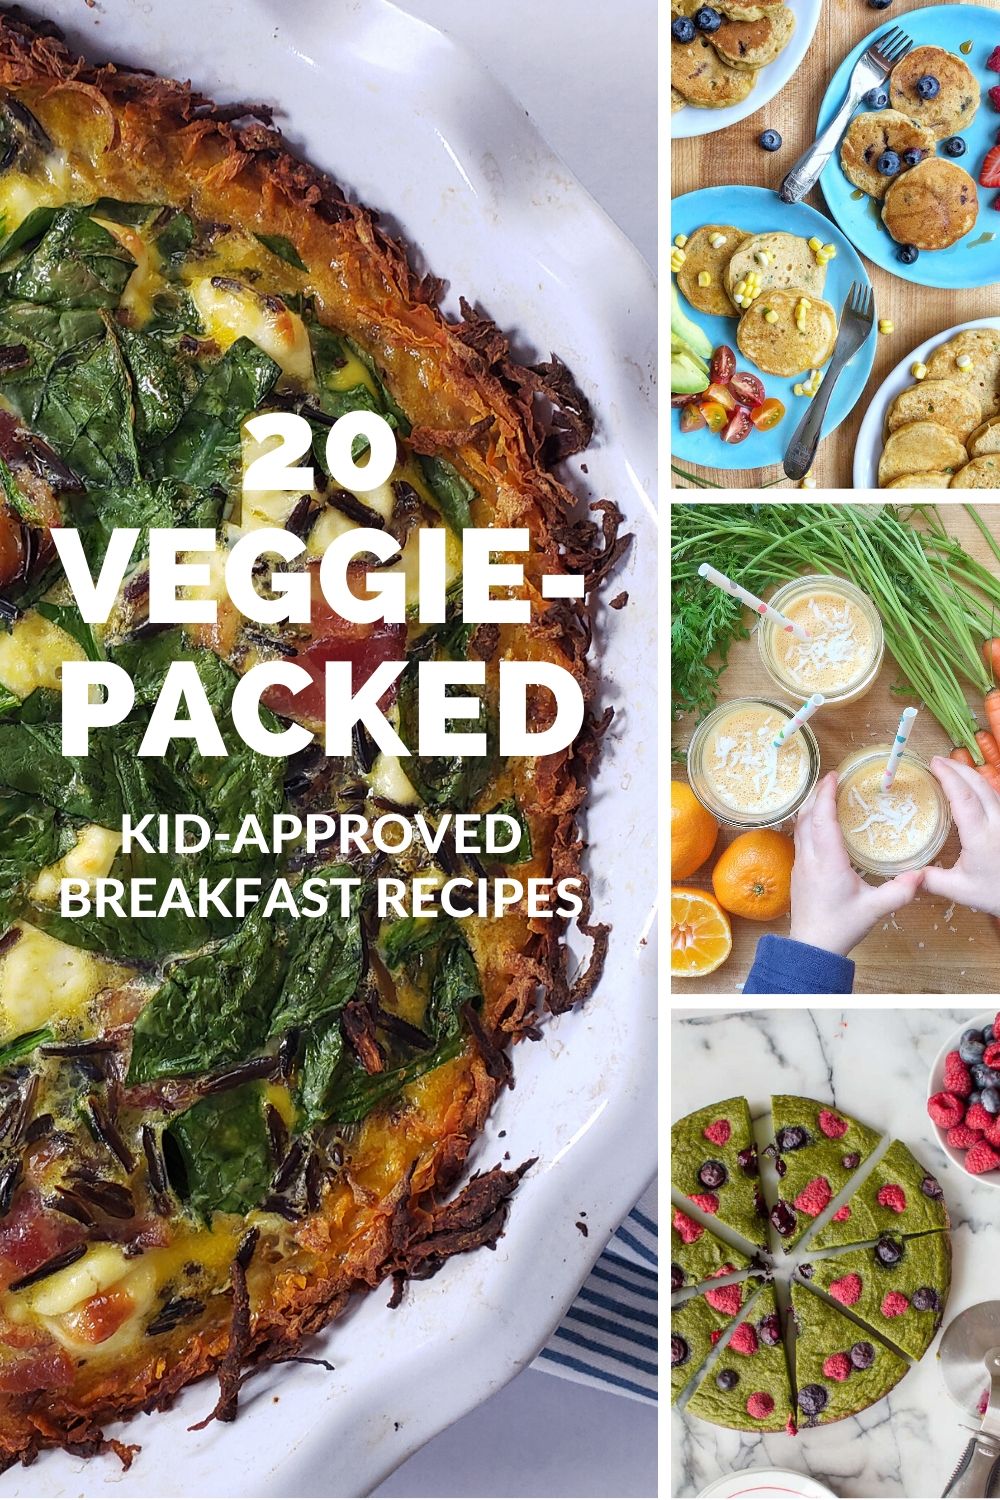 Savory Veggie-Packed Breakfast IdeasSweet Potato Quiche: This tasty quiche is packed with veggies and bacon (optional) and swaps the standard crust with shredded sweet potato instead for an extra veggie boost. Savory Corn Pancakes: These savory pancakes are great with avocado or spread with a little cream cheese and made into sandwiches. Yum! Sweet Potato Toasts: These sweet potato toasts are so versatile because they are delicious both sweet and savory. That’s what makes them the perfect toast substitute! Rainbow Fried Rice: This rainbow fried rice from Happy Kids Kitchen is colorful, easy, healthy, and delicious for breakfast! Vegetable Frittata: Healthy Little Foodies has a great kid-approved and veggie-packed frittata recipe, make it ahead and reheat in the morning. Cheesy Cauliflower Egg Muffins: Be sure to let your kiddos know that their yummy egg muffins have some "hidden" cauliflower inside! 5-Ingredient Bacon & Broccoli Egg Cups: These are a great grab-and-go breakfast option from The Natural Nurturer. Carrot Banana Protein Oatmeal: This oatmeal from The Natural Nurturer is full of nothing but the good stuff and is super easy to make! Veggie Oatmeal: Happy Healthy Casa has some great options for veggie-packed oatmeal including how to incorporate zucchini, carrots, cauliflower, squash, sweet potato, and spinach! Veggie-Packed Breakfast Baked GoodsCarrot Cake Muffin Tops: The top of the muffin is the best part, right? These wholesome treats are a combination of a tender muffin and an oatmeal breakfast cookie. One-Bowl Sweet Potato Pancakes: These pancakes from are a great way to add some extra nutrients into your morning! No-Bake Pumpkin Energy Balls: These no-bake pumpkin energy balls from are tasty, and they freeze well so they're a perfect on-the-go breakfast or snack for your kiddos. Green French Toast Sticks: Enjoy this delicious kid-friendly way to "sneak" in some spinach! Little chefs will know that greens are in this fun breakfast, but they sure won't be able to taste them. Outrageous Orange Granola: This granola is packed with pumpkin, sweet potato, and carrots- so much orange veggie goodness! Sweet Spinach Muffins: These kid-favorite muffins from Super Healthy Kids are 100% whole wheat, refined-sugar-free, and packed with fresh spinach! Banana Spinach Pancake Pizza: This pancake pizza from The Natural Nurturer is a perfectly delicious way to serve up veggies for breakfast! Sweetened entirely with fruit and loaded with spinach. Veggie-Packed Breakfast SmoothiesTropical Carrot Smoothie: Your kids are sure to love this tropical vacation in a glass! Kids will love measuring and adding ingredients to the blender, helping to chop the carrot, and pressing the buttons on the blender. Spinach Superhero Smoothie: This recipe is called "superhero smoothie" because just as superheroes in stories fight crime, the spinach in this smoothie helps fight off illness! Ants on a Log Smoothie: Adding celery to a smoothie with the addition of peanut butter in a tasty protein-and-veggie packed breakfast! Vitamin C Immune Boosting Smoothie: This smoothie from The Natural Nurturer is made with strawberry, banana, red bell pepper and is the perfect way to start your day! Cauliflower Strawberry Banana Smoothie: Just 4 ingredients! Enjoy this simple and delicious smoothie from Live Eat Learn. Check out our shop for products that teach kids to learn to love veggies! This includes veggie activity boxes, kid-safe knives, interactive placemats, and more. 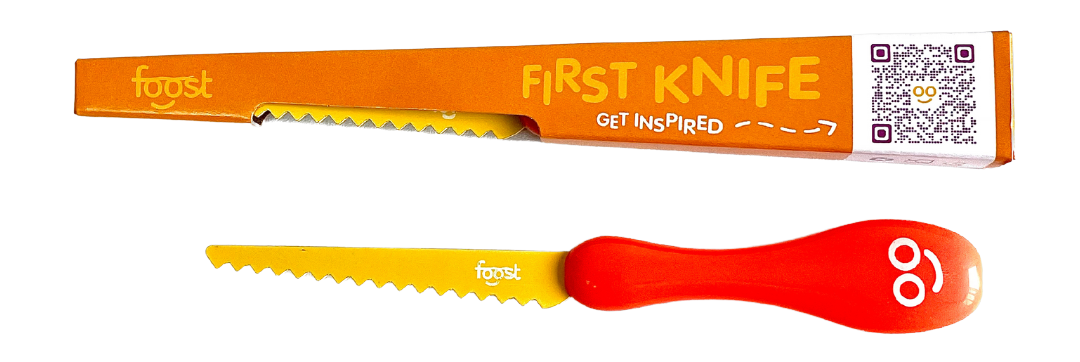
1 Comment
Applesauce is a family favorite in our house and making it homemade makes it even better. The sweetness of the apples helps balance out the earthiness of the beet in this recipe... and the beet turns it such a beautiful color!
This recipe was developed by Eat Pretty Darling for Veggie Buds Club. "Learn to Love Veggies" Tip
As the saying goes, "we eat with our eyes" so making applesauce a beautiful shade of pink is sure to get your kiddos interested in trying this veggie-packed applesauce!
 Beet Applesauce
Prep time: 5 MinCook time: 30 MinTotal time: 35 Min
The sweetness of the apples helps balance out the earthiness of the beet in this recipe... and the beet turns it such a beautiful color!
Ingredients
Instructions
Check out our shop for products that teach kids to learn to love veggies! This includes veggie activity boxes, kid-safe knives, interactive placemats, and more.
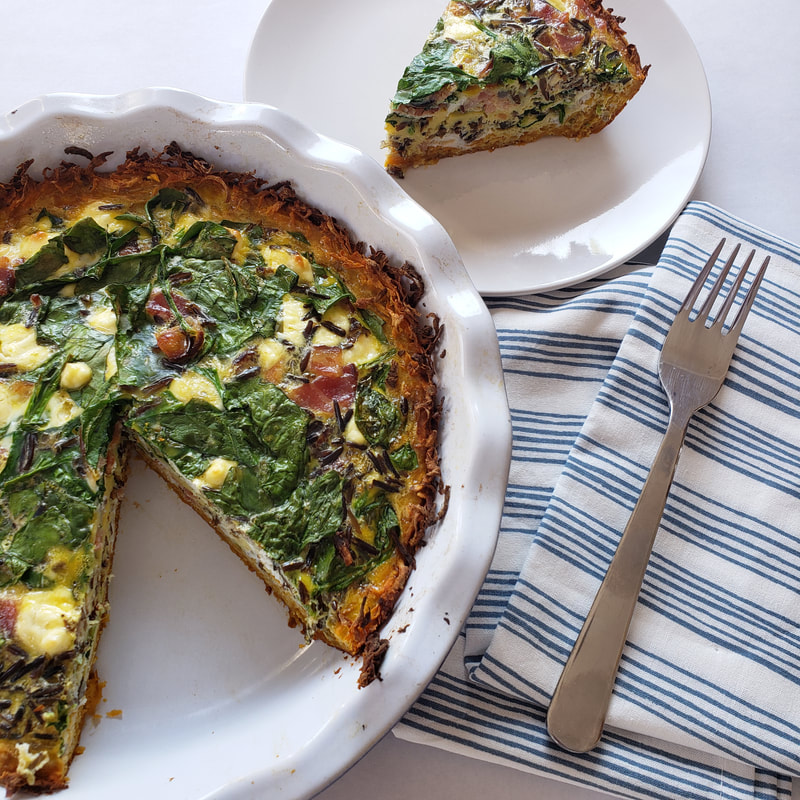
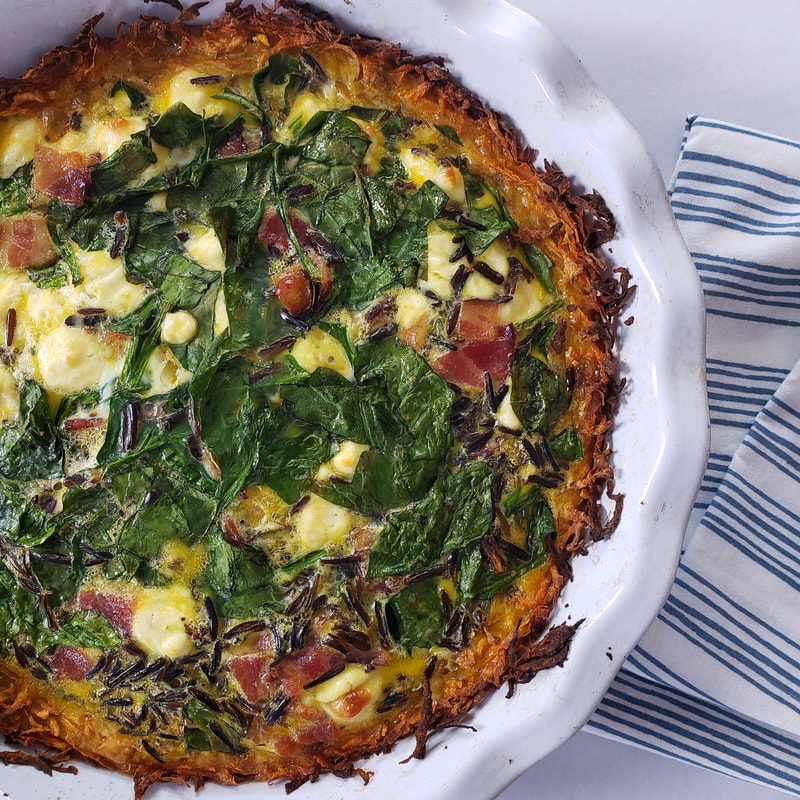
It officially feels like winter here in Minnesota and this chilly weather has me craving seasonal comfort food. We always like to pack extra veggies into meals here at Veggie Buds Club so I hope you enjoy this tasty spin on quiche... use shredded sweet potato crust ! I chose to fill my quiche with wild rice, fresh spinach, bacon, and goat cheese but quiche is such a versatile meal, feel free to omit or add a wide variety of veggies, meat, and cheese.
"Learn to Love Veggies" Tip
Get your kids in the kitchen: I made this quiche start to finish with my 4 year old son and he tried the ingredients as we went along (grated sweet potato! spinach! bacon! wild rice! even goat cheese... not a fan but he tried it!).
 Sweet Potato Crust Quiche
Prep time: 10 MinCook time: 60 MinTotal time: 1 H & 10 M
This recipe sure is a tasty spin on quiche... use shredded sweet potato for the crust! We chose to fill this quiche with wild rice, fresh spinach, bacon, and goat cheese but quiche is such a versatile meal, feel free to omit or add a wide variety of veggies, meat, and cheese.
Ingredients
Instructions
Check out our shop for products that teach kids to learn to love veggies! This includes veggie activity boxes, kid-safe knives, interactive placemats, and more.
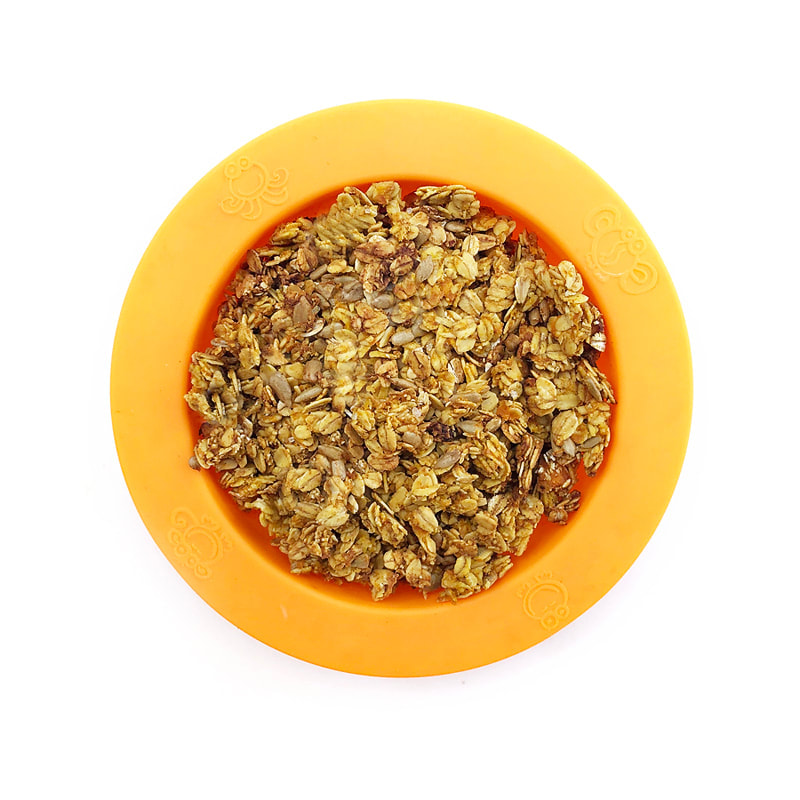
Orange you glad it’s pumpkin season?? We gathered our favorite orange veggies to pair with pumpkin: sweet potato and carrots! Did you know you can add veggies to granola!? Yes, this granola is packed with a veggie punch and it tastes delicious! Our orange foods makes this the perfect topping for yogurt, great to eat with milk, or just by the spoonful.
This recipe was developed by Eat Pretty Darling for Veggie Buds Club. "Learn to Love Veggies" Tip
Ask your kids how many orange veggies and fruits can they think of? Take turns! They say an orange veggie/fruit, then you say an orange veggie/fruit, and so on. Making veggies "fun" and part of a game will make them less "scary" at meal time.
 Outrageous Orange Granola
Prep time: 10 MinCook time: 35 MinTotal time: 45 Min
Did you know you can add veggies to granola!? Yes, this granola is packed with an orange veggie punch (carrot, pumpkin, and sweet potato!) and it tastes delicious.
Ingredients
Instructions
Check out our shop for products that teach kids to learn to love veggies! This includes veggie activity boxes, kid-safe knives, interactive placemats, and more.
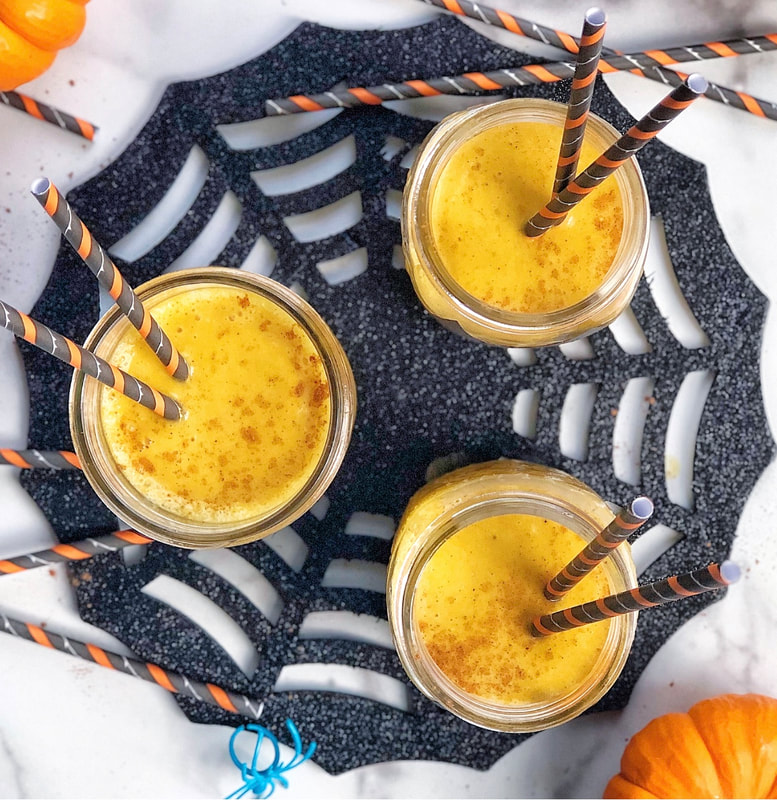
Need a quick, easy, and delicious snack that celebrates pumpkin? Try this sweet, refreshing smoothie that tastes just like pumpkin pie! This recipe also includes some optional frozen cauliflower for an extra veggie-boost. If you want to make the smoothie even more festive for Halloween, instructions on how to create easy Jack-O-Lantern cups are below.
This recipe was developed by Happy Kids Kitchen for Veggie Buds Club. "Learn to Love Veggies" Tip
Kids will love to help by measuring the ingredients, adding them to the blender, and working those blender buttons!
 Jack-o-Lantern Smoothie
Yield: 3 8-ounce smoothies
Need a quick, easy, and delicious snack that celebrates pumpkin? Try this sweet, refreshing smoothie that tastes just like pumpkin pie. This recipe also includes some optional frozen cauliflower for an extra veggie-boost.
Ingredients
Instructions
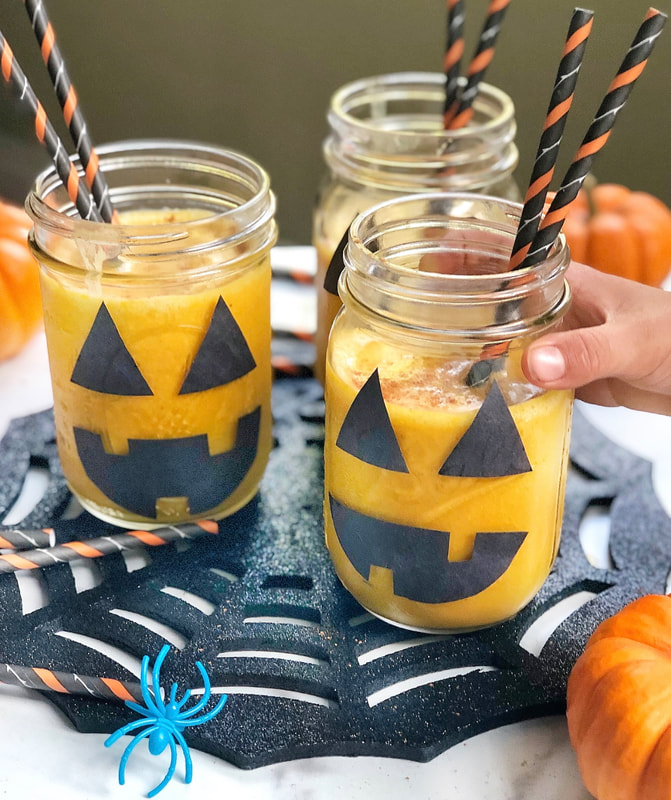
How to Make Jack-O-Lantern Cups
You can make Jack-O-Lantern cups two ways:
Check out our shop for products that teach kids to learn to love veggies! This includes veggie activity boxes, kid-safe knives, interactive placemats, and more.
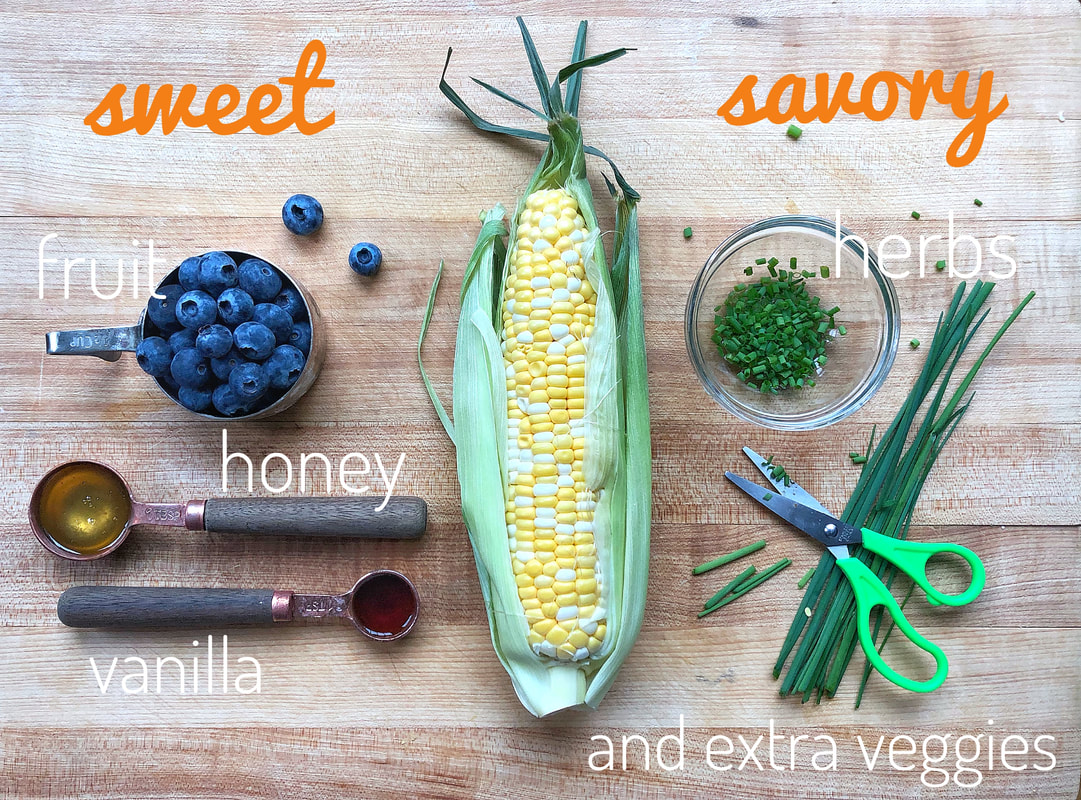
Are you on Team Sweet or Team Savory?!
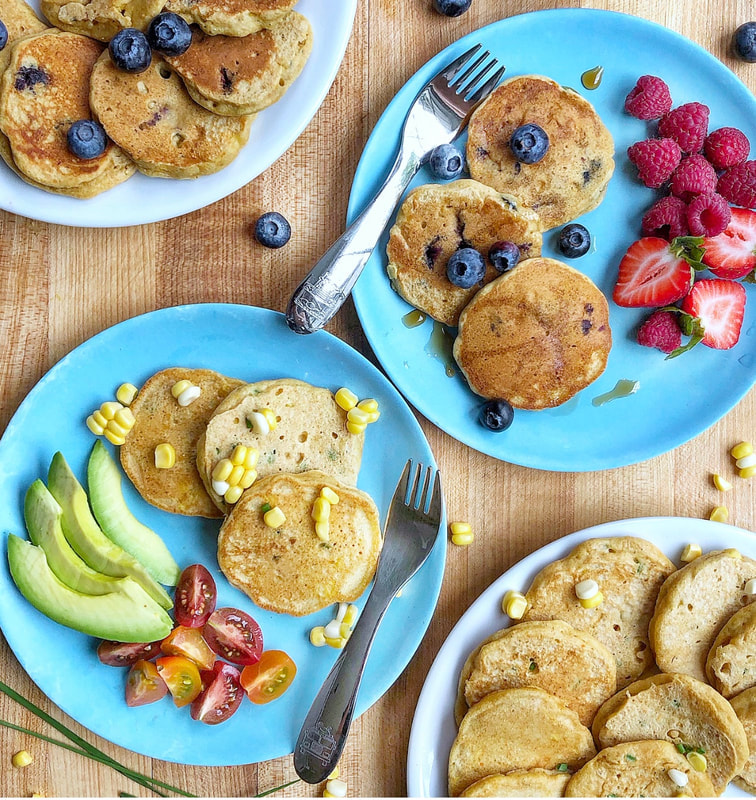
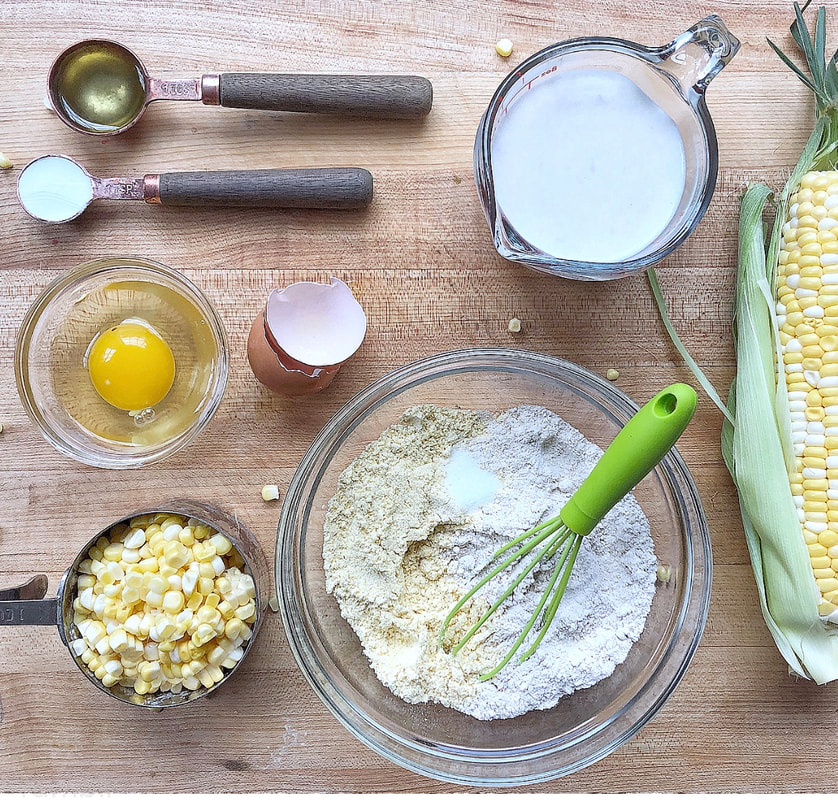
Take pancakes beyond breakfast and serve them as a snack or a side dish at lunch or dinner. You can mix up the base pancake batter and really add in anything you'd like. For the sweet pancakes, add in fruit, like blueberries or diced strawberries. For a savory pancake, keep the batter as written or add soft herbs like chives or chopped cilantro. You could even add in extra veggies like shredded zucchini or diced bell peppers. Serve sweet pancakes as is or with a drizzle of maple syrup or honey. The savory pancakes are great with avocado or spread with a little cream cheese and made into sandwiches. Try both recipes and come tell us whether you are on team sweet or on team savory! "Learn to Love Veggies" Tip
Fresh corn is so versatile so be sure to have your children try it in a variety of ways! It is delicious in cornbread, corn muffins, corn soups, and corn salads, so why not make a kid favorite, pancakes, and try them out in both sweet and savory ways?!
 Sweet or Savory Corn Pancakes
Are you on Team Sweet or Team Savory?! Take pancakes beyond breakfast and serve them as a snack or a side dish at lunch or dinner.
Ingredients
Corn Pancakes
Sweet
Savory (optional)
Instructions

Check out our shop for products that teach kids to learn to love veggies! This includes veggie activity boxes, kid-safe knives, interactive placemats, and more.
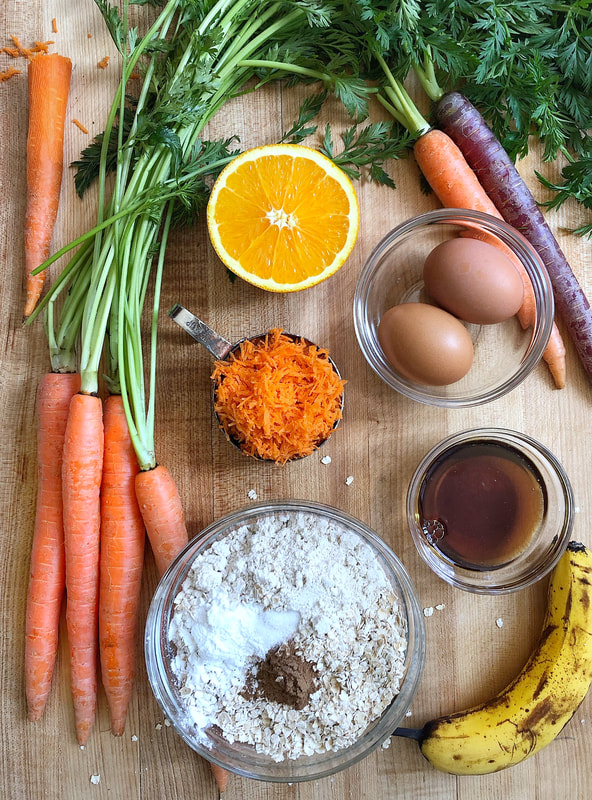
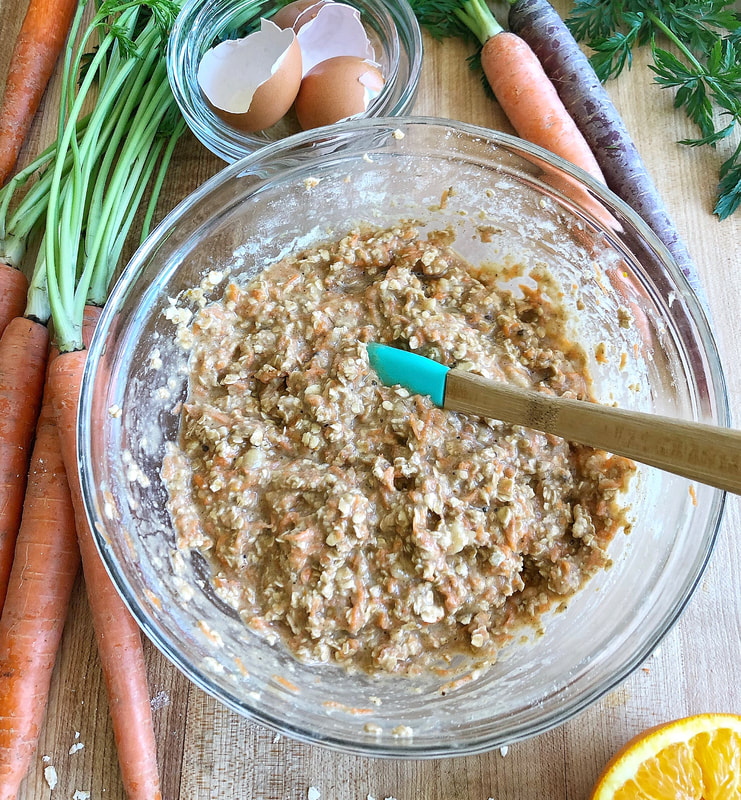
The top of the muffin is the best part, right?! These wholesome treats are a combination of a tender muffin and an oatmeal breakfast cookie. We love them for breakfast or a snack at my house, and this carrot cake version is a must try. The muffin tops are great as is but sometimes I also like to mix in a 1/4 cup of chopped walnuts and a 1/4 cup of raisins to make them extra special.
This recipe was developed by Happy Kids Kitchen for Veggie Buds Club. "Learn to Love Veggies" Tip
Get your kids in the kitchen! Have your little chef help grate the carrot, measure the ingredients, and mix everything together in a big bowl.
 Carrot Cake Muffin Tops
Yield: 8-10 large muffin tops
Prep time: 10 MinCook time: 12 MinTotal time: 22 Min
The top of the muffin is the best part, right?! These wholesome treats are a combination of a tender muffin and an oatmeal breakfast cookie. Eat them for breakfast or a snack anytime of the day!
Ingredients
Instructions
Notes:*For an egg-free version, use 2 tablespoons ground flax seed mixed with 6 tablespoons of water. 
Check out our shop for products that teach kids to learn to love veggies! This includes veggie activity boxes, kid-safe knives, interactive placemats, and more.
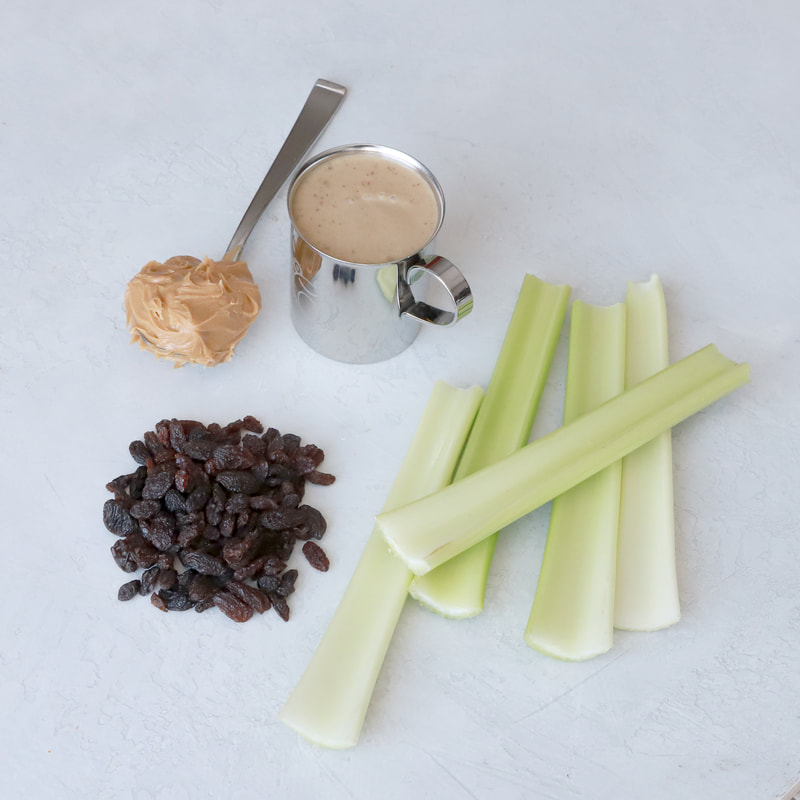
"Ants on a Log" Smoothie may sound a little crazy but this peanut buttery drink is absolutely delicious and veggie-packed with celery, a neutral tasting yet very nutritious veggie!
This recipe was developed by Motherhood and Meals for Veggie Buds Club. "Learn to Love Veggies" Tip
Ants on a log is a super common snack for kids to expose them to the taste and texture of celery. But what about the children that struggle with the intense crunch or the “celery strings”? Exposing kids to celery in a smoothie is a great start, you can gradually move up in exposure with cooked celery in stir fries and eventually raw celery on veggie plates.
 Ants on a Log Smoothie
"Ants on a Log" Smoothie may sound a little crazy but this peanut buttery drink is absolutely delicious and veggie-packed with celery, a neutral tasting yet very nutritious veggie!
Ingredients
Instructions
Check out our shop for products that teach kids to learn to love veggies! This includes veggie activity boxes, kid-safe knives, interactive placemats, and more.

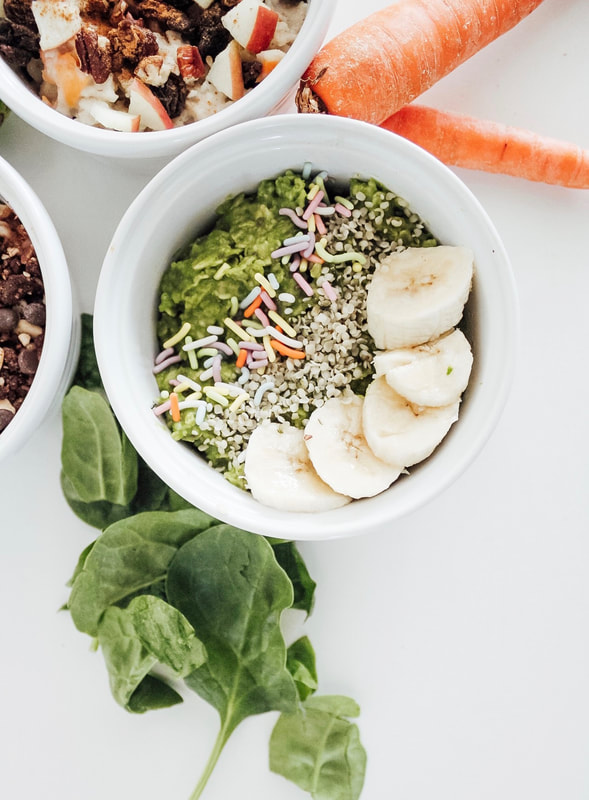
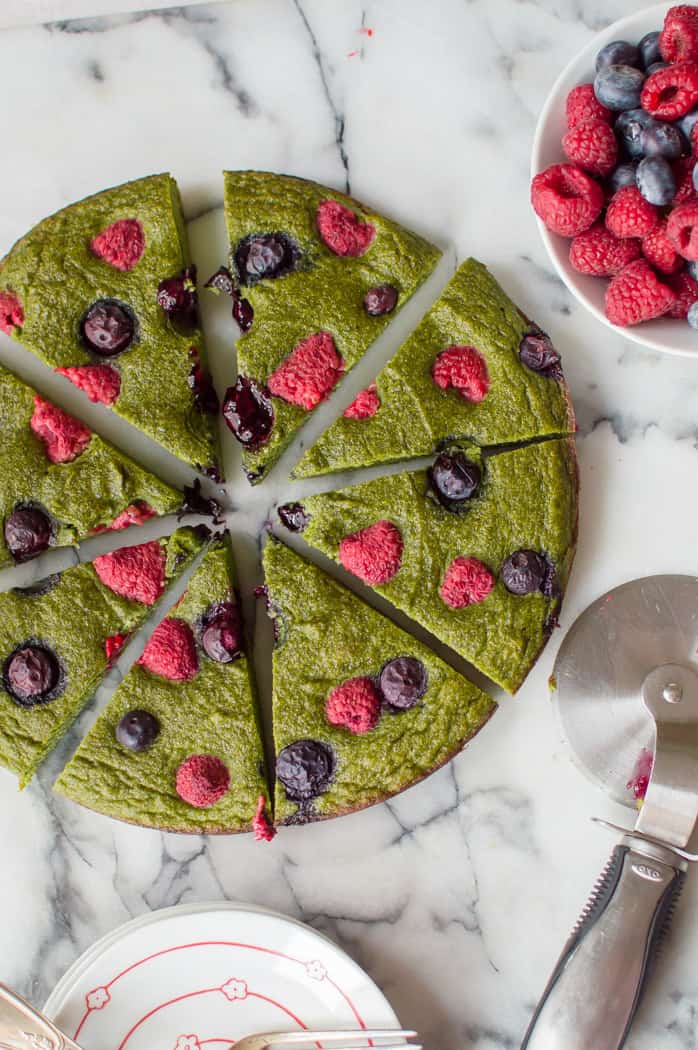
We are excited to bring you this month's post from Katie Blauser, the creator of Eat Pretty Darling. Each month on our blog we feature a "Color of the Week" that corresponds with Veggie Buds Club's veggie of the month. January's featured veggie is BROCCOLI so of course we're celebrating GREEN veggies! 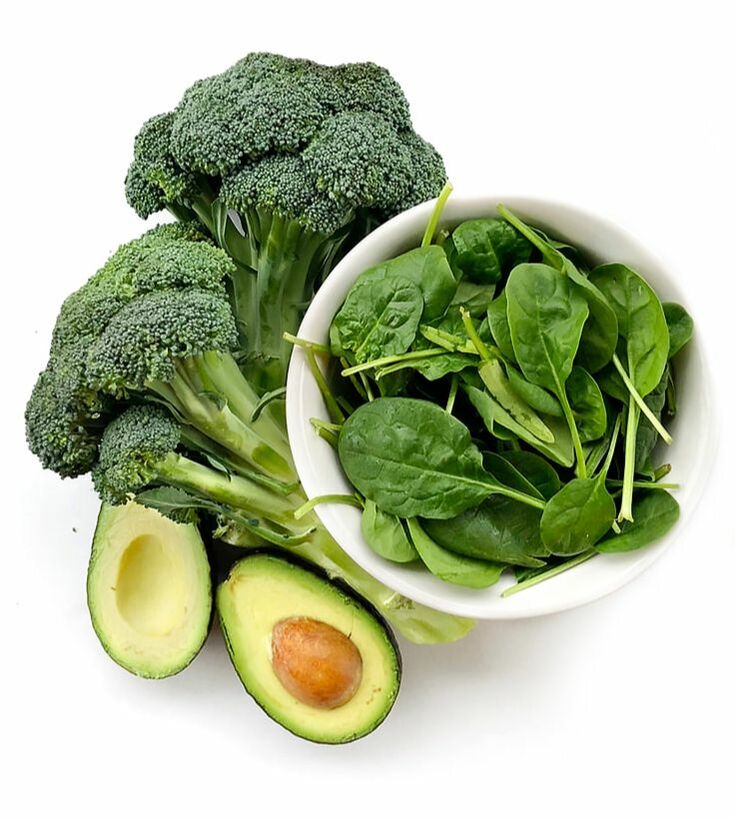 Katie Blauser is the mama of two boys, wife of a picky eater, and food lover at Eat Pretty Darling. She believes in making food fun, healthy, & pretty! Katie’s not only outnumbered by boys in her little family, but also by picky eaters. She loves trying to find new ways to get both kids and adults to eat healthy while making food pretty yummy, pretty healthy, and pretty fun! Find Katie on Instagram (@eatprettydarling), where she shares colorful and cute food ideas for both picky and adventurous eaters. Color of the Week - GreenThis week is as easy one, GREEN! I think green is probably the easiest color to find in the produce section of your grocery store. But unfortunately, it can also be the hardest one to get your little ones to eat. You can find anything from fruit to vegetables, herbs to nuts. Green is such a fun color to take on for #eatprettycoloroftheweek and allows for so many options! We picked out broccoli, spinach, avocado, and green onion and decided to make it into a savory pancake. Pancakes are always a favorite in our house so I thought it would be a great new way to introduce a food we’re still learning to like, broccoli. And what pairs better with broccoli than cheese?! These Broccoli & Cheese Pancakes are great served as pancakes for breakfast, dipped in ketchup as a side to any meal, or eaten just as they are! 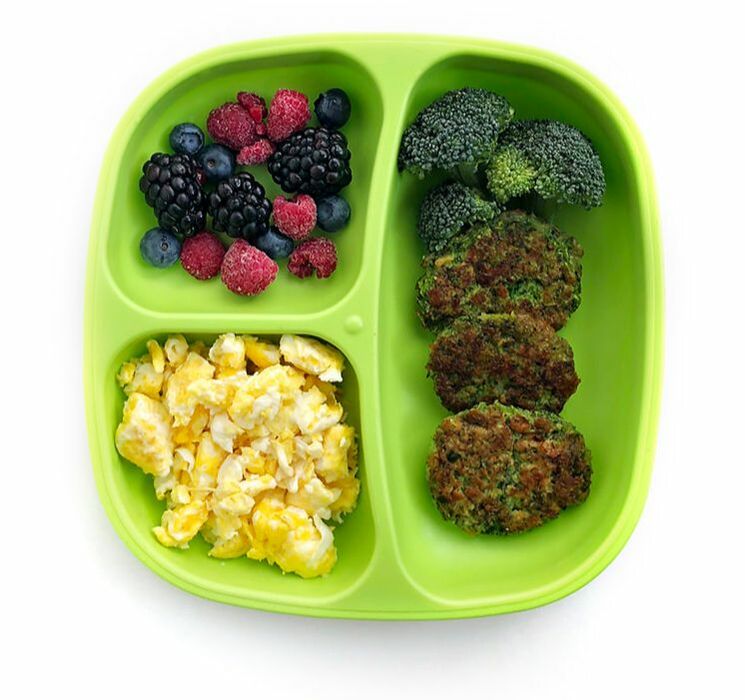 Cheesy Broccoli PancakesIngredients
Green FoodsThere are more out there, but here’s a list to get started!
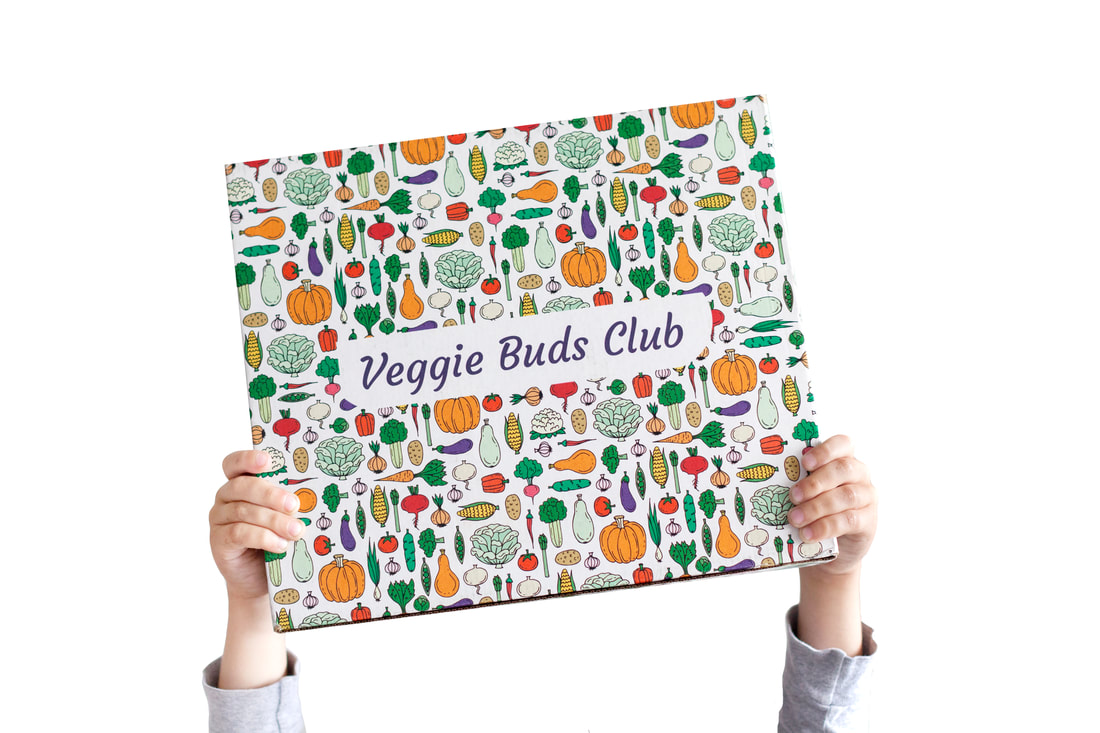
Want your kids to eat more veggies?Check out our shop for interactive and fun products that teach kids that veggies are fun and tasty! In our shop you can find kid-safe knives, interactive placements, veggie-themed activity boxes, and more! 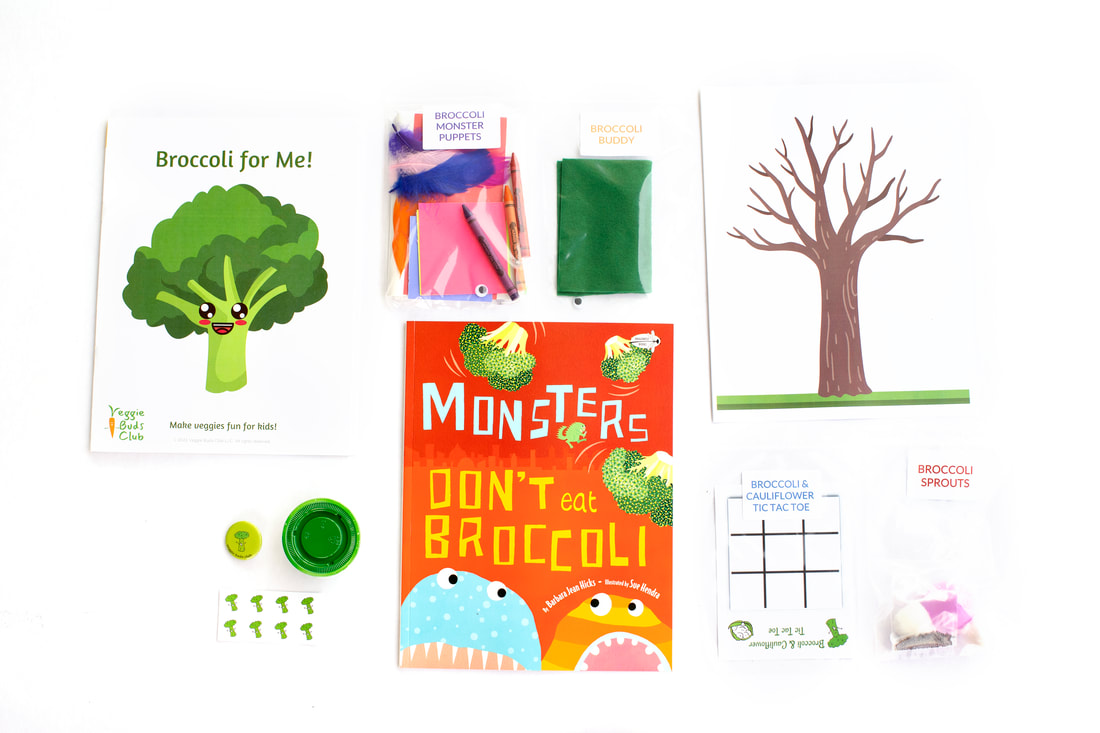
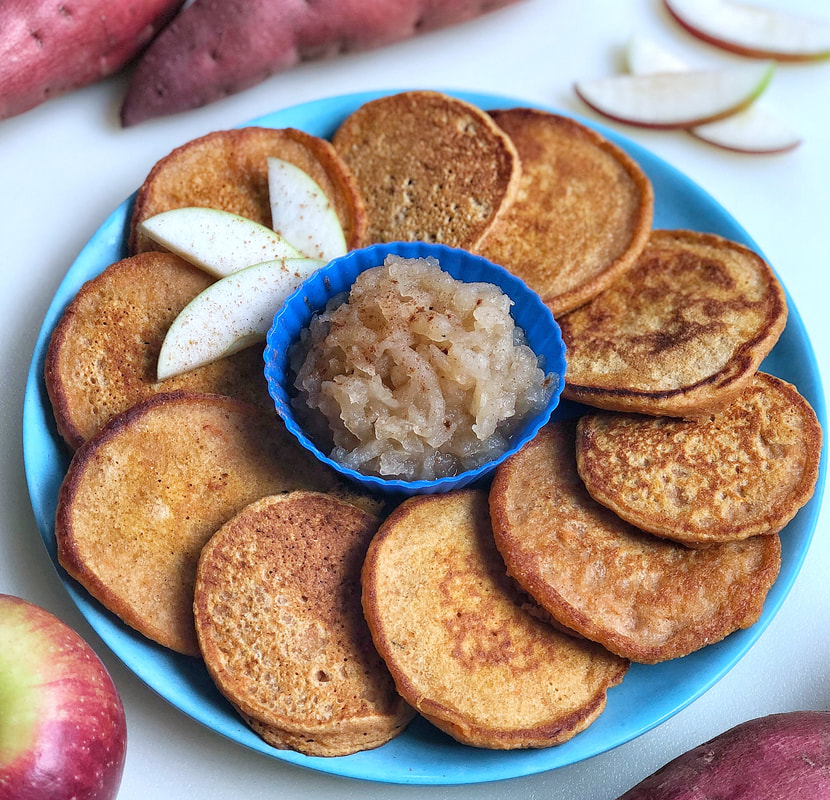
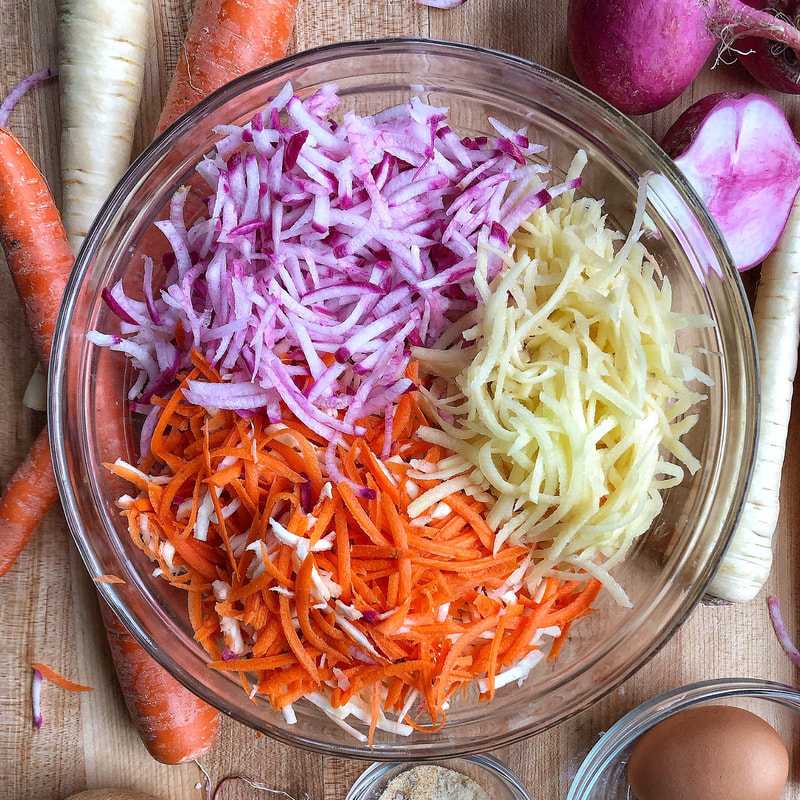
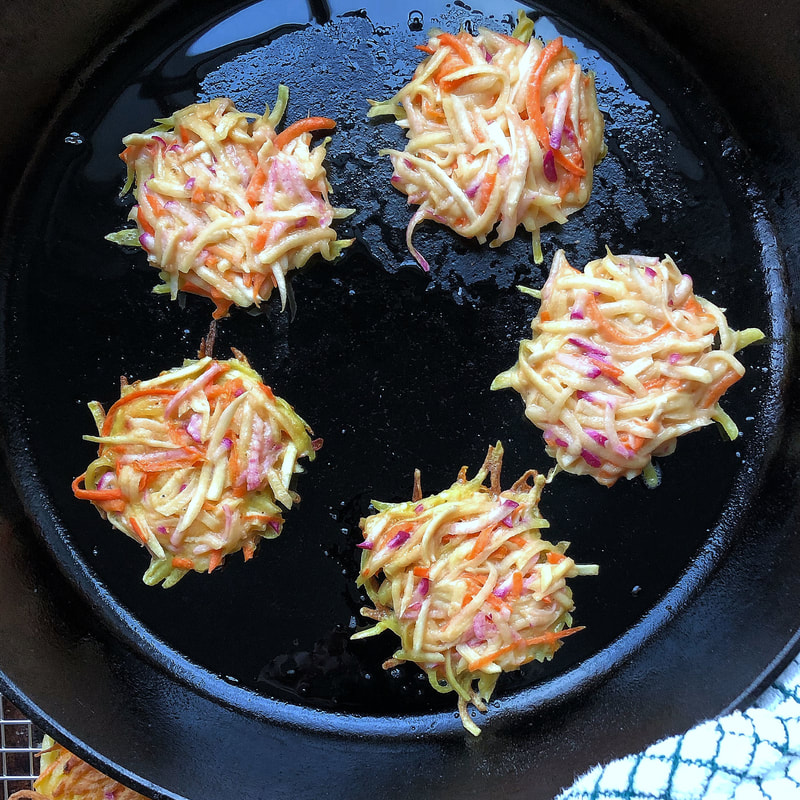
Turn a bowl full of winter root veggies into crispy fritters to enjoy any time of day. Top the veggie pancakes with a little Greek yogurt, sour cream, or even applesauce. If you have a French fry fan or potato lover, these are sure to be a hit!
This recipe was developed by Happy Kids Kitchen for Veggie Buds Club. "Learning to Love Veggies" Tip
Get your kids in the kitchen! Have your little chef help peel and grate the veggies, either by hand, with a box grater, or using a food processor. Crack the eggs together, then mix in a couple more ingredients and you are ready to cook.
 Root Veggie Latkes
Prep time: 10 MinCook time: 10 MinTotal time: 20 Min
Turn a bowl full of winter root veggies into crispy fritters to enjoy any time of day. Top the veggie pancakes with a little Greek yogurt, sour cream, or even applesauce. If you have a French fry fan or potato lover, these are sure to be a hit!
Ingredients
Instructions
Notes:*For egg-free latkes, substitute eggs for 2 tablespoons of ground flax mixed with 4 tablespoons of water. Latkes will be a little bit softer but still hold together. 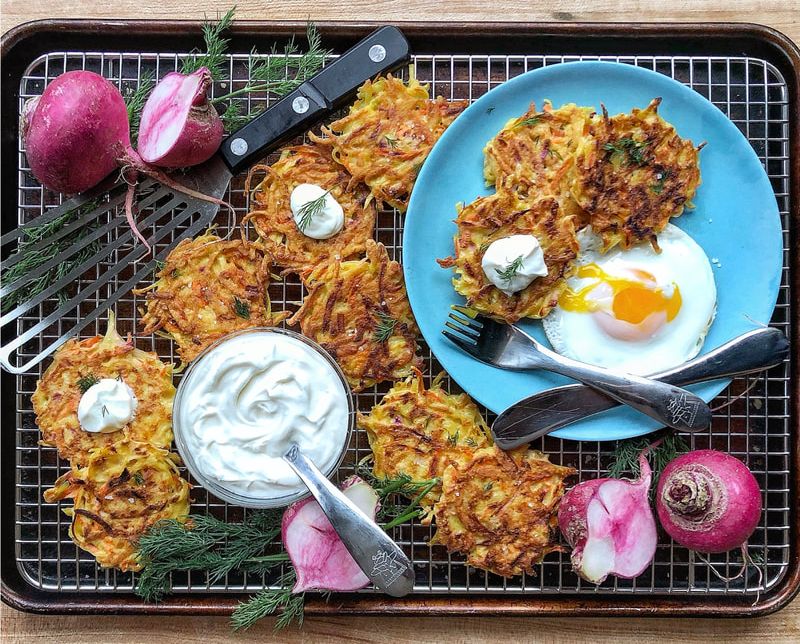
Check out our shop for products that teach kids to learn to love veggies! This includes veggie activity boxes, kid-safe knives, interactive placemats, and more.
|