|
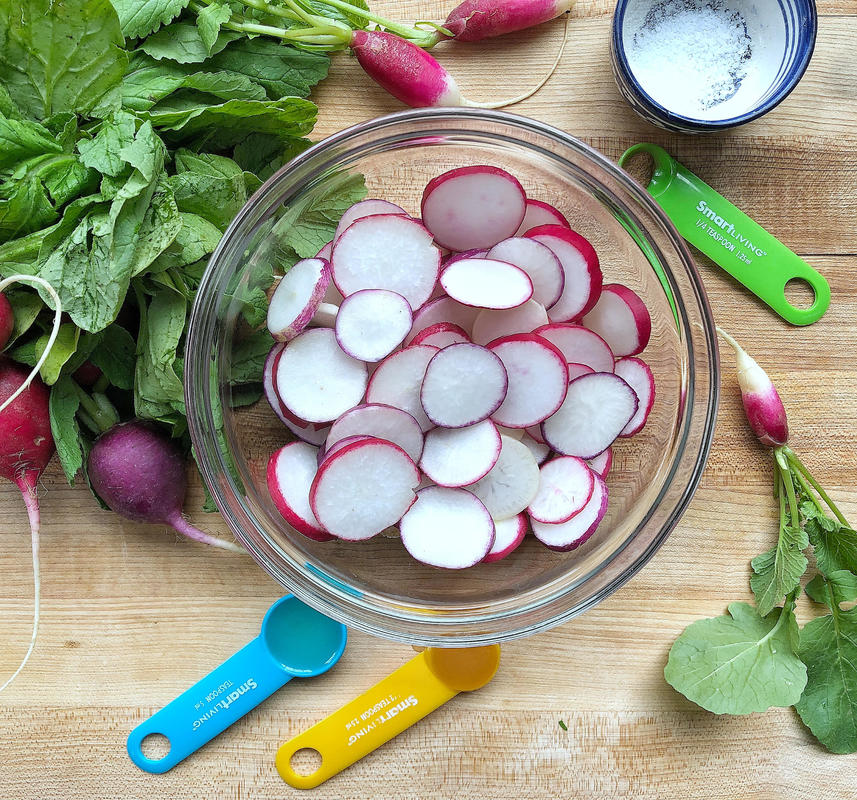
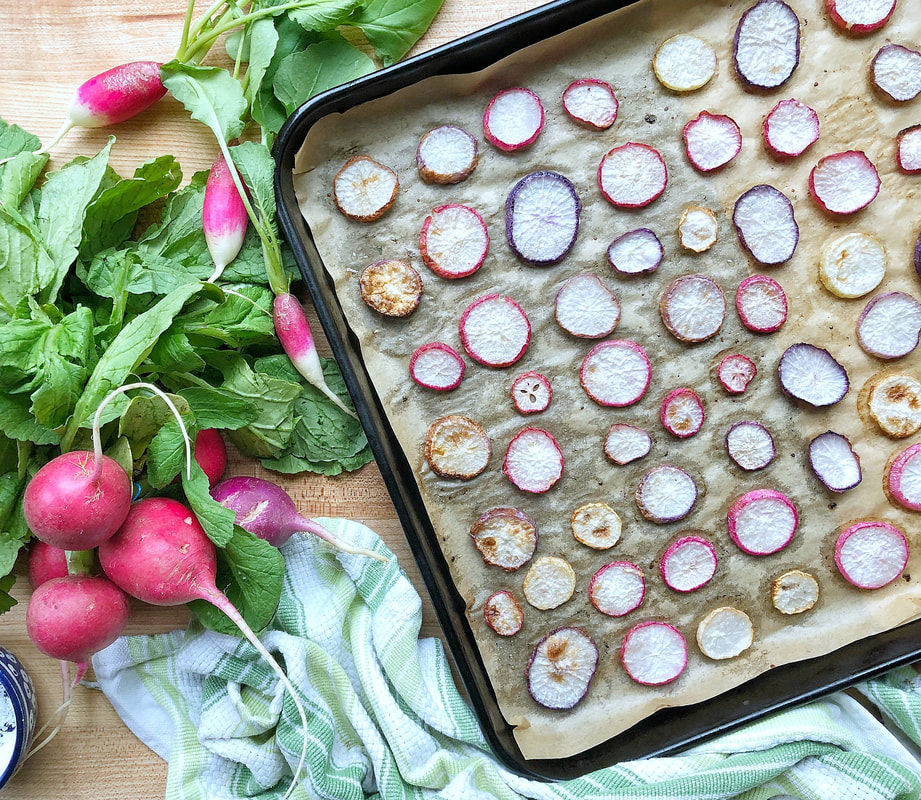
Roasting radishes dramatically mellows it’s naturally spicy flavor and the little bit of honey in the recipe adds a touch of sweetness that we all love. Enjoy the roasted “coins” as a simple side dish or snack. We also love them as a topping for fancy toast: toast bread then top with mashed avocado (or cream cheese) and the radishes. Yum! 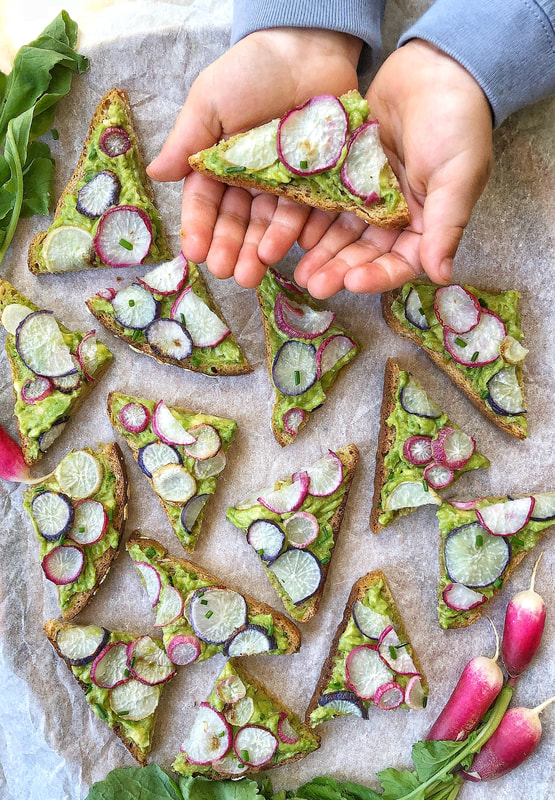 This recipe was developed by Heather Staller, a mom of two boys, ages 5 and 3, and cooking instructor specializing in bringing cooking into preschool classrooms. After college, Heather knew she wanted to be a teacher, but first followed her lifelong dream of going to culinary school. Teaching cooking combines both of her passions, and she truly enjoys introducing young children to the joys of cooking with fresh ingredients. Find Heather on Instagram (@heather.happykidskitchen), where she shares inventive kid-friendly recipes and ideas for cooking with kids at home Honey Roasted Radish "Coins"Getting kids excited about a new veggie often starts while shopping! Have your child choose which bunch of radishes they’d like to take home from the store or farmer’s market. The crunchy veggie comes in so many wonderful colors and shapes! Ingredients
Want your kids to eat more veggies?
0 Comments
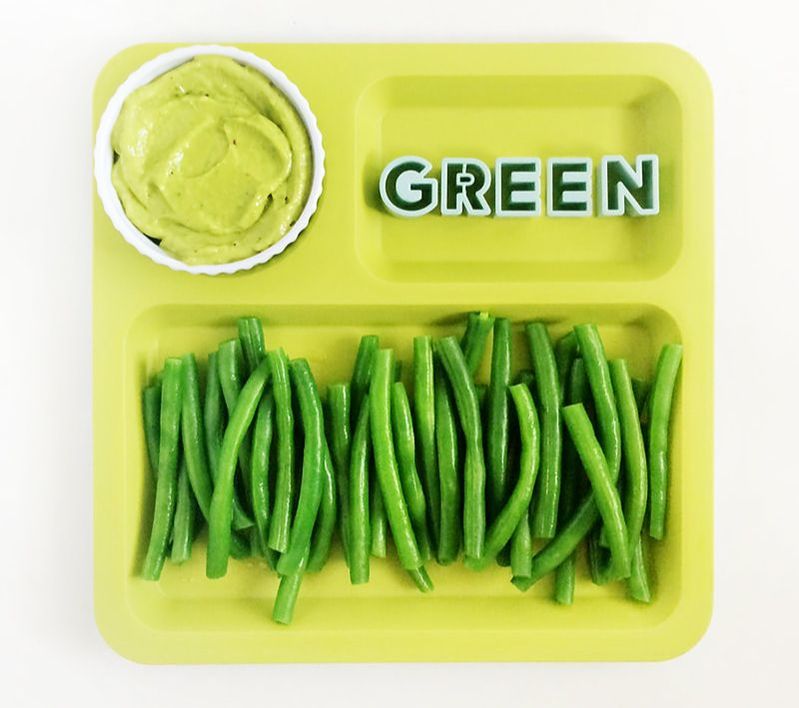
We are excited to bring you a new monthly series from Katie Blauser, the creator of Eat Pretty Darling. Each month on our blog we will feature a "Color of the Week" that corresponds with Veggie Buds Club's veggie of the month. We're featuring BEANS this month so we can't wait to focus on GREEN veggies! 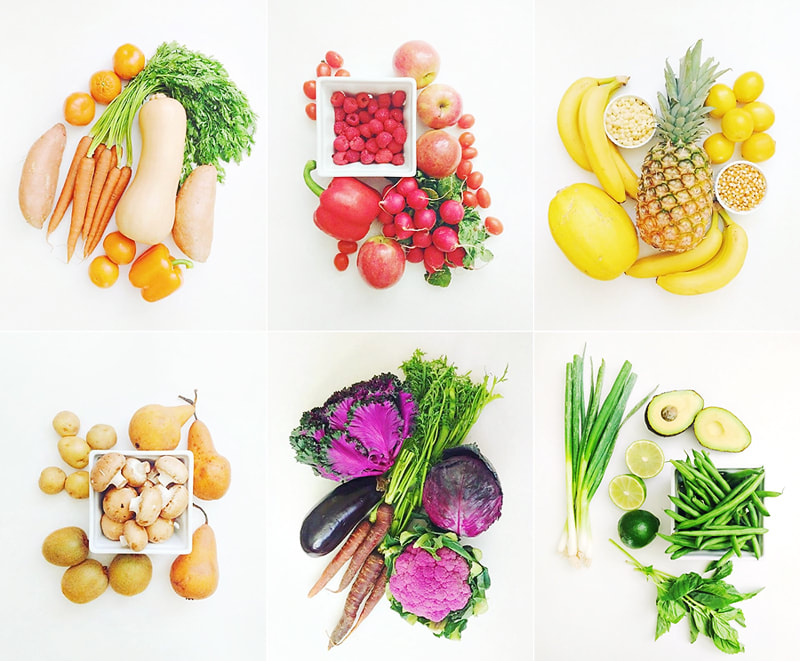 Katie Blauser is the mama of two boys, wife of a picky eater, and food lover at Eat Pretty Darling. She believes in making food fun, healthy, & pretty! Katie’s not only outnumbered by boys in her little family, but also by picky eaters. She loves trying to find new ways to get both kids and adults to eat healthy while making food pretty yummy, pretty healthy, and pretty fun! Find Katie on Instagram (@eatprettydarling), where she shares colorful and cute food ideas for both picky and adventurous eaters. Color of the Week - GREENLet’s face it, we don’t all have access to farm stands and gardens year round to source our fresh produce each week. It’s not always feasible to have our kids helping to grow the food we eat either. Most of us have to count on the grocery store to fill our bellies, but there’s still a fun way to get the kids involved! Each week we head out to to grocery store with a color to find! We stick to the produce section and try to pick 4-5 items that fit our color. Sometimes it’s the color on the outside, sometimes it’s the color on the inside. It’s a great way to get the kids excited about trying new things! Let your kids pick the items out. We try to get at least one thing he likes and some other things he hasn’t tried or is still learning to like. Even if I’ve offered him something a million times, he gets more interested in trying it if he had a hand in picking it out. Getting kids involved every step of the way can help your picky eater become a little more adventurous. Now go explore your grocery store! A colorful bounty awaits. Green Food IdeasThere are more out there, but here’s a list to get started!
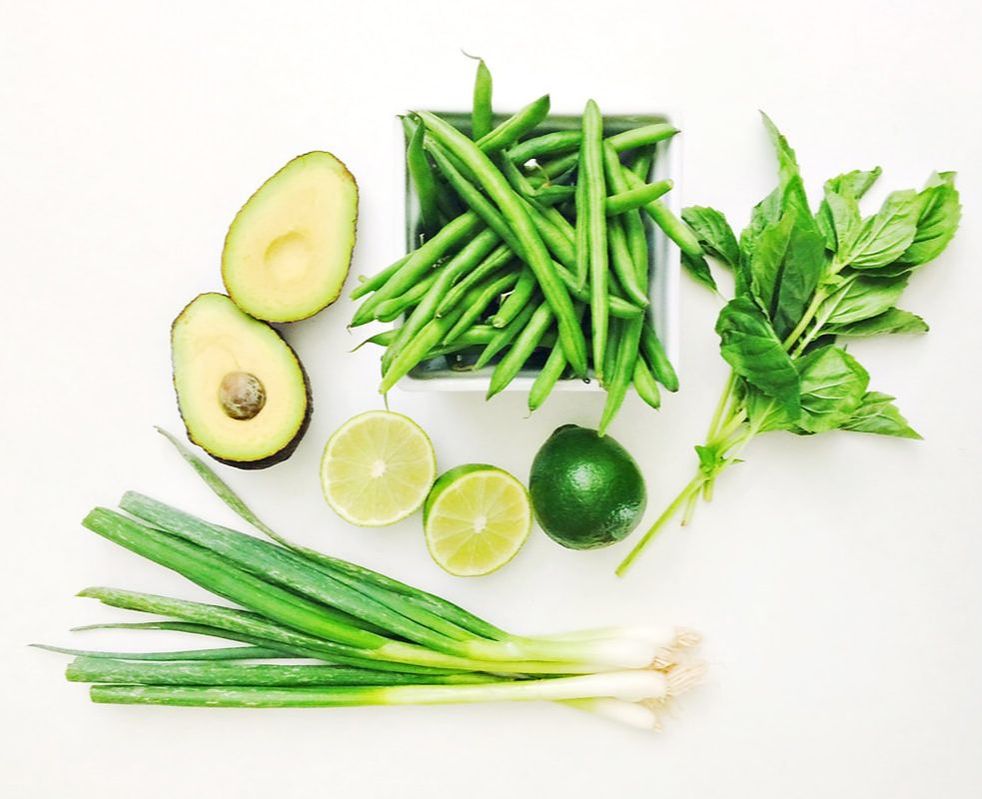 Green Bean Sticks with Green DipNow what to do with all of your colorful food? Try to incorporate these items into your weekly meals. How about a totally green meal such as these Green Bean Sticks with Green Dip?! Ingredients
Get the kids involved in cooking! Here’s some ways they can help for this recipe:
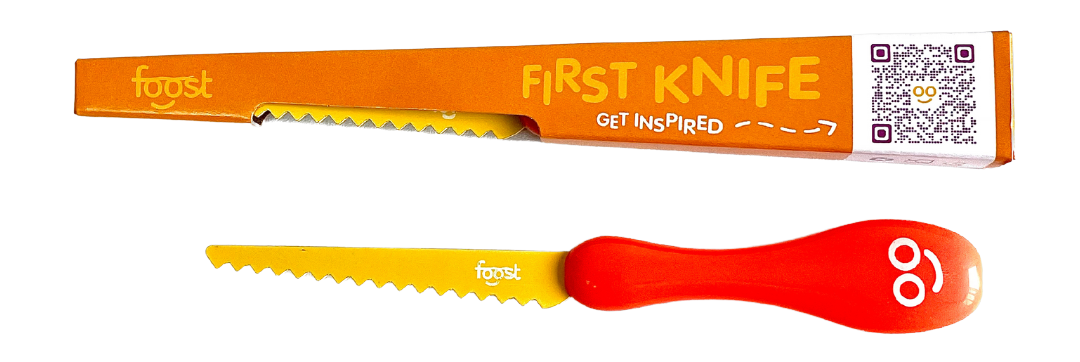
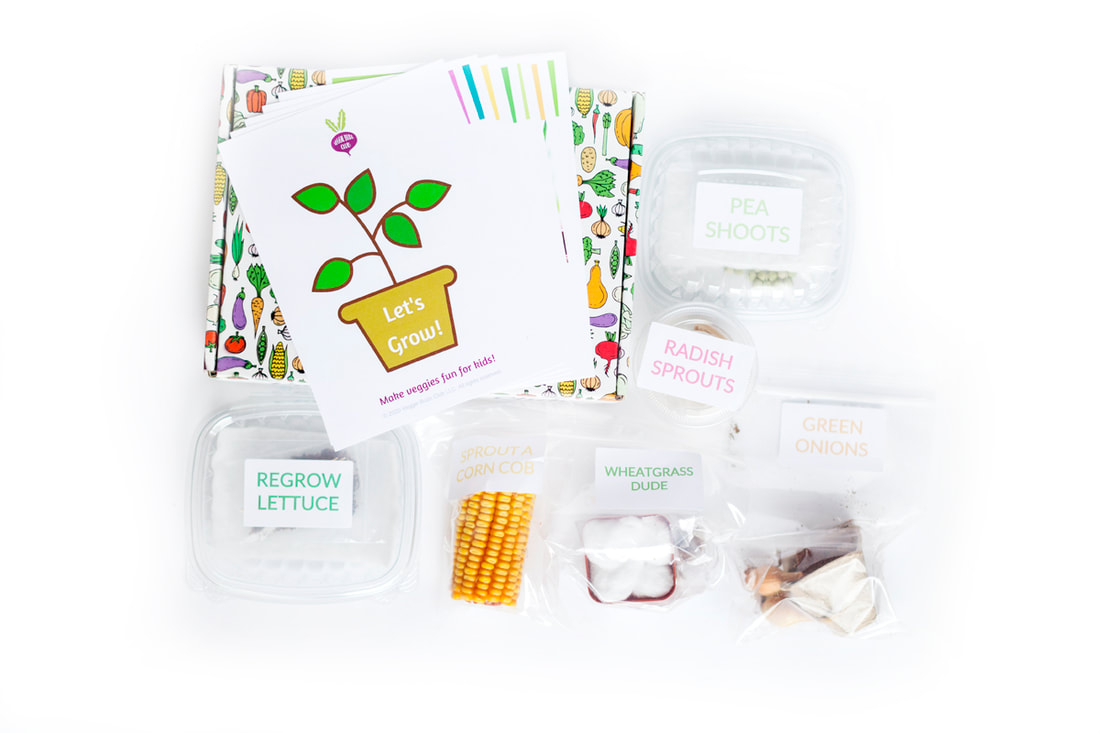
 Want some great products that teach kids to learn to love veggies?
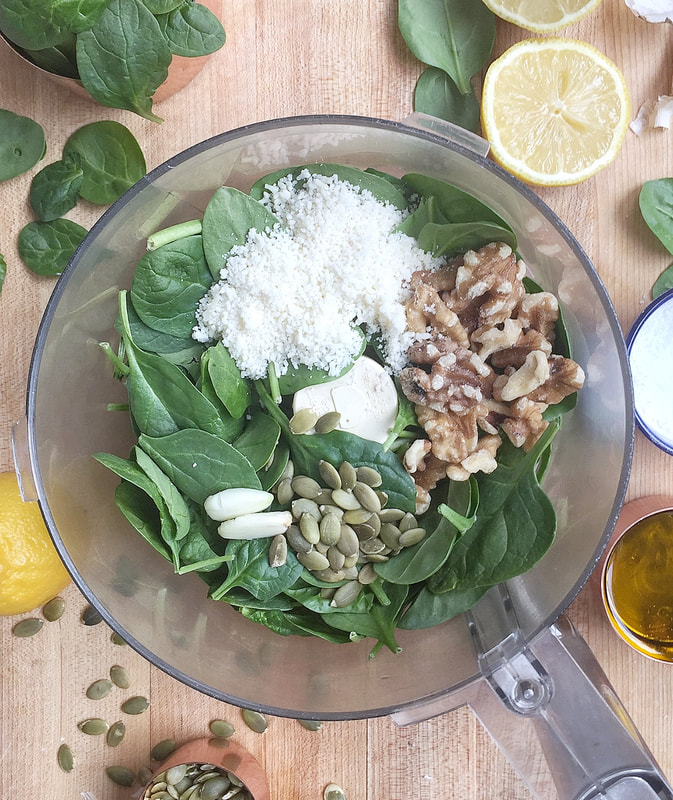
Check out our shop for kid-safe knives, interactive placements, and veggie-themed activity boxes! This pesto packs a ton of spinach power into a single spoonful. Kids will love smashing the garlic clove, adding ingredients to the food processor, and pushing the buttons to grind the pesto. 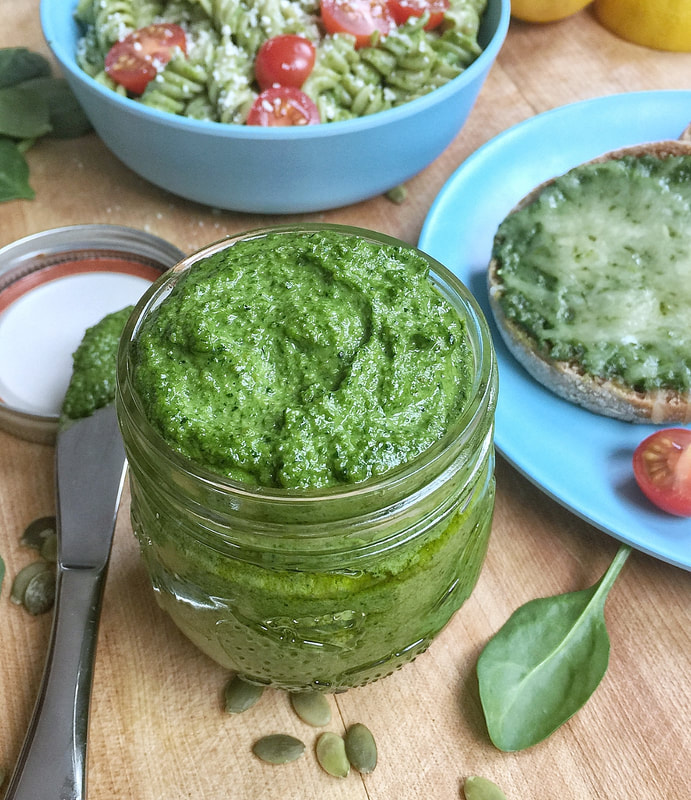 This recipe was developed by Heather Staller, a mom of two boys, ages 5 and 3, and cooking instructor specializing in bringing cooking into preschool classrooms. After college, Heather knew she wanted to be a teacher, but first followed her lifelong dream of going to culinary school. Teaching cooking combines both of her passions, and she truly enjoys introducing young children to the joys of cooking with fresh ingredients. Find Heather on Instagram (@heather.happykidskitchen), where she shares inventive kid-friendly recipes and ideas for cooking with kids at home. Superfood Spinach PestoIngredients
Instructions
Here are some ways to use pesto!
Want some great products that teach kids to learn to love veggies?
Check out our shop for kid-safe knives, interactive placements, and veggie-themed activity boxes!
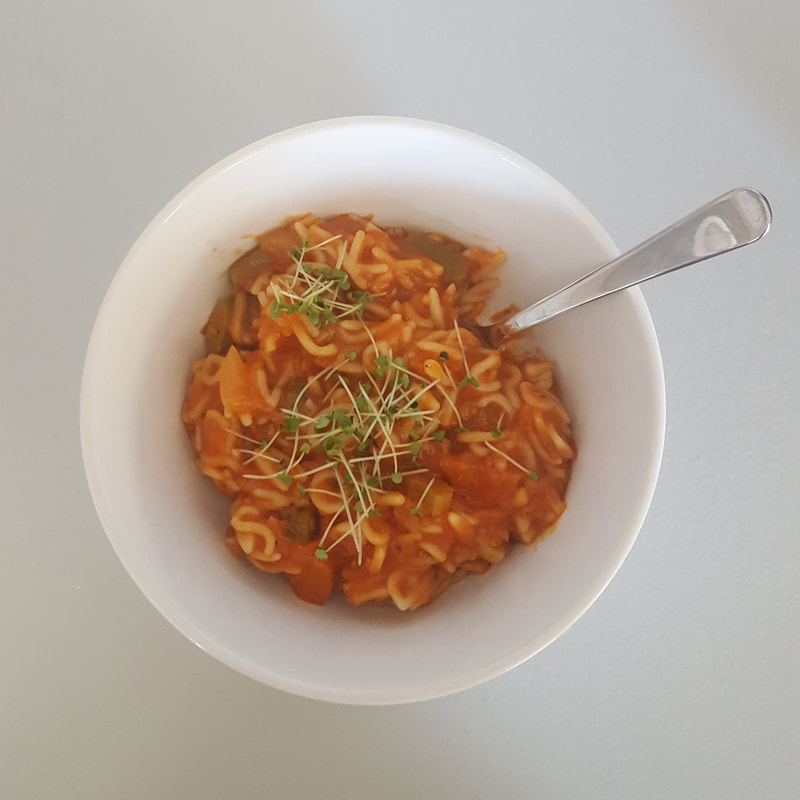
This delicious soup will have your children "eating the rainbow"! Dry alphabet pasta makes this recipe souper kid-friendly but if you can't find any at your local grocery store any small pasta shape will do.
This recipe was developed by Happy Kids Kitchen for Veggie Buds Club. "Learn to Love Veggies" Tip
Get your kids involved in the kitchen! They can peel the carrots, chop the veggies, add the veggies to the pot, and stir in those fun alphabet noodles.
 Easy Alphabet Veggie Soup
This delicious soup will have your children "eating the rainbow"! Dry alphabet pasta makes this recipe souper kid-friendly but if you can't find any at your local grocery store any small pasta shape will do.
Ingredients
Instructions
Notes:*Cooked pasta will absorb lots of liquid if left in the soup for an extended period of time. If you’d like to make this soup in advance or freeze a portion to enjoy another time, you will want to cook your pasta in a separate pot, drain, then add to the portion of the soup you will be eating right away. 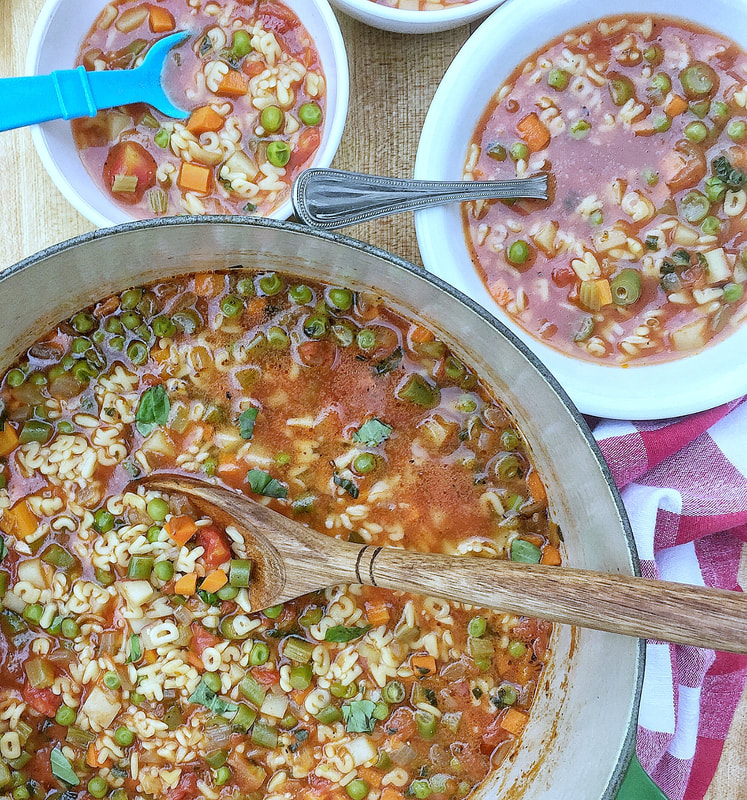
Check out our shop for products that teach kids to learn to love veggies! This includes veggie activity boxes, kid-safe knives, interactive placemats, and more.
Micro basil is a type of basil that has been harvested when it is very young and the leaves are small. Another name for micro basil is baby basil! They are most commonly used as an herb to add flavor to a variety of dishes, the basil flavor is more concentrated and very delicious.
"Learn to Love Veggies" Tip
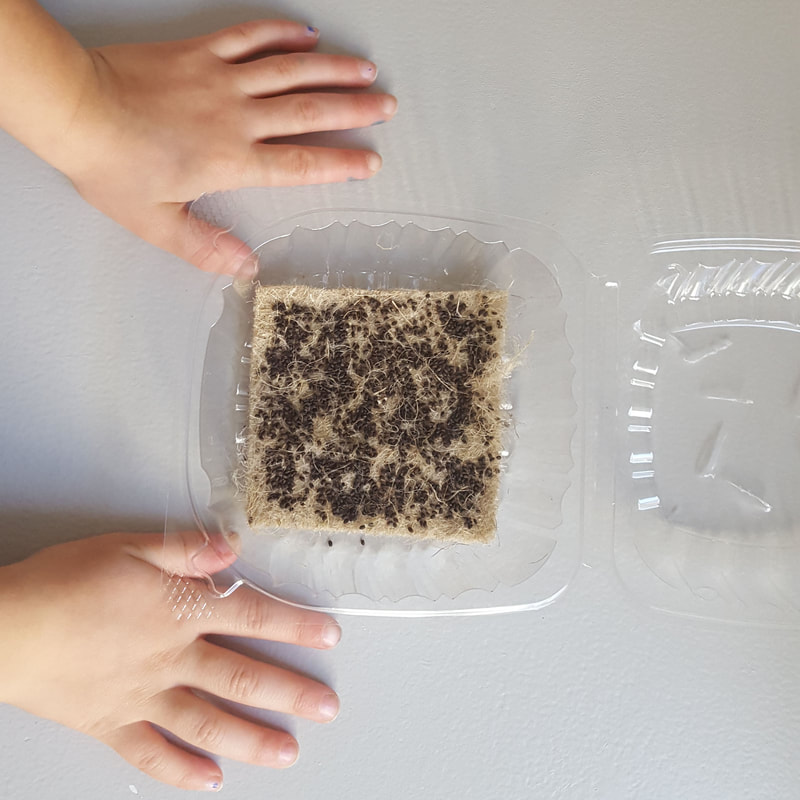
Growing your own veggies can be so rewarding for kids and it is a great sensory activity for toddlers too. Research shows that kids are more likely to try new veggies if they know they have grown them themselves!
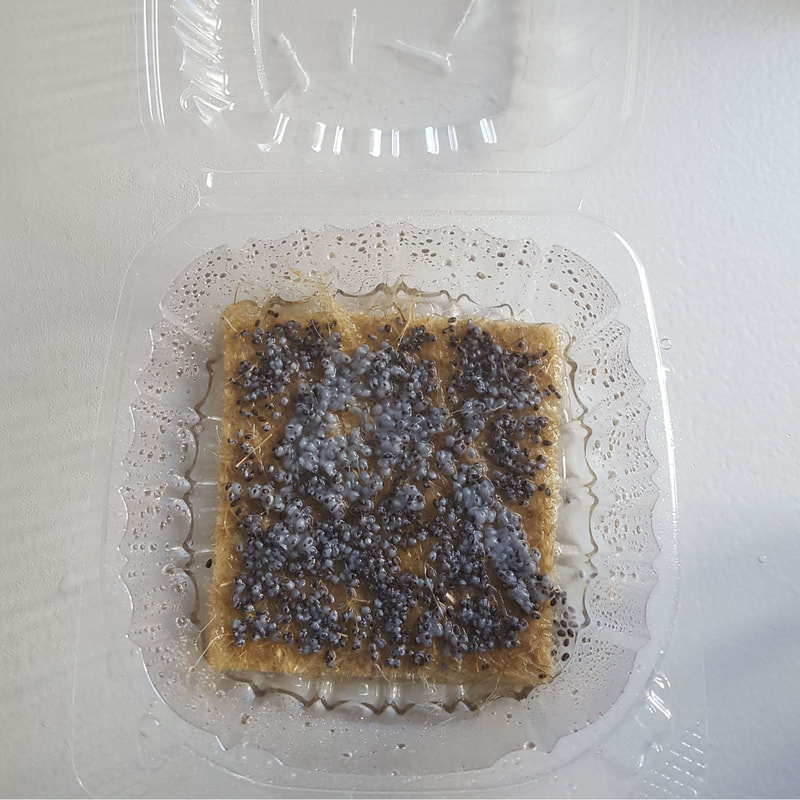
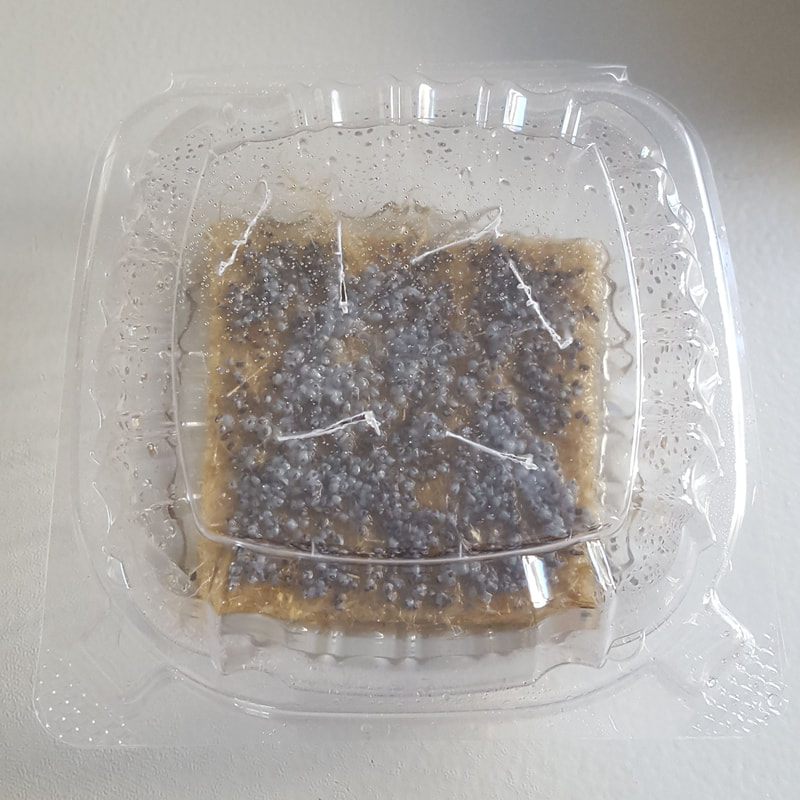
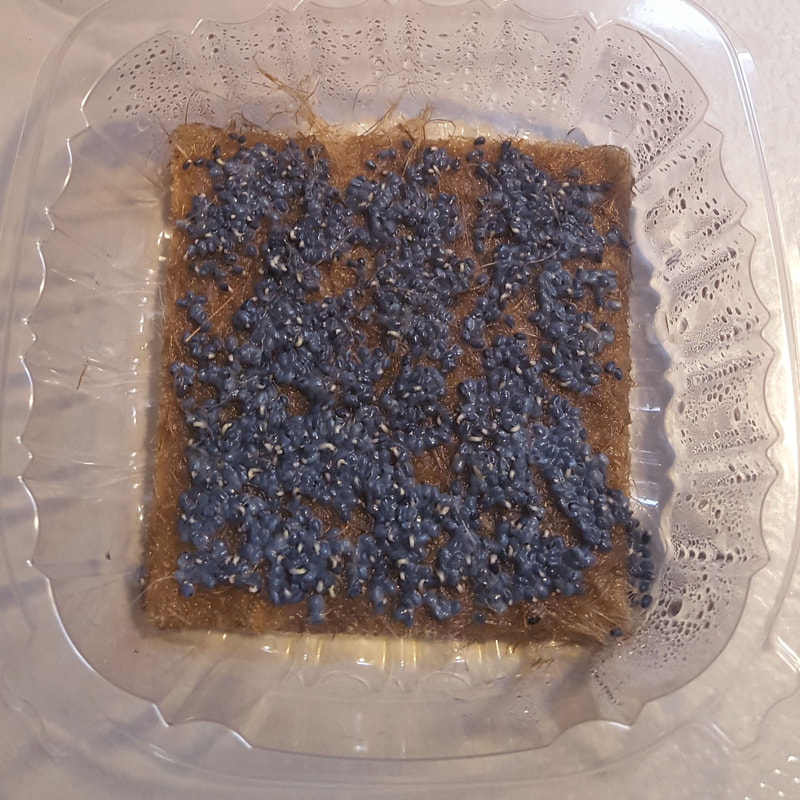
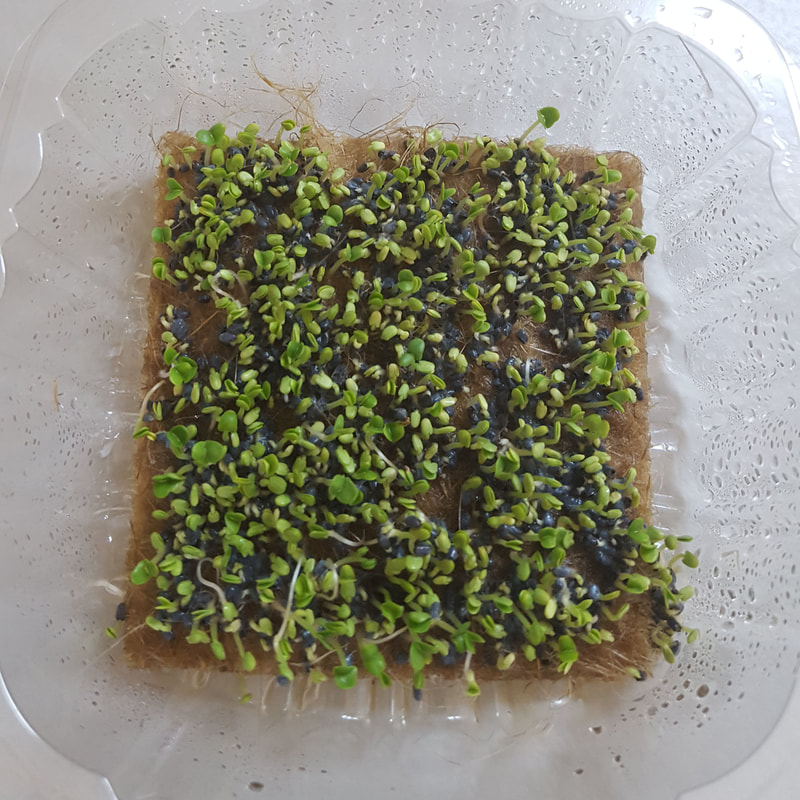
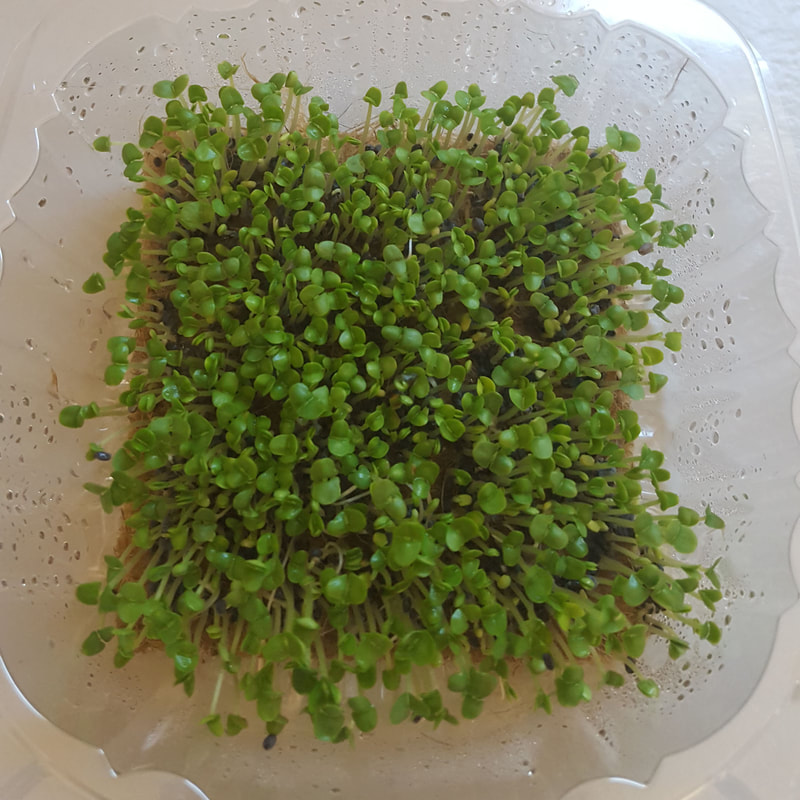
 How to Grow Micro Basil
Micro basil is a type of basil that has been harvested when it is very young and the leaves are small. Another name for micro basil is baby basil! They are most commonly used as an herb to add flavor to a variety of dishes, the basil flavor is more concentrated and very delicious.
Ingredients
Instructions
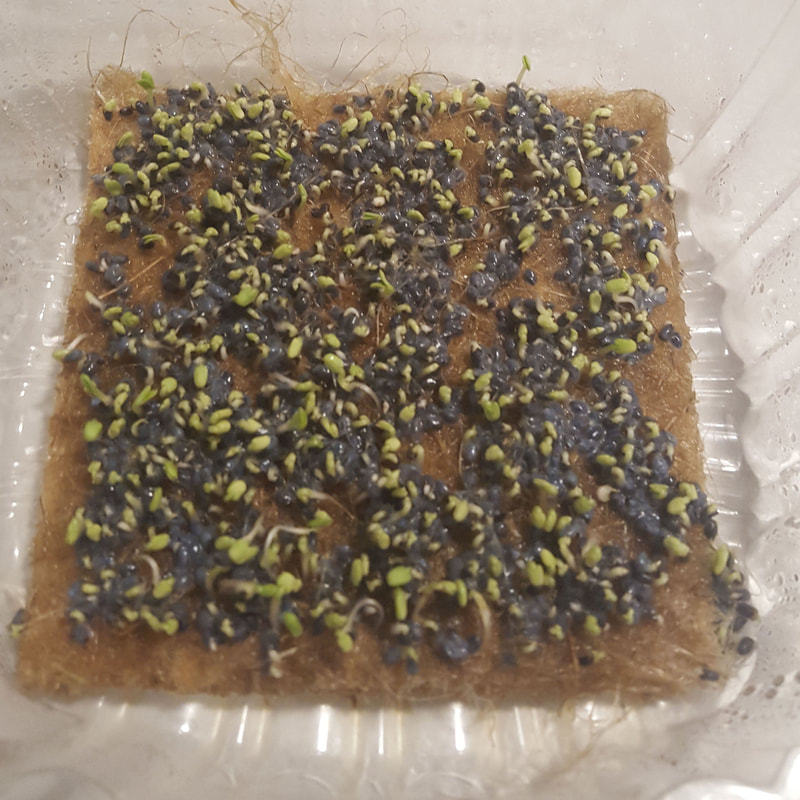
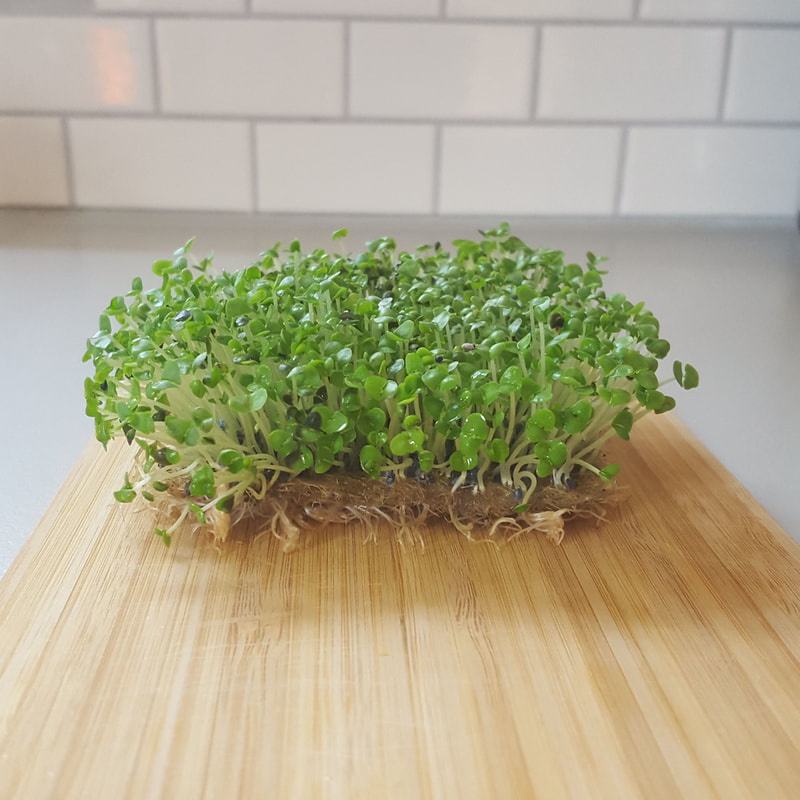
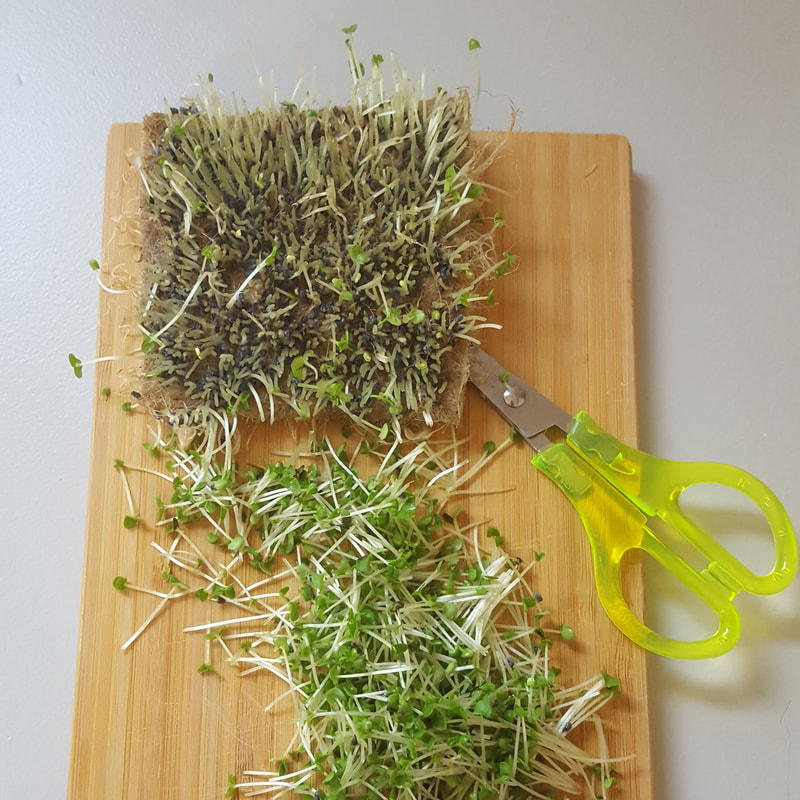
Growing Micro Basil in PicturesYou Grew Micro Basil... Now What?!
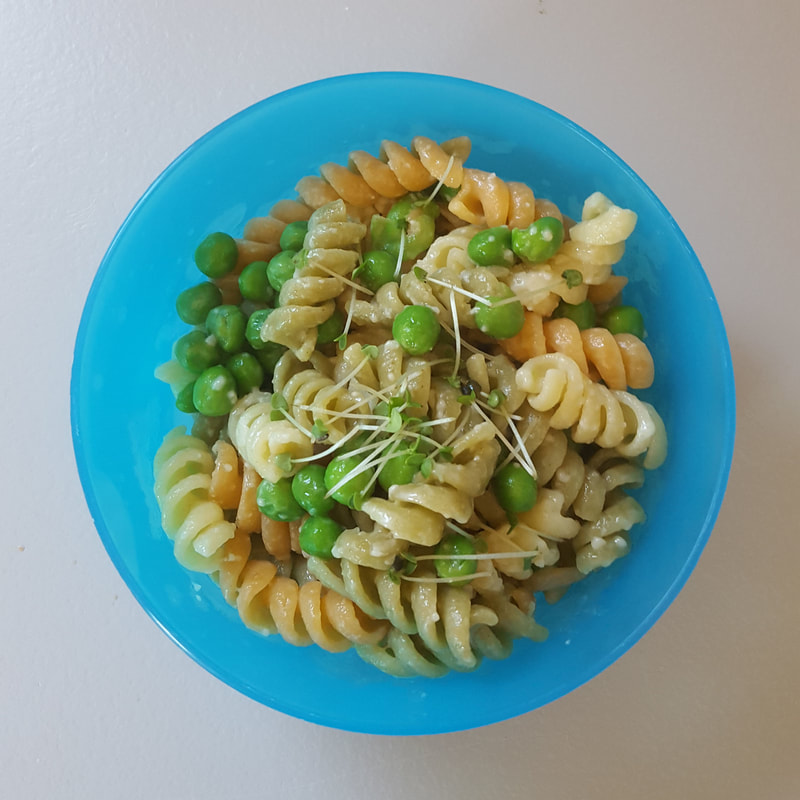
Micro basil is a delicious garnish on many dishes such as pasta, tomato salad, pizza, and salads. Here at Veggie Buds Club we focus on kid-friendly meals, below are some kid-approved ways to enjoy micro basil!
Check out our shop for products that teach kids to learn to love veggies! This includes veggie activity boxes, kid-safe knives, interactive placemats, and more.
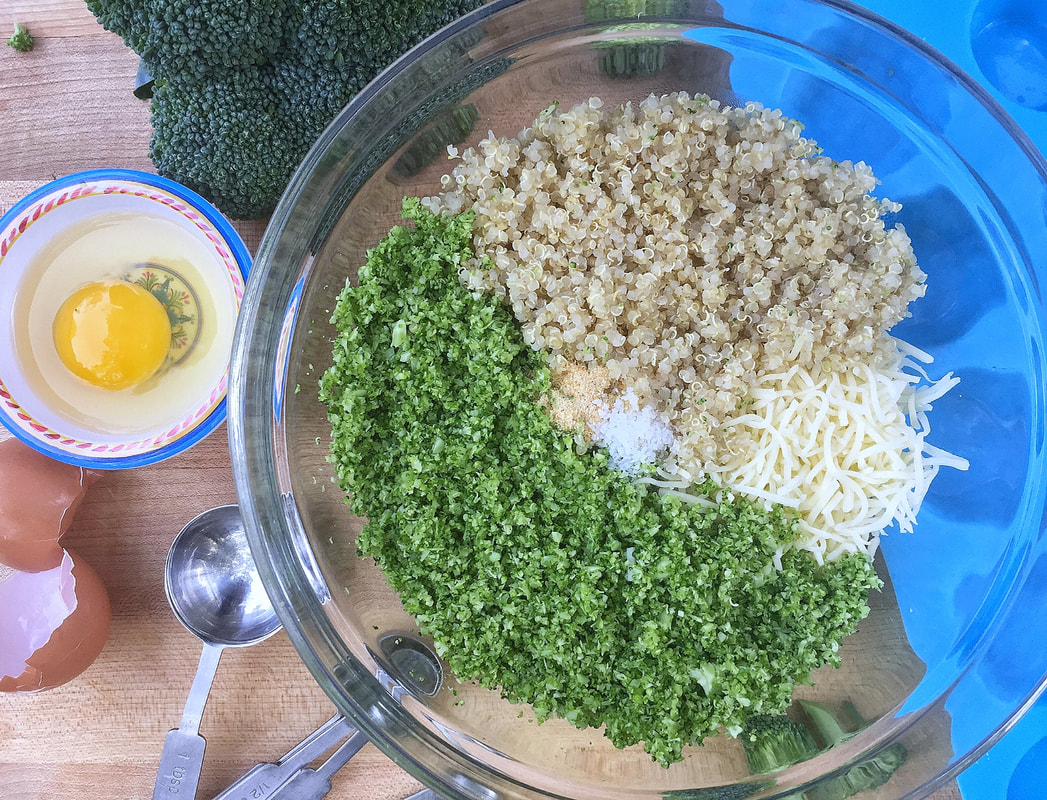
These Broccoli Nuggets are a huge hit with kiddos! Eat them for lunch or a snack anytime of the day. This recipe was developed by Happy Kids Kitchen for Veggie Buds Club.
"Learn to Love Veggies" Tip
Get your kids in the kitchen! They can break a broccoli head into florets using their hands and then add everything to the food processor. Make sure they press the button (kids love this step!) and then they can scoop the batter into a prepared muffin pan.
 Broccoli Nuggets
Prep time: 8 MinCook time: 12 MinTotal time: 20 Min
These Broccoli Nuggets are a huge hit with kiddos! Eat them for lunch or a snack anytime of the day.
Ingredients
Instructions
Here are some great photos from our members that have been shared with us on our Instagram and Facebook pages, keep the Broccoli Nugget love comin'!
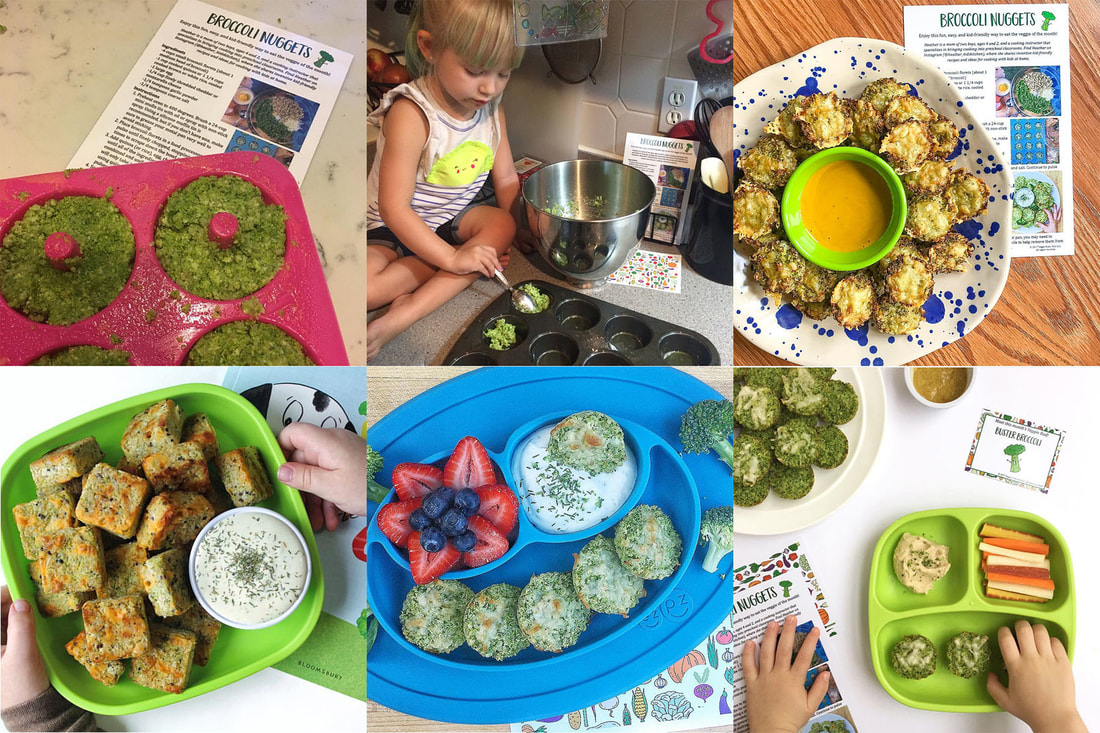
Photos from IG accounts: @sweetraspberries, @maschiopartyoffive, @icook_theyeat, @lunchesandlittles, @heather_kidskitchen, and @thekidseatkale
Check out our shop for products that teach kids to learn to love veggies! This includes veggie activity boxes, kid-safe knives, interactive placemats, and more.
|